Overview
In this tutorial, you can learn how to integrate Atlas Search, an advanced text search feature, into a Ruby on Rails app.
After you complete this tutorial, you have a fully functional search feature embedded in your Rails app, allowing you to efficiently find information.
Prerequisites
The tutorial builds on a template app that you can download from the mongodb-atlas-with-ruby-on-rails-example GitHub repository by running the following command:
git clone https://github.com/mongodb-developer/mongodb-atlas-with-ruby-on-rails-example.git
Then, perform the following setup actions:
Create a MongoDB Atlas cluster. To learn how to create a cluster, see the Create a MongoDB Deployment - Ruby on Rails step of the Rails Quick Start guide.
Update the app's
config/mongoid.ymlfile with your own connection string and set the default database toinspiration, as shown the following example configuration:development: clients: default: uri: mongodb+srv://<username>:<password>@<host>/inspiration Start the Rails app by running the
rails servercommand, then complete the New Idea entry form to insert some sample data into theinspiration.ideascollection.Tip
Sample Data
To achieve the search functionality demonstrated later in the tutorial, insert sample documents that contain some overlapping terms in the
nameordescriptionfields.Create an Atlas Search index in Compass or the Atlas UI called
inspirationwith dynamic (default) mappings. To learn more about creating Atlas Search indexes, see the Atlas Search Indexes section of the Indexes guide.
Steps
Configure the Atlas Search feature in your Mongoid model.
First, update the Idea model to handle Atlas Search queries on the ideas collection by defining the search method in the model. The method self.search(query) defines a class method called search that takes a single argument query and returns the search results.
Open the app/models/idea.rb file and replace its contents with the following code:
class Idea include Mongoid::Document include Mongoid::Timestamps field :name, type: String field :description, type: String field :picture, type: String def self.search(query) aggregation_pipeline = [ { "$search": { "index": "inspiration", "text": { "query": query, "path": ['name', 'description'] }, "sort": { "score": { "$meta": "searchScore" } } } }, { "$limit": 20 } ] results = collection.aggregate(aggregation_pipeline) search_results = results.to_a search_results.map do |result| Idea.new( id: result["_id"], name: result["name"], description: result["description"], picture: result["picture"] ) end end end
When you call idea.search("<example query>"), Mongoid performs the following actions:
Performs a full-text search by using the
inspirationindex.Runs the query across the
nameanddescriptionfields.Sorts the results by their relevance scores.
Limits the number of results to
20to improve performance for queries on large collections.
The search_results variable then converts the raw results from MongoDB into an array of hashes that can be mapped to Idea model instances and rendered in your view files.
Add a Search action in your controller.
Now that you defined the Search query functionality in the Idea model, you must add an action to initiate queries.
Open the app/controllers/ideas_controller.rb file and add the following action to your IdeasController before the private declaration:
def search @query = params[:query] @ideas = @query.present? ? Idea.search(@query) : Idea.all render :display_results end
Now, when you submit a Search query, Mongoid runs the search method in the Idea model. The results are then rendered in your view files.
Generate the Search controller.
Run the following command to generate the SearchesController and the display_results view file, which handle search requests and display the results, respectively:
rails generate controller Searches display_results
Open the newly created searches_controller.rb file and replace the contents with the following code:
class SearchesController < ApplicationController def display_results query = params[:query] @results = Idea.search(query) end end
Open the app/views/searches/display_results.html.erb file and replace the contents with the following code, which renders the search results:
<div class="search-results"> <h1>Search Results for "<%= params[:query] %>"</h1> <% if @results.empty? %> <p>No ideas found.</p> <% else %> <div class="idea-container"> <% @results.each do |result| %> <div class="idea"> <h2><%= result.name %></h2> <p><%= truncate(result.description, length: 150) %></p> <img src="<%= result.picture %>" alt="<%= result.name %>" /> <p><%= link_to "View", idea_path(result.id) %></p> </div> <% end %> </div> <% end %> </div> <%= link_to "Back", ideas_path %>
Then, add the following code to your app/assets/stylesheets/application.css file to include basic styling for the search results:
.search-results { width: 80%; margin: 0 auto; } .idea-container { display: flex; flex-direction: column; } .idea { padding: 20px; border-bottom: 2px solid #ccc; border-radius: 10px 10px 0 0; margin-bottom: 10px; } .idea h2 { margin: 0; } .idea p { margin: 0; } .idea img { width: 100px; height: auto; display: block; } ul { list-style-type: none; padding: 0; }
Create the Search form.
To enable Search queries directly in your application, open the app/views/ideas/index.html.erb file and add the following code:
<%= form_tag(search_results_path, method: :get, class: "form-inline") do %> <div class="input-group mb-3"> <%= text_field_tag :query, params[:query], placeholder: "Search Ideas...", class: "form-control" %> <div class="input-group-append"> <%= submit_tag "Search", class: "btn btn-primary text-white" %> </div> </div> <% end %>
Add the following styling for the search bar to your application.css file:
.input-group { width: 100%; } .btn-primary { background-color: #007bff; border-color: #007bff; color: white; } .btn-primary:hover { background-color: #0056b3; border-color: #004085; }
Start your application and run Search queries.
In your project directory, run the following command to start your application:
rails server
Navigate to http://127.0.0.1:3000/ to view the landing page.
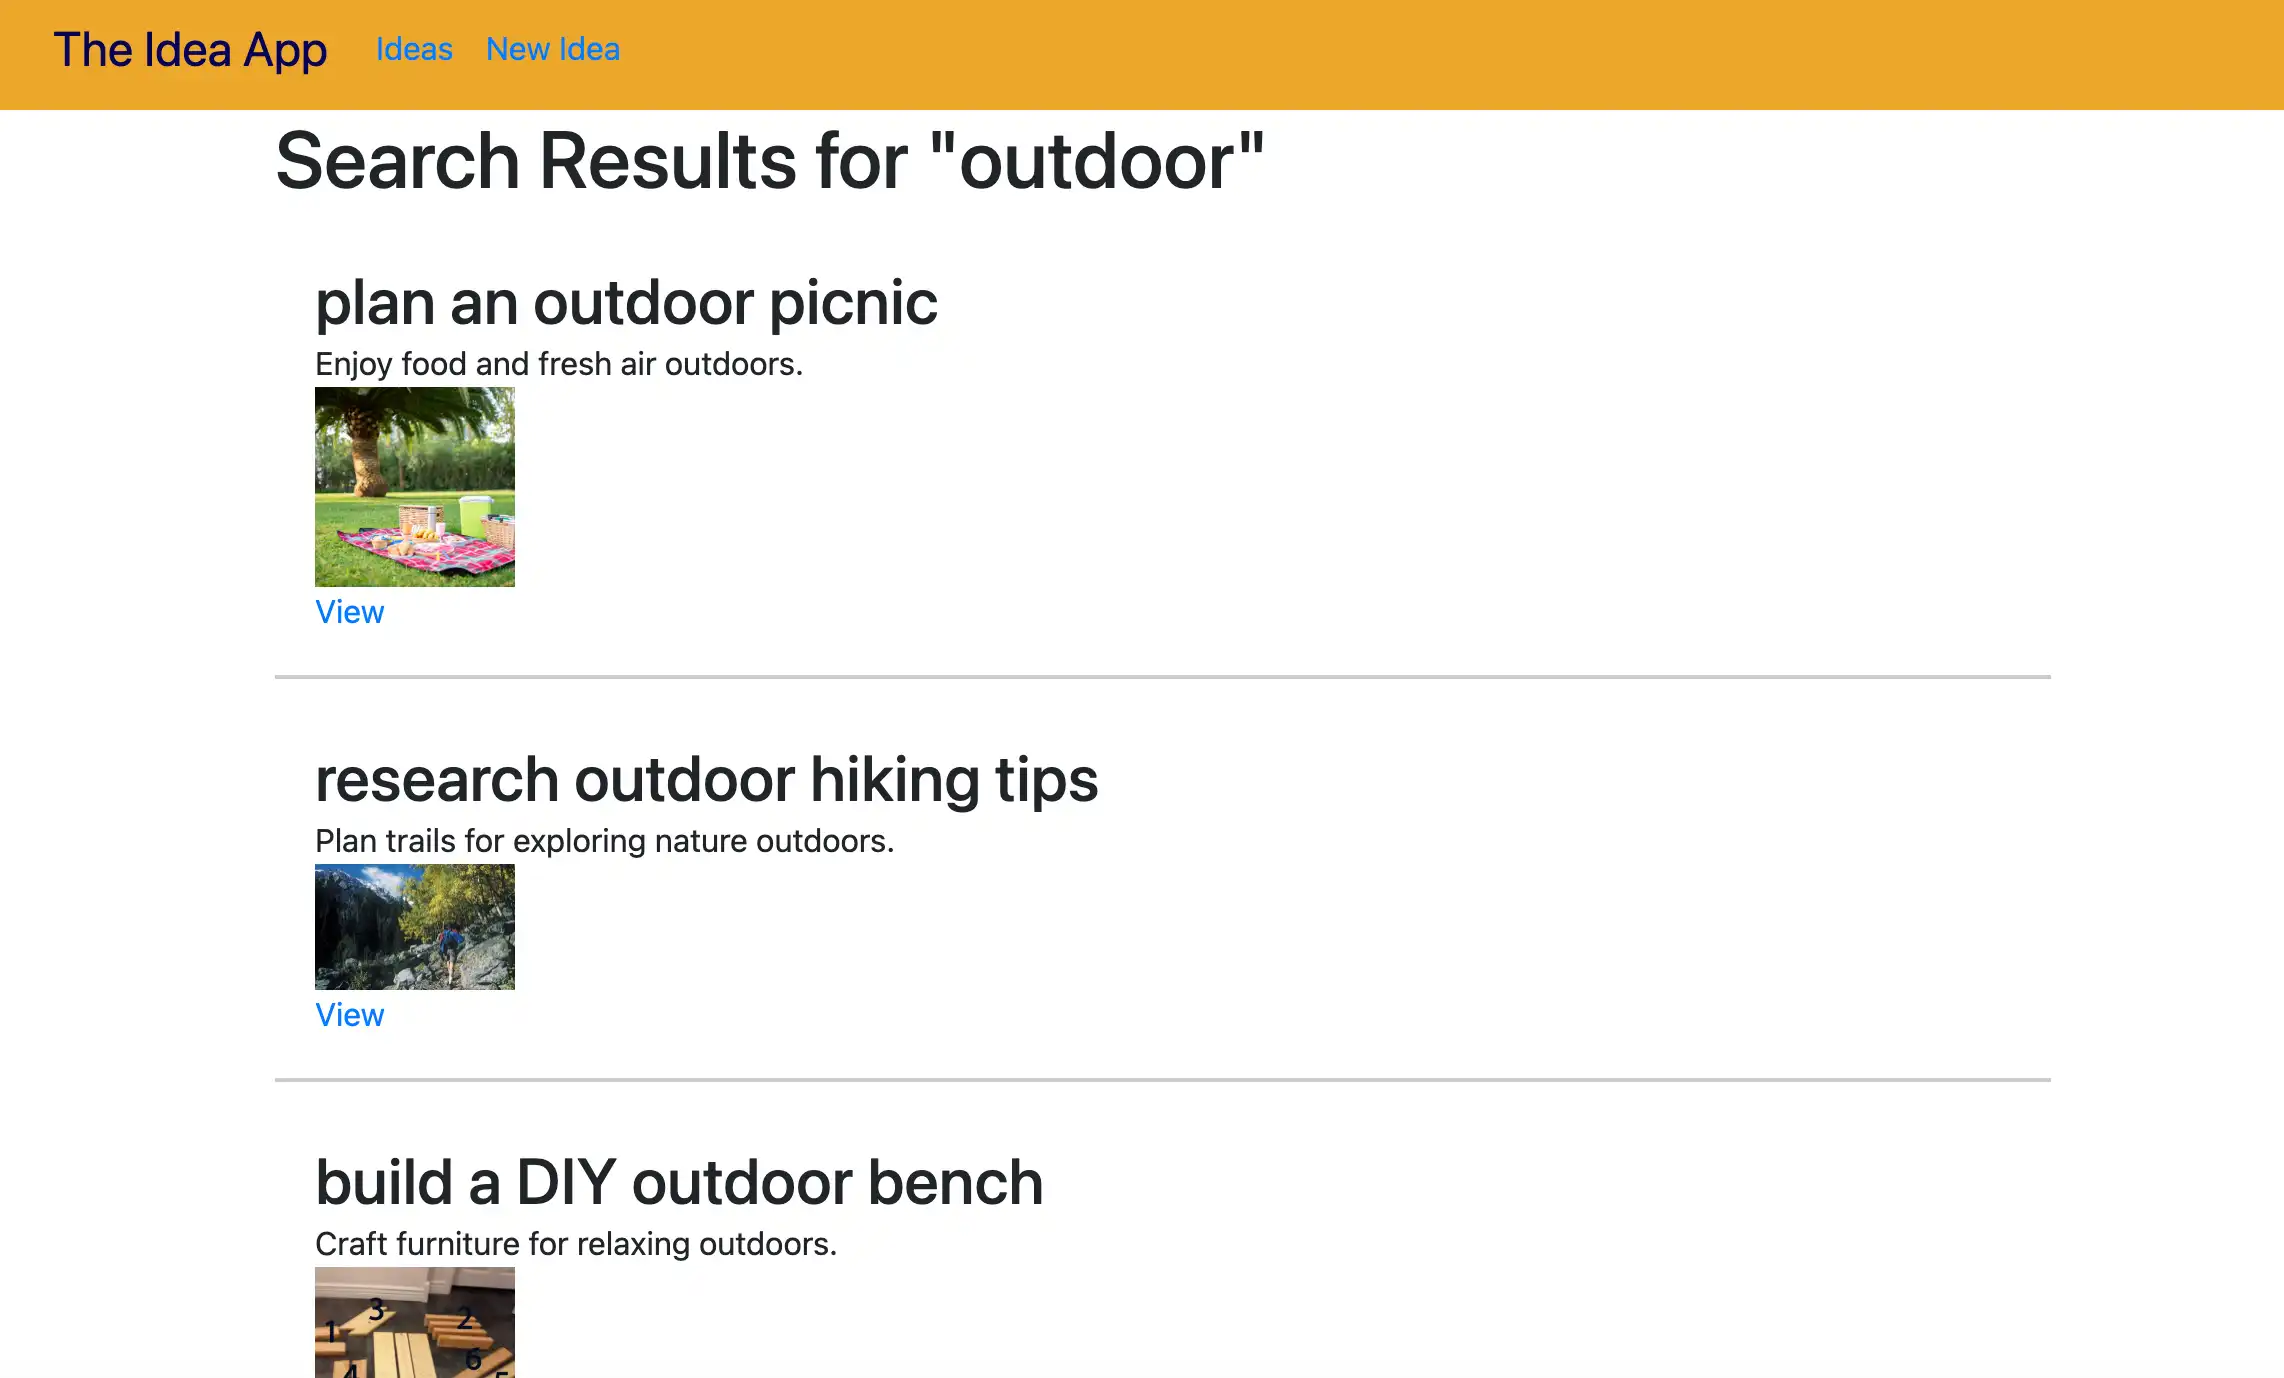
To submit a query, type a term or phrase in the search bar then click the Search button. The following image depicts the search results for the term "outdoor":
The search results depend on the documents in your database. As the complexity of your data increases, you might need to perform more advanced queries to narrow results. To learn more about different Atlas Search queries and view examples, see the Query Reference in the Atlas documentation.
Conclusion
In this tutorial, you learned how to integrate the Atlas Search feature into a Rails application. This integration enhances usability and functionality while improving user engagement.
To learn more about performing queries in Mongoid, see the Interact with Data guides.