Updated on August 21, 2025

WordPress accounts for almost 43.4% of websites on the internet (over 835 million websites worldwide). Most developers prefer the platform for building their websites and web apps because it’s free, open-source, and infinitely customizable.
While WordPress dominates the website space, OpenAI dominates the AI agent space. It commands ~80% of the web traffic to all AI tools websites. It makes sense that developers want to use OpenAI when they need customer service conversational AI agents on their WordPress website.
This tutorial will take you through the easiest method for integrating OpenAI AI agents into WordPress. Here, Kommunicate will act as the UI layer to build the AI agent UI, handle sessions, and give you the needed metrics.
First, let’s understand your different integration options between OpenAI and WordPress, and why Kommunicate is the best.
Why use Kommunicate to integrate OpenAI into WordPress?
There are three key approaches to add an OpenAI AI agent to your WordPress website. Let’s see how they work:
1. Using OpenAI API Directly
This is the most flexible option, but you will need coding experience in JavaScript and Python.
How it works: You make HTTP requests to OpenAI’s GPT API (e.g., GPT-4 or GPT-4o), capture the response, and display it on your site using JavaScript or PHP.
Pros: Full control over prompts, UI, and storage.
Cons: You must build the entire frontend UI, handle session state, manage rate limits, implement safety features, and add fallback mechanisms for complex queries.
✅ Best for advanced developers building from scratch.2. Using Webhooks for Custom Workflows
Webhooks allow you to create event-driven workflows by triggering OpenAI responses based on form submissions, button clicks, or chatbot queries.
How it works: A webhook connects your WordPress event (like a form or chatbot input) to a backend script or automation tool that calls OpenAI, processes the output, and sends it back to the site.
Pros: Good for low-code setups using tools like Zapier or Make.com.
Cons: You still need to set up integration, manage the API, and design the conversational UI.
✅ Best for task-specific automations, not full conversational agents.3. Using Kommunicate (Best Option)
Kommunicate offers the simplest and most powerful way to integrate OpenAI AI agents into your WordPress website.
How it works: Sign up on Kommunicate, connect your OpenAI key or use built-in integrations, and embed the chatbot widget on your WordPress site via a plugin or script.
Why it’s better:
- Built-in RAG (Retrieval-Augmented Generation): You can upload documents or link your knowledge base to power your AI agent with accurate, context-rich answers.
- Pre-built, customizable UI: No need to design your chat interface. You can customize the widget’s look, tone, and behavior to match your brand.
- Session memory & answer caching: Answers are cached intelligently to improve performance and reduce redundant API calls.
- Multi-platform support: Besides WordPress, the same agent can run on WhatsApp, Messenger, mobile apps, and more.
- Agent handoff & ticketing: Automatically route more complex conversations to a human agent.
- Analytics and Observability: Out-of-the-box insights into usage, fallback rates, and agent performance.
✅ Best for teams that want enterprise-grade AI agents without spending weeks in development.So, now that you understand why Kommunicate is the best option, let’s start the integration.
Pre-Requisites
Before you begin, ensure you have the following:
- A Kommunicate account (Sign up here if you don’t have one)
- Your Kommunicate App ID (available in the Kommunicate dashboard)
- A WordPress website with admin access
Step 1: Create an Open AI Conversational AI Agent with Kommunicate
- Go to Kommunicate Dashboard and click on Agent Integrations.

- In Agent Integrations, you will see the complete list of your AI agents. We will create a new AI agent for this tutorial by clicking Create New Agent.

- When you click Create New Agent, Kommunicate will give you different options for building your AI agent. We will use the OpenAI integration.

- Choose the AI model that will be behind your AI agent. We’re choosing 4-o-mini because smaller AI models give customers faster responses.
We’re choosing 1000 tokens as the maximum length for the answers the AI agent would give out, and the agent’s temperature (or creativity) as 0.

- After saving, you’ll be prompted to name your chatbot. We’re naming our AI agent WordPress_Agent and using a standard avatar. (You can also use your custom avatar for the agent).

- You’ll be asked whether you want to enable Human Handoff. We recommend enabling this feature to have human-in-the-loop conversations with your customers.
For this tutorial, we’re keeping it disabled.

- Your OpenAI conversational AI agent is ready. Click on Let this bot handle all conversations so that this AI agent can be directly integrated with WordPress.

After this, you can train this conversational AI agent to have more detailed, on-brand conversations. You can use FAQs, documents, and URLs to create better AI agents.
You can find the details on how to train your AI agent in this article.
For the second part of this tutorial, we’ll take WordPress_Agent and add it to our website.
Step 2: Add Kommunicate to WordPress Website
Option 1 – Install Kommunicate Plugin
- On your WordPress dashboard, go to the Plugins section. Click on Add New and search for ‘Kommunicate.’
Click on the Install Now button.

- Click on Activate to activate the plugin.

- Go to your Settings on Kommunicate and click on “Install” in the sidebar. This will show the APP_ID for your Kommunicate & OpenAI AI agent.

- Open Kommunicate_Settings on your WordPress dashboard. Click on Update App ID.

- This will open up a dialog for the App ID, where you can enter the code you got from Step 3.

- The OpenAI WordPress AI agent will now be live on your website.

Option 2: Installing AI Agent through the <body> Tag
- Copy the custom JavaScript code from the Install page inside the Settings section in your Kommunicate dashboard.

- Go to your Plugins on your WordPress dashboard and install the plugin Insert Headers and Footers.
- Go to the Settings for Insert Header and Footers and the Scripts in Footer section.
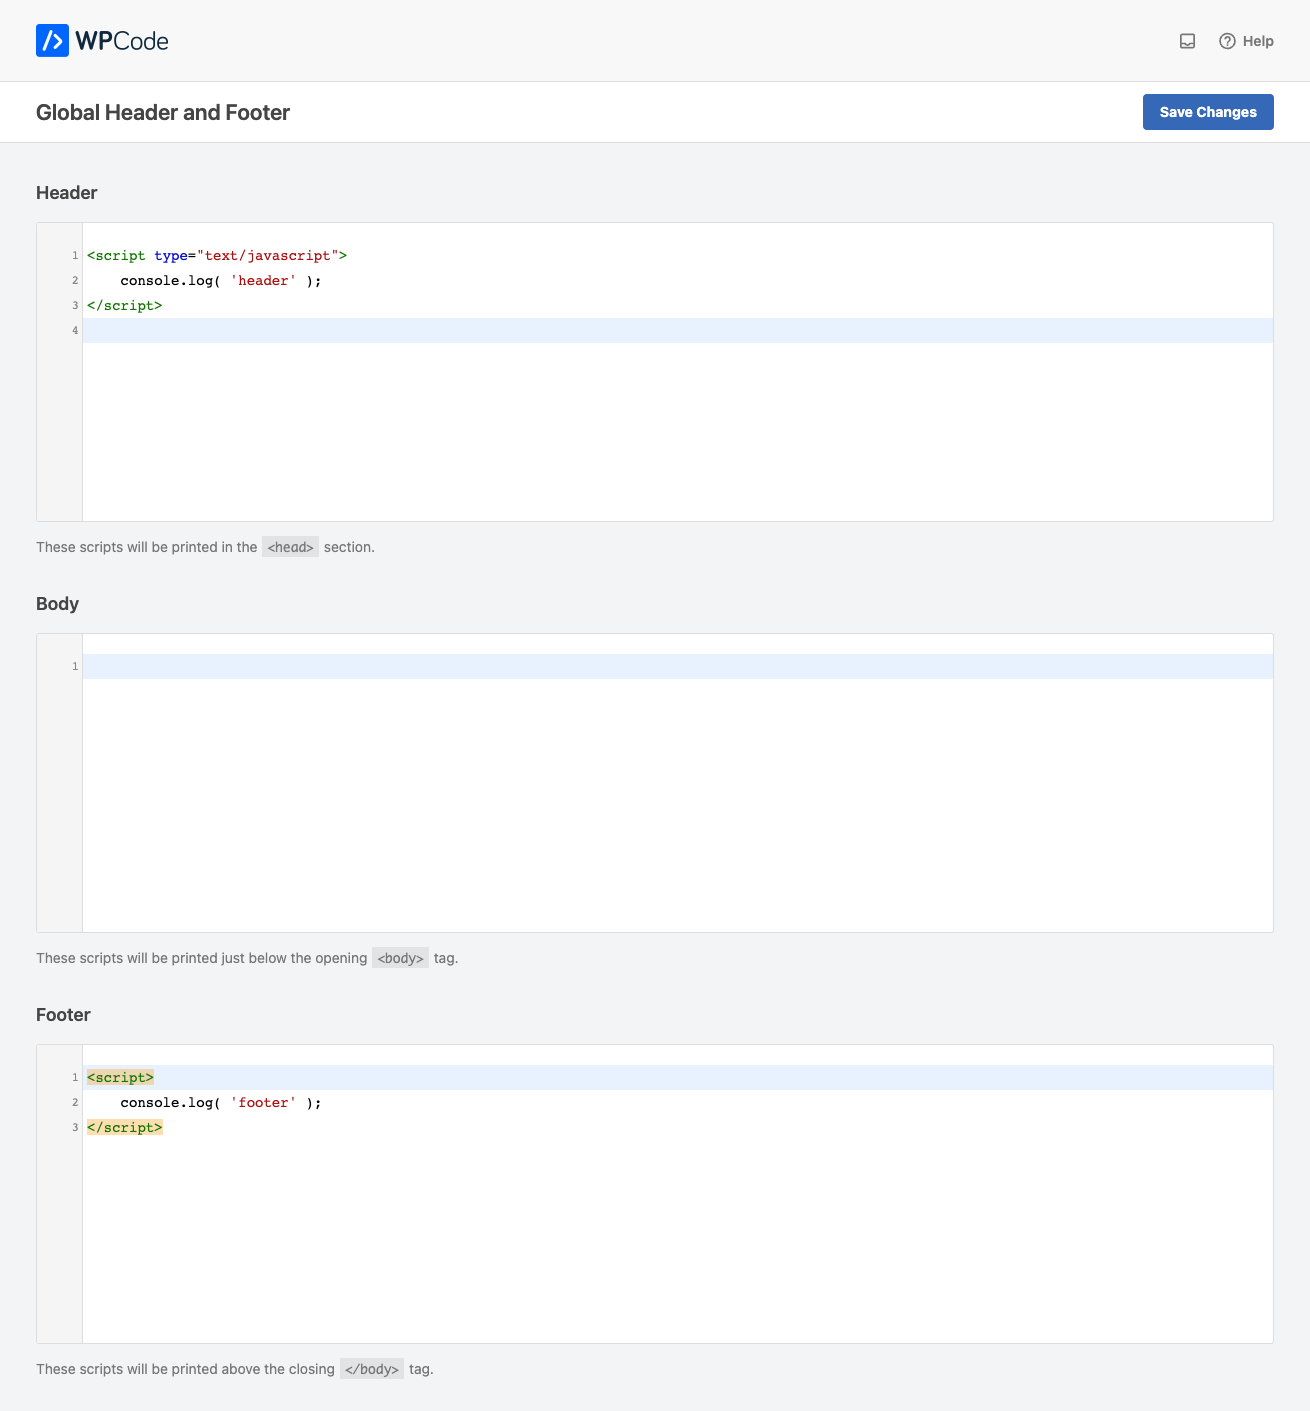
- Paste the code snippet from Step 1.
- Save the Changes to activate the OpenAI WordPress AI agent on your website.
Doing either option sets you up with a ready-to-launch AI agent for your website. Remember to train your AI agent with FAQs, documents, and URLs to give it all the information about your business before you add the AI agent.
Wrapping it Up
Integrating OpenAI into your WordPress website doesn’t have to be a complex, time-consuming process. While you could build a custom solution from scratch using OpenAI’s API directly or create webhook-based automations, Kommunicate offers the most practical and efficient path to deploying enterprise-grade AI agents on your WordPress site.
With Kommunicate, you get the full power of OpenAI’s conversational AI models wrapped in a professional, customizable interface that requires no coding expertise. The platform’s built-in features like RAG capabilities, session memory, analytics, and seamless human handoff ensure your AI agent delivers exceptional customer experiences while providing you with valuable insights into user interactions.
By leveraging this integration, you’re creating an intelligent AI-powered customer service agent that works 24/7 to engage visitors, answer questions, and potentially convert them into customers. Start with the setup outlined in this tutorial, then refine your AI agent based on user interactions and feedback to maximize its effectiveness for your business needs.
If you need help setting up your OpenAI WordPress AI agent, feel free to talk to us!

CEO & Co-Founder of Kommunicate, with 15+ years of experience in building exceptional AI and chat-based products. Believes the future is human + bot working together and complementing each other.


