Laravel 11 JQuery Load More Data on Scroll Example
In this post, I will show you step by step how to load more data using ajax pagination on scroll in laravel 11 application.
In this example, we will create a posts table using migration. Then, we will create a data model for the posts and a factory class to create dummy post data. Finally, we will create a route to load posts and write the code for auto-loading more data on button click event using jQuery AJAX. Let's take a look at a simple step-by-step example.

Step for Laravel 11 Load More Data on Scroll Event Example
- Step 1: Install Laravel 11
- Step 2: MySQL Database Configuration
- Step 3: Create Migration
- Step 4: Create Model
- Step 5: Create Factory Class
- Step 6: Create Route
- Step 7: Create Controller
- Step 8: Create View Files
- Run Laravel App
Step 1: Install Laravel 11
This step is not required; however, if you have not created the Laravel app, then you may go ahead and execute the below command:
composer create-project laravel/laravel example-appStep 2: MySQL Database Configuration
In Laravel 11, there is a default database connection using SQLite, but if we want to use MySQL instead, we need to add a MySQL connection with the database name, username, and password to the `.env` file.
.env
DB_CONNECTION=mysql DB_HOST=127.0.0.1 DB_PORT=3306 DB_DATABASE=here your database name(blog) DB_USERNAME=here database username(root) DB_PASSWORD=here database password(root)Step 3: Create Migration
Here, we will create a new migration for adding a new table posts in the users table. So let's run the following command:
php artisan make:migration create_posts_tableAfter this command, you will find one file in the following path "database/migrations," and you have to put the below code in your migration file to create the posts table.
<?php use Illuminate\Database\Migrations\Migration; use Illuminate\Database\Schema\Blueprint; use Illuminate\Support\Facades\Schema; return new class extends Migration { /** * Run the migrations. * * @return void */ public function up() { Schema::create('posts', function (Blueprint $table) { $table->id(); $table->string('title'); $table->string('slug'); $table->text('body'); $table->timestamps(); }); } /** * Reverse the migrations. * * @return void */ public function down() { Schema::dropIfExists('posts'); } }; Now you have to run this migration with the following command:
php artisan migrateStep 4: Create Model
After creating the "posts" table, you should create the Post model for posts. First, create a file in this path app/Models/Post.php and put the following content in the Post.php file:
app/Models/Post.php
<?php namespace App\Models; use Illuminate\Database\Eloquent\Factories\HasFactory; use Illuminate\Database\Eloquent\Model; class Post extends Model { use HasFactory; /** * Write code on Method * * @return response() */ protected $fillable = [ 'title', 'body', 'slug' ]; } Step 5: Create Factory Class
This step explains how to generate dummy data using a factory; this data loads dynamically on page scroll:
php artisan make:factory PostFactory --model=PostFurther, put the below code in database\factories\PostFactory.php:
database\factories\PostFactory.php
<?php namespace Database\Factories; use Illuminate\Database\Eloquent\Factories\Factory; use App\Models\Post; use Illuminate\Support\Str; /** * @extends \Illuminate\Database\Eloquent\Factories\Factory<\App\Models\Post> */ class PostFactory extends Factory { /** * The name of the factory's corresponding model. * * @var string */ protected $model = Post::class; /** * Define the model's default state. * * @return array */ public function definition(): array { return [ 'title' => $this->faker->text(), 'slug' => Str::slug($this->faker->text()), 'body' => $this->faker->paragraph() ]; } } Open the terminal and execute the commands below to generate the test data:
php artisan tinkerPost::factory()->count(20)->create()Step 6: Create Route
In this step, we need to create routes for displaying posts and getting posts. So, open your "routes/web.php" file and add the following route.
routes/web.php
<?php use Illuminate\Support\Facades\Route; use App\Http\Controllers\PostController; Route::get('posts',[PostController::class,'index'])->name('posts.index'); Step 7: Create Controller
Here, we need to create a new controller, PostController, with an index method to display the posts view and return data. So let's put the code below.
app/Http/Controllers/PostController.php
<?php namespace App\Http\Controllers; use Illuminate\Http\Request; use App\Models\Post; class PostController extends Controller { /** * Write code on Method * * @return response() */ public function index(Request $request) { $posts = Post::paginate(10); if ($request->ajax()) { $view = view('data', compact('posts'))->render(); return response()->json(['html' => $view]); } return view('posts', compact('posts')); } } Step 8: Create View Files
In the last step, let's create `posts.blade.php` and `data.blade.php` for displaying the posts list and put the following code:
resources/views/posts.blade.php
<!DOCTYPE html> <html lang="{{ str_replace('_', '-', app()->getLocale()) }}"> <head> <meta name="csrf-token" content="{{ csrf_token() }}"> <title>Load More Data on Button Click using JQuery Laravel - ItSolutionStuff.com</title> <link rel="stylesheet" href="https://cdn.jsdelivr.net/npm/bootstrap@5.0.0-beta1/dist/css/bootstrap.min.css"> <link rel="stylesheet" href="https://cdnjs.cloudflare.com/ajax/libs/font-awesome/6.4.0/css/all.min.css" /> </head> <body> <div class="container mt-5" style="max-width: 750px"> <h1>Load More Data on Button Click using JQuery Laravel 11 - ItSolutionStuff.com</h1> <div id="data-wrapper"> @include('data') </div> <div class="text-center"> <button class="btn btn-success load-more-data"><i class="fa fa-refresh"></i> Load More Data...</button> </div> <!-- Data Loader --> <div class="auto-load text-center" style="display: none;"> <svg version="1.1" id="L9" xmlns="http://www.w3.org/2000/svg" xmlns:xlink="http://www.w3.org/1999/xlink" x="0px" y="0px" height="60" viewBox="0 0 100 100" enable-background="new 0 0 0 0" xml:space="preserve"> <path fill="#000" d="M73,50c0-12.7-10.3-23-23-23S27,37.3,27,50 M30.9,50c0-10.5,8.5-19.1,19.1-19.1S69.1,39.5,69.1,50"> <animateTransform attributeName="transform" attributeType="XML" type="rotate" dur="1s" from="0 50 50" to="360 50 50" repeatCount="indefinite" /> </path> </svg> </div> </div> <script src="https://ajax.googleapis.com/ajax/libs/jquery/3.5.1/jquery.min.js"></script> <script> var ENDPOINT = "{{ route('posts.index') }}"; var page = 1; $(".load-more-data").click(function(){ page++; infinteLoadMore(page); }); /*------------------------------------------ -------------------------------------------- call infinteLoadMore() -------------------------------------------- --------------------------------------------*/ function infinteLoadMore(page) { $.ajax({ url: ENDPOINT + "?page=" + page, datatype: "html", type: "get", beforeSend: function () { $('.auto-load').show(); } }) .done(function (response) { if (response.html == '') { $('.auto-load').html("We don't have more data to display :("); return; } $('.auto-load').hide(); $("#data-wrapper").append(response.html); }) .fail(function (jqXHR, ajaxOptions, thrownError) { console.log('Server error occured'); }); } </script> </body> </html> resources/views/data.blade.php
@foreach ($posts as $post) <div class="card mb-2"> <div class="card-body">{{ $post->id }} <h5 class="card-title">{{ $post->title }}</h5> {!! $post->body !!} </div> </div> @endforeach Run Laravel App:
All the required steps have been done, now you have to type the given below command and hit enter to run the Laravel app:
php artisan serveNow, Go to your web browser, type the given URL and view the app output:
http://localhost:8000/postsOutput:
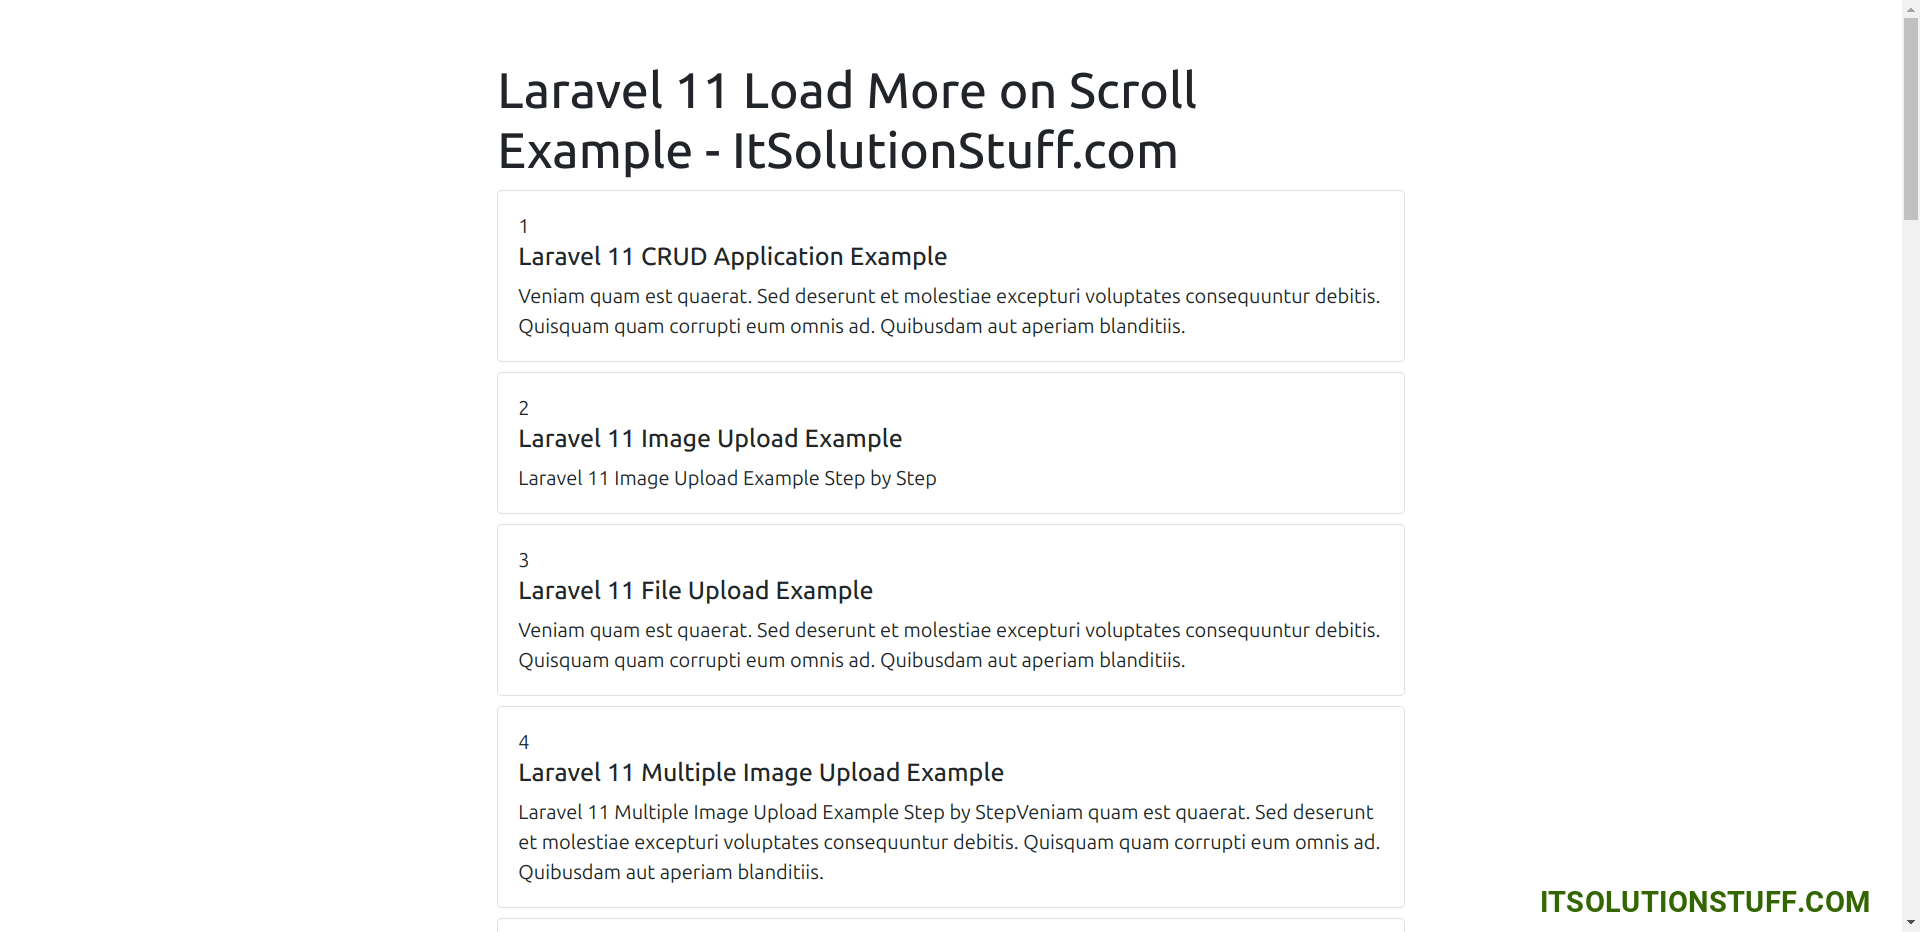
I hope it can help you...

