VESC Telemetry Display
Introduction: VESC Telemetry Display
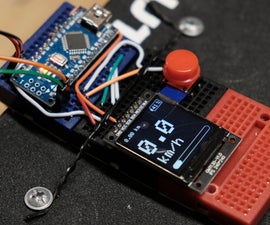


VESC telemetry display that is easy to make with all data you will need and good graphic interface. It is controled only with one button.
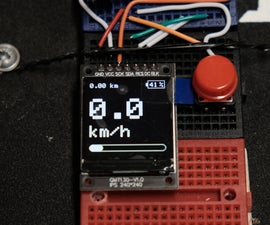
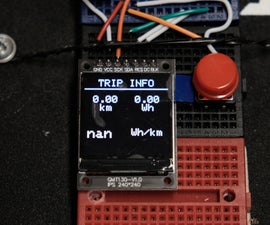
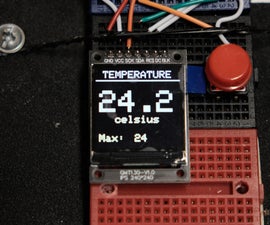
DATA: speed, distance, voltage, single cell voltage, temperature, Wh used, Ah used, power, RPM, current, battery percentage, max temperature, max speed, power consumption (in Wh/km)
It has 5 pages on which data is displayed.


Supplies
You will need:
- arduino Nano
- tft display (I use st7789 1.3 inch 240x240 pixels)
- button
- breadboard
- cables (to connect to VESC- 4cables
Step 1: CONNECTING

ST7789 connection:
- gnd to gnd
- vcc to 5V
- sck to D13
- sda to D11
- res to D8
- dc toD9
Button:
- one side to GND and other to D2
VESC:
- 5V (on vesc) to Vin (aurduino)
- gnd to gnd
- TX to RX
- RX to TX
Step 2: UPLOADING a CODE
Now just upload the code below.
Attachments

Step 3: Using It and Possible Troubles
Now just power your vesc and if you have everything done right it will show "INITIALIZING VESC". If you see that values are 0 then you may have switched RX and TX so just switching them will solve it. Use button to navigate.
VIDEO:
https://www.youtube.com/watch?v=azHGId9klk4