Spring Boot | How to publish JSON messages on Apache Kafka
Last Updated : 15 Jul, 2025
Apache Kafka is a publish-subscribe messaging system. A messaging queue lets you send messages between processes, applications, and servers. In this article, we will see how to send JSON messages to Apache Kafka in a spring boot application. In order to learn how to create a spring boot project, refer to
this article. The full-form of JSON is JavaScript Object Notation. JSON is a lightweight data format for data interchange which can be easily read and written by humans, easily parsed and generated by machines. Though it is derived from a subset of JavaScript, yet it is Language independent. It is a complete language-independent text format. The following steps can be followed in order to publish JSON messages to Apache Kafka:
- Go to spring initializr and create a starter project with following dependencies:
- Spring Web
- Spring for Apache Kafka
- Open the project in an IDE and sync the dependencies. In this article, we would be creating a student model where we would be posting the student details. Therefore, create a model class Student. Add data members and create constructor and create getters and setters. The following is the implementation of the student class: Java
// Java program to implement a // student class // Creating a student class public class Student { // Data members of the // student class int id; String firstName; String lastName; // Constructor of the student // class public Student(int id, String firstName, String lastName) { this.id = id; this.firstName = firstName; this.lastName = lastName; } // Implementing the getters // and setters public int getId() { return id; } public void setId(int id) { this.id = id; } public String getFirstName() { return firstName; } public void setFirstName(String firstName) { this.firstName = firstName; } public String getLastName() { return lastName; } public void setLastName(String lastName) { this.lastName = lastName; } } - Now, create a new class Controller with the annotation @RestController. Create a GET API and initialize KafkaTemplate with parameter as string and model class object. The following is the implementation of the controller: Java
// Java program to implement a // controller @RestController @RequestMapping("gfg") public class UserResource { @Autowired private KafkaTemplate<String, Student> kafkaTemplate; private static final String TOPIC = "StudentExample"; @GetMapping("/publish/{id}/" + "{firstName}/{lastName}") public String post( @PathVariable("id") final int id, @PathVariable("firstName") final String firstName, @PathVariable("lastName") final String lastName) { kafkaTemplate.send( TOPIC, new Student( id, firstName, lastName)); return "Published successfully"; } } - Create a class StudentConfig with the annotation @Configuration. In this class we will serialize the object of the model class. Java
// Java program to serialize the // object of the model class @Configuration public class StudentConfig { @Bean public ProducerFactory<String, Student> producerFactory() { // Create a map of a string // and object Map<String, Object> config = new HashMap<>(); config.put( ProducerConfig.BOOTSTRAP_SERVERS_CONFIG, "127.0.0.1:9092"); config.put( ProducerConfig.KEY_SERIALIZER_CLASS_CONFIG, StringSerializer.class); config.put( ProducerConfig.VALUE_SERIALIZER_CLASS_CONFIG, JsonSerializer.class); return new DefaultKafkaProducerFactory<>(config); } @Bean public KafkaTemplate<String, Student> kafkaTemplate() { return new KafkaTemplate<>( producerFactory()); } } - Now, start zookeeper and Kafka server. We need to create a new topic with the name StudentExample. To do so, open a new command prompt window and change directory to the Kafka folder.
- Now, create a new topic using the command given below:
For Mac and Linux: bin/kafka-topics.sh --create --zookeeper localhost:2181 --replication-factor 1 --partitions 1 --topic topic_name For Windows: .\bin\windows\kafka-topics.bat --create --zookeeper localhost:2181 --replication-factor 1 --partitions 1 --topic topic_name
- Now to see the messages on the Kafka server in the real-time, use the command below:
For Mac and Linux: bin/kafka-console-consumer.sh --bootstrap-server localhost:9092 --topic topic_name --from-beginning For Windows: .\bin\windows\kafka-console-consumer.bat --bootstrap-server localhost:9092 --topic topic_name --from-beginning
- Run the application and call the API as:
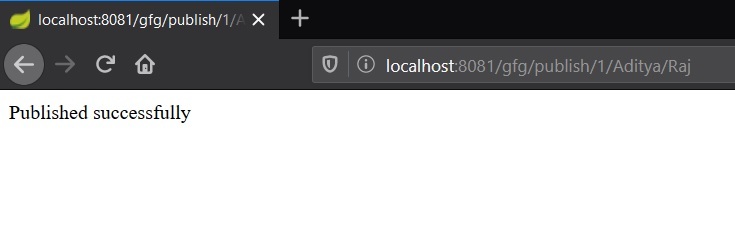
localhost:8080/gfg/publish/{id}/{first name}/{last name}
Note: If a different port has been used, then replace the port with 8080.
Output: - Calling the API:
- Checking the message in real time:

Explore
Java Basics
OOP & Interfaces
Collections
Exception Handling
Java Advanced
Practice Java
My Profile