In today's world, a simple username and password are no longer enough to protect your critical cloud infrastructure. The single most effective step you can take to bolster the security of your Amazon Web Services (AWS) account is to enable Multi-Factor Authentication (MFA).
MFA adds a crucial second layer of protection. On top of something you know (your password), it requires something you have (like an authenticator app on your phone). This makes it significantly harder for unauthorized individuals to compromise your account, even if they have stolen your password
Why is MFA Non-Negotiable in AWS?
Before diving into the "how," it's vital to understand the "why."
- Protecting the Root User: The AWS account Root User has unrestricted access to everything, including billing details and the ability to delete all resources. A compromised Root User is a catastrophic event. Enabling MFA on the Root User is the most important security action you can take.
- Securing IAM Users: If an attacker compromises an IAM user's password, they can access or damage any resources that user has permissions for. MFA provides a critical line of defense against this.
Understanding the Types of MFA Devices
| MFA Type | Description | How it Works | Example |
| Virtual MFA Device | A software app on your smartphone that generates 6-digit, time-based one-time passwords (TOTP). | You scan a QR code to link the app to your AWS account. | Google Authenticator, Microsoft Authenticator, Authy |
| U2F Security Key | A hardware device that plugs into your computer's USB port or uses NFC. | You physically tap the device during login to authenticate. | YubiKey |
| Hardware MFA Device | A physical, keychain-sized device that generates TOTP codes. | The device is assigned to your account and you press a button to get a code. | Gemalto |
Part 1: Securing Your Root User (The Most Important Step)
Securing your Root User should be the first thing you do after creating an AWS account.
Step 1: Sign in to the AWS Management Console as the Root User.
Step 2: Click on your account name in the top-right corner and select "Security credentials" from the dropdown menu.
Step 3: On the "My security credentials" page, expand the Multi-factor authentication (MFA) accordion.
Step 4: Click "Activate MFA". You will be prompted to choose an MFA device type. Select "Virtual MFA device" and continue.
Step 5: AWS will display a QR code.
- Open your preferred authenticator app on your smartphone (e.g., Google Authenticator).
- Add a new account in the app and use your phone's camera to scan the QR code.
- Your app will now be linked and will start generating 6-digit codes that refresh every 30 seconds.
Step 6: Enter two consecutive MFA codes from your app into the MFA code 1 and MFA code 2 fields in the AWS console. This verifies that the device is synced correctly.
Step 7: Click "Assign MFA". MFA is now enabled for your Root User. The next time you log in, you will be required to provide a code from your virtual device after entering your password.
Part 2: Enabling MFA for IAM Users
As an administrator, you should also enable MFA for all your IAM users.
Step 1: Sign in to the AWS Management Console with an administrative account.
Step 2: Navigate to the IAM service.
Step 3: In the left navigation pane, click on "Users" and select the specific user you want to enable MFA for.
Step 4: Click on the "Security credentials" tab for that user.
Step 5: In the "Multi-factor authentication (MFA)" section, click "Manage".
Step 6: The process is identical to setting up the Root User. Choose "Virtual MFA device," and the user will need to scan the QR code with their own authenticator app and provide two consecutive codes to complete the setup.
Terminologies
Before diving into the steps for enabling Multi-Factor Authentication in AWS, let's understand some primary terminologies:
- Multi-Factor Authentication (MFA): A security system that requires more than one method of authentication to verify the user's identity for a login or other transaction. This typically involves something you know (password) and something you have (a mobile device or hardware token or fingerprint).
- AWS Identity and Access Management (IAM): A service that helps you securely control access to AWS services and resources for your users. With IAM, you can create and manage AWS users and groups, and use permissions to allow and deny their access to AWS resources.
- Virtual MFA Device: A software-based authentication method that uses a virtual device, like an app on your smartphone, to generate time-based one-time passwords (TOTP) for MFA . Examples for Virtual MFA device is Google Authenticator ,Microsoft Authenticator.
- Hardware MFA Device: A physical device that generates TOTP for MFA. This is a dedicated hardware device provided by AWS or third-party vendors. Example Gemalto.
- U2F Security Key : Universal 2nd Factor (U2F) is a hardware-based authentication method that provides a secure way to protect your AWS accounts. U2F security keys are small USB or NFC devices that you physically insert into your computer or tap on a supported device to complete the authentication process. An example for U2F device is YubiKey.
Step-by-Step Process to Enable MFA in AWS
Enabling MFA in AWS is a straightforward process that can be broken down into a few key steps:
Step 1: Sign in to the AWS Management Console
Navigate to the AWS Management Console at AWS Console.
Log in using your AWS root account credentials. If you are an IAM user, you need sufficient privileges to manage MFA settings.
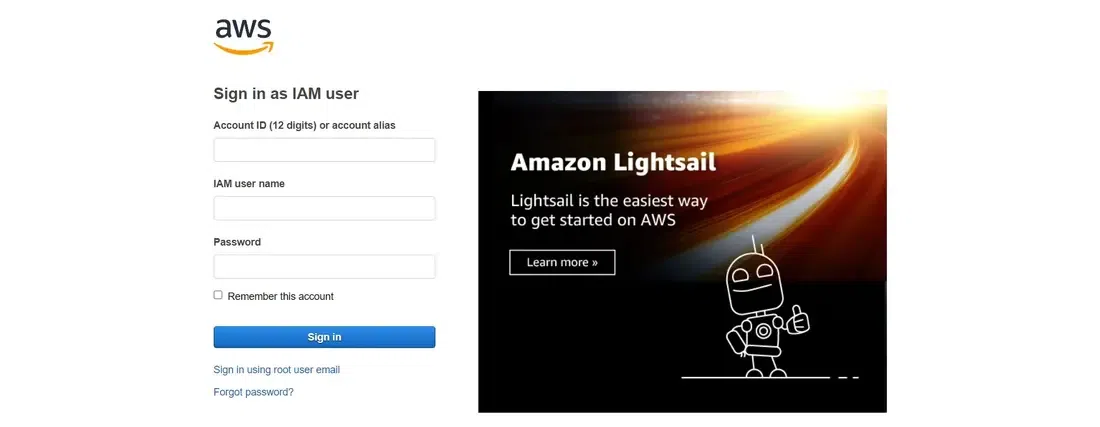 Sign In
Step 2: Access the IAM Dashboard
Once logged in, locate the IAM service from the AWS Management Console. This can be found under Security, Identity, & Compliance. Click on Users in the IAM dashboard to see a list of IAM users associated with your account.
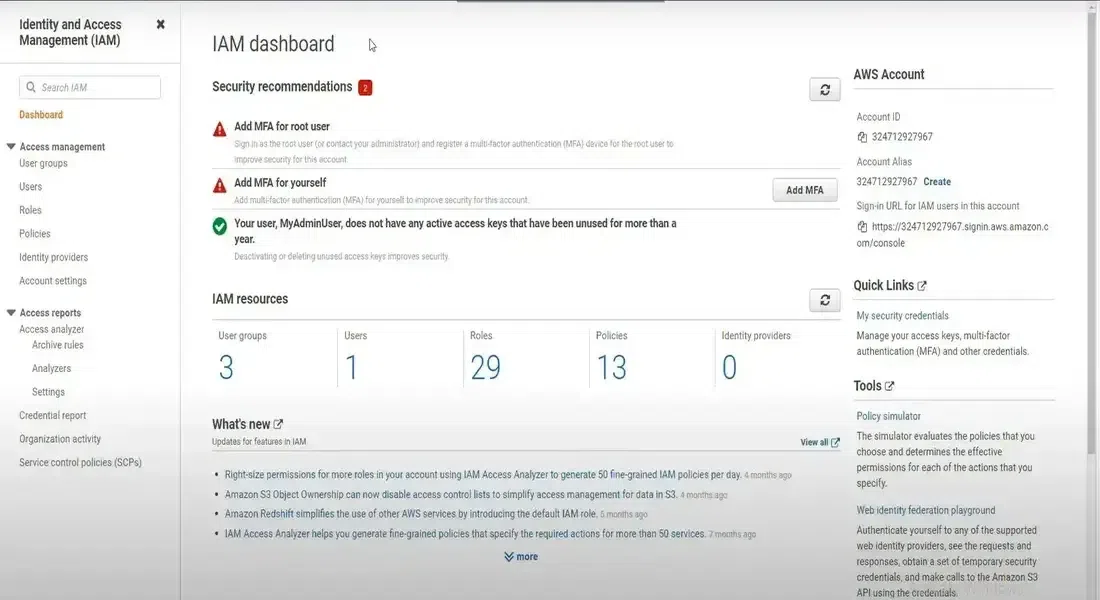 IAM Dashboard
Step 3: Select the User for MFA
Choose the specific user for whom you want to enable MFA. On the user summary page, click on the Security credentials tab.
Step 4: Manage MFA Device
Under the Multi-Factor Authentication (MFA) section, click on Manage.
You will be prompted to choose between a virtual MFA device or U2F Security Key or a hardware MFA device. For U2F security key or Hardware MFA device you require special hardware devices like USB , Gemalto or YubiKey . That's why we are going with virtual MFA device.
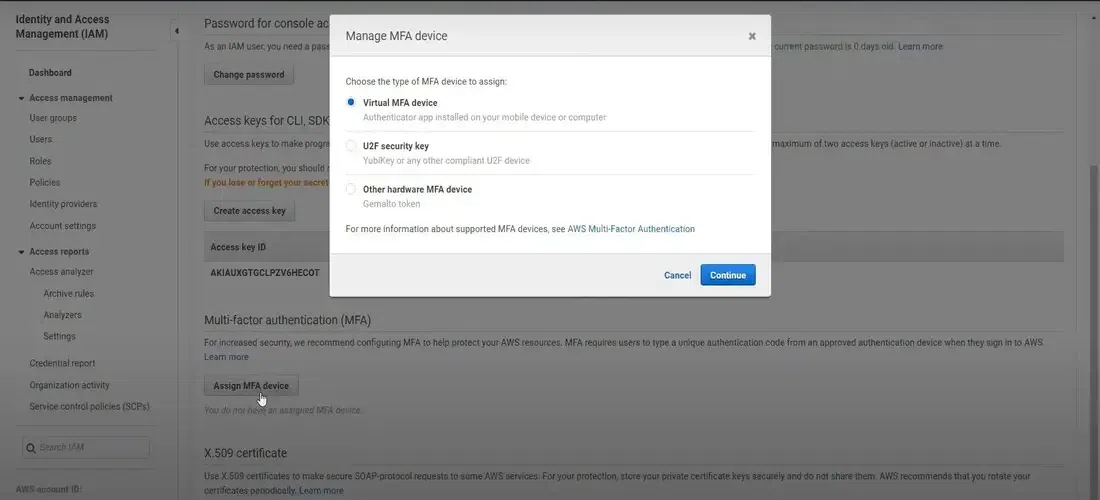 Manage MFA Device
Step 5: Set Up Virtual MFA Device (Using AWS Virtual MFA App)
Install an MFA App: If you choose a virtual MFA device, you will need an app like Google Authenticator, Authority, or the AWS Virtual MFA app on your smartphone.
Activate the Device: Open the MFA app and use it to scan the QR code provided by AWS. Alternatively, you can manually enter the secret key.
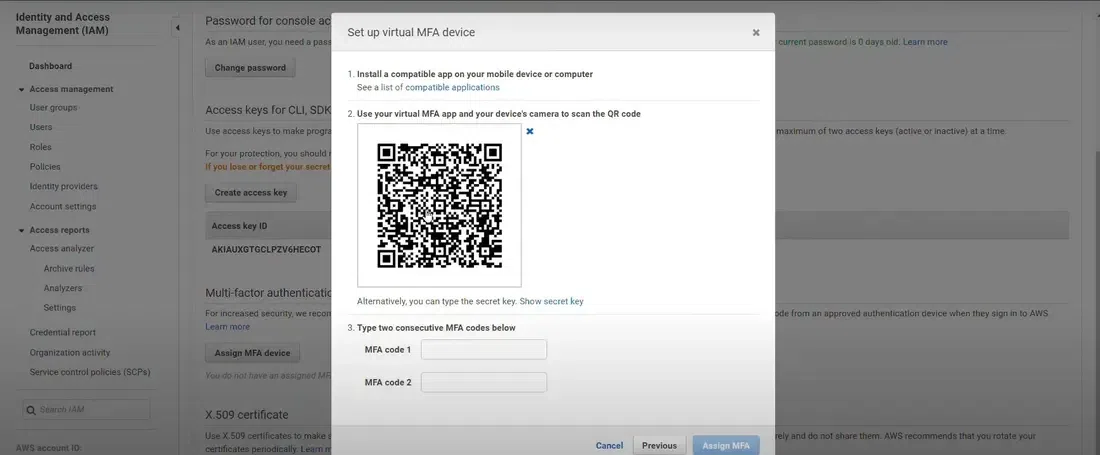 Scan QR
Validate: The MFA app will start generating 6-digit codes. Enter two consecutive codes into the AWS console to validate the device.
 Validate MFA codes
Finish: Once validated, the MFA is enabled for the user.
 Successfully assigned virtual MFA
Step 6: Confirm and Test
After successfully enabling MFA, ensure that it works by signing out and logging back in. You will be prompted to enter the MFA code in addition to your password. You will receive authentication code on your mobile device and after entering MFA code you will be logged in.
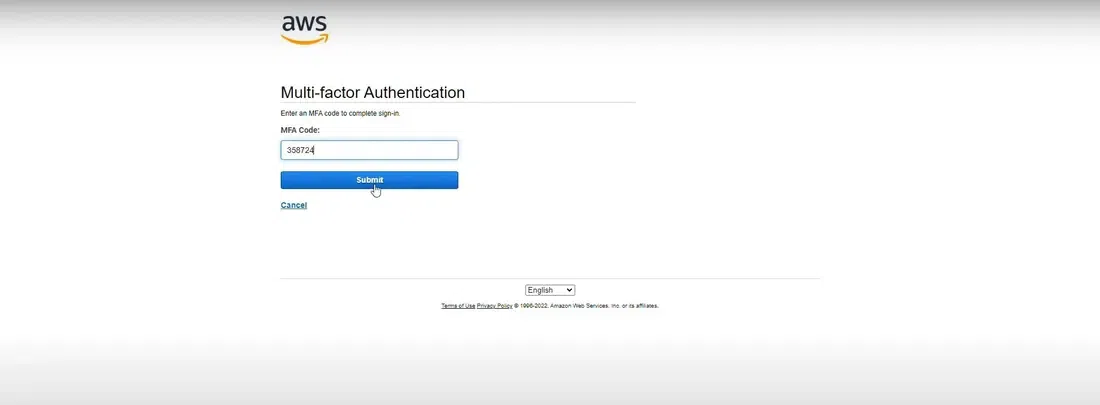 Testing MFA code
 Example For MFA in AWS
For instance, imagine a scenario where your root account credentials have been compromised. Without MFA enabled , the intruder could access your AWS resources, causing potential damage. However, with MFA enabled, they would also need access to your MFA device, providing a critical line of defense.
What if I Lose My MFA Device?
- For an IAM User: An administrator can sign in, navigate to that user's "Security credentials" tab, and deactivate the lost device. The user can then set up a new one.
- For the Root User: This is more difficult, as there is no higher authority. You will need to go through AWS's identity verification process to prove you own the account before you can regain access. This is why securing your root user credentials is so important.
Explore
DevOps Basics
Version Control
CI & CD
Containerization
Orchestration
Infrastructure as Code (IaC)
Monitoring and Logging
Security in DevOps
My Profile