Créer et utiliser des branches sur Git
- Utilisez la commande
git branchpour créer, afficher et supprimer des branches dans Git - Utilisez
git checkout -b <branch>pour créer une nouvelle branche avec les modifications actuelles dans Git
Ce tutoriel présente la branche Git. Nous verrons comment les branches Git peuvent vous aider à organiser votre projet.
Certaines des commandes que nous traiterons sont git branch et git checkout.
Utilisez la commande git branch pour créer, afficher et supprimer des branches dans Git
Nous utilisons la commande git branch pour créer, afficher et supprimer des branches.
Vous ne pouvez pas utiliser cette commande pour basculer entre différentes branches.
- La commande
git branchmontre toutes les branches de votre dépôt. - La commande
git branch <branch name>crée une nouvelle branche<branch name>dans notre dépôt. - Le
git branch -d <branch name>supprime la branche<branch name>. Fusionnez d’abord les changements avant d’exécuter cette commande. - La commande
git branch -D <branch name>supprime une branche sans exception. Utilisez cette commande lorsque vous êtes positif sur la décision. - La commande
git branch -m <branch name>renomme ou déplace des branches.
Créons une nouvelle branche appelée New_Branch.
pc@JOHN MINGW64 ~/Git (main) $ git branch New_Branch Vérifiez si la branche existe.
pc@JOHN MINGW64 ~/Git (main) $ git branch New_Branch * main Nous avons deux branches à partir de la sortie ci-dessus, New_Branch et main.
Essayons maintenant de supprimer la New_Branch.
pc@JOHN MINGW64 ~/Git (main) $ git branch -d New_Branch Deleted branch New_Branch (was 78129a6). Vous recevrez un message d’erreur lorsque vous avez des modifications non fusionnées. Utilisez git push origin --delete <branch name> pour supprimer une branche d’un dépôt distant.
Utilisez git checkout -b <branch> pour créer une nouvelle branche avec les modifications actuelles dans Git
La commande git checkout bascule entre les branches d’un projet.
Pour vérifier une branche existante dans votre dépôt, utilisez git checkout <branch>. Ci-dessous un exemple.
$ git branch Last_Branch New_Branch * main pc@JOHN MINGW64 ~/Git (main) $ git checkout New_Branch Switched to branch 'New_Branch' M .bash_history M text.txt.txt M text.txt.txt.bak Dans notre code ci-dessus, nous avons deux branches, New_Branch et Last_Branch. Nous utilisons git checkout New_Branch pour passer de notre branche main à la New_Branch.
Utilisez le git checkout -b <branch> pour passer à une nouvelle branche. Prenons un exemple.
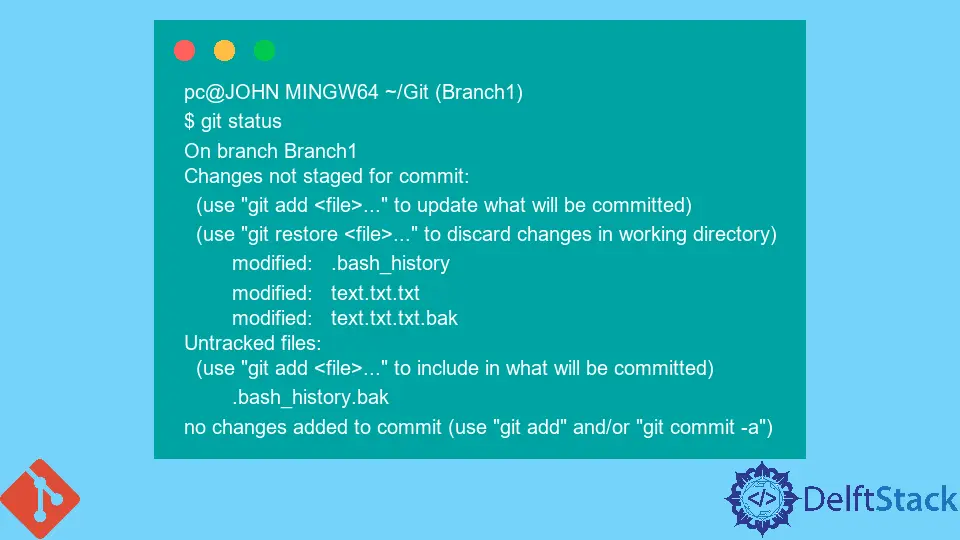
pc@JOHN MINGW64 ~/Git (New_Branch) $ git checkout -b Branch1 Switched to a new branch 'Branch1' Lorsque vous passez à une nouvelle branche, Git enregistre automatiquement les modifications de votre branche actuelle dans la nouvelle branche. Regarde ça.
pc@JOHN MINGW64 ~/Git (Branch1) $ git status On branch Branch1 Changes not staged for commit: (use "git add <file>..." to update what will be committed) (use "git restore <file>..." to discard changes in working directory) modified: .bash_history modified: text.txt.txt modified: text.txt.txt.bak Untracked files: (use "git add <file>..." to include in what will be committed) .bash_history.bak no changes added to commit (use "git add" and/or "git commit -a") La sortie ci-dessus prouve que Git a enregistré les modifications de la branche main vers Branch1.

John is a Git and PowerShell geek. He uses his expertise in the version control system to help businesses manage their source code. According to him, Shell scripting is the number one choice for automating the management of systems.
LinkedIn