Deploying an application in Alibaba Cloud Container Service for Kubernetes (ACK) can be complex because you must configure multiple resources, such as workloads, services, Ingresses, and ConfigMaps. Helm simplifies application management by allowing you to deploy and update these resources on a per-application basis. ACK integrates Helm into the console and provides charts for common third-party applications, such as WordPress, Dify, and ComfyUI. This topic describes how to deploy applications in an ACK cluster using Helm.
Introduction to Helm
Helm is an open-source tool for managing applications in Kubernetes clusters. It provides a unified application packaging method and supports versioning, which reduces the complexity of application distribution and deployment. The following table describes the basic concepts of Helm. For more information, see the official documentation.
Helm concepts | Description |
Chart | A packaging format used by Helm. Each chart contains the images, dependencies, and resource definitions that are required to run an application. A chart may contain service definitions used in a Kubernetes cluster. A Helm chart is similar to a Homebrew formula, an Advanced Package Tool (APT) dpkg, or a Yum rpm. |
Release | An instance of a chart that runs in a Kubernetes cluster. A chart can be installed multiple times in a Kubernetes cluster. After a chart is installed, a new release is created. For example, if you want to use a MySQL chart to run two databases on a server, you can install the chart twice and generate a release and a release name each time you install the chart. |
Helm CLI | The client of Helm, which is locally runs. Helm CLI can be used to deploy third-party charts in ACK clusters. |
Repository | A repository is used to store charts. Helm CLI can access the index file and packaged charts in a chart repository over HTTP. |
Prerequisites
An ACK cluster is created. For more information, see Create an ACK managed cluster.
Connect to the cluster using kubectl, and the Helm CLI is installed. For more information, see Obtain the kubeconfig file of a cluster and use kubectl to connect to the cluster and Installing Helm.
Deploy an application in the ACK console
ACK provides charts for some common applications. The following steps use WordPress as an example to show you how to install an application using Helm.
Log on to the ACK console. In the navigation pane on the left, click Clusters.
On the Clusters page, find the cluster you want and click its name. In the left-side pane, choose .
On the Helm page, click Deploy. In the Basic Information step, configure the parameters based on the following table.
Parameter
Description
Example
Application Name
The name of the release in the cluster.
wordpress
Namespace
The namespace in which the release is deployed.
default
Source
The source of the chart. You can select Marketplace or Container Registry (ACR) Enterprise Edition.
Marketplace
Chart
The chart used to install the application.
ack-wordpress-sample
Click Next in the lower-left corner of the panel and select the latest chart version. Confirm the chart content and click OK in the lower part of the panel.
After WordPress is installed, obtain the external IP address of the Service. The IP address is the value of
EXTERNAL-IP.kubectl get svc --namespace defaultThe following output is returned. The value of
EXTERNAL-IPis118.xx.xx.10.NAME TYPE CLUSTER-IP EXTERNAL-IP PORT(S) AGE wordpressabc-ack-wordpress-sample LoadBalancer 172.16.86.22 118.190.xx.xx 80:30837/TCP,443:32433/TCP 33m wordpressabc-mariadb ClusterIP 172.16.70.108 <none> 3306/TCP 33mRun the
kubectl get podcommand to find the name of the WordPress pod. Then, run the following command to obtain the username.kubectl get pod <wordpress-ack-wordpress-sample-name> -o=jsonpath='{.spec.containers[*].env[?(@.name=="WORDPRESS_USERNAME")].value}'Expected output:
userYou can obtain the access password.
kubectl get secret --namespace default wordpress-ack-wordpress-sample -o jsonpath="{.data.wordpress-password}" | base64 --decodeExpected output:
ps**jRx**VIn a browser, enter the
EXTERNAL-IPthat you obtained. Append/loginto the IP address to access the WordPress application. Then, enter the username and password to log on.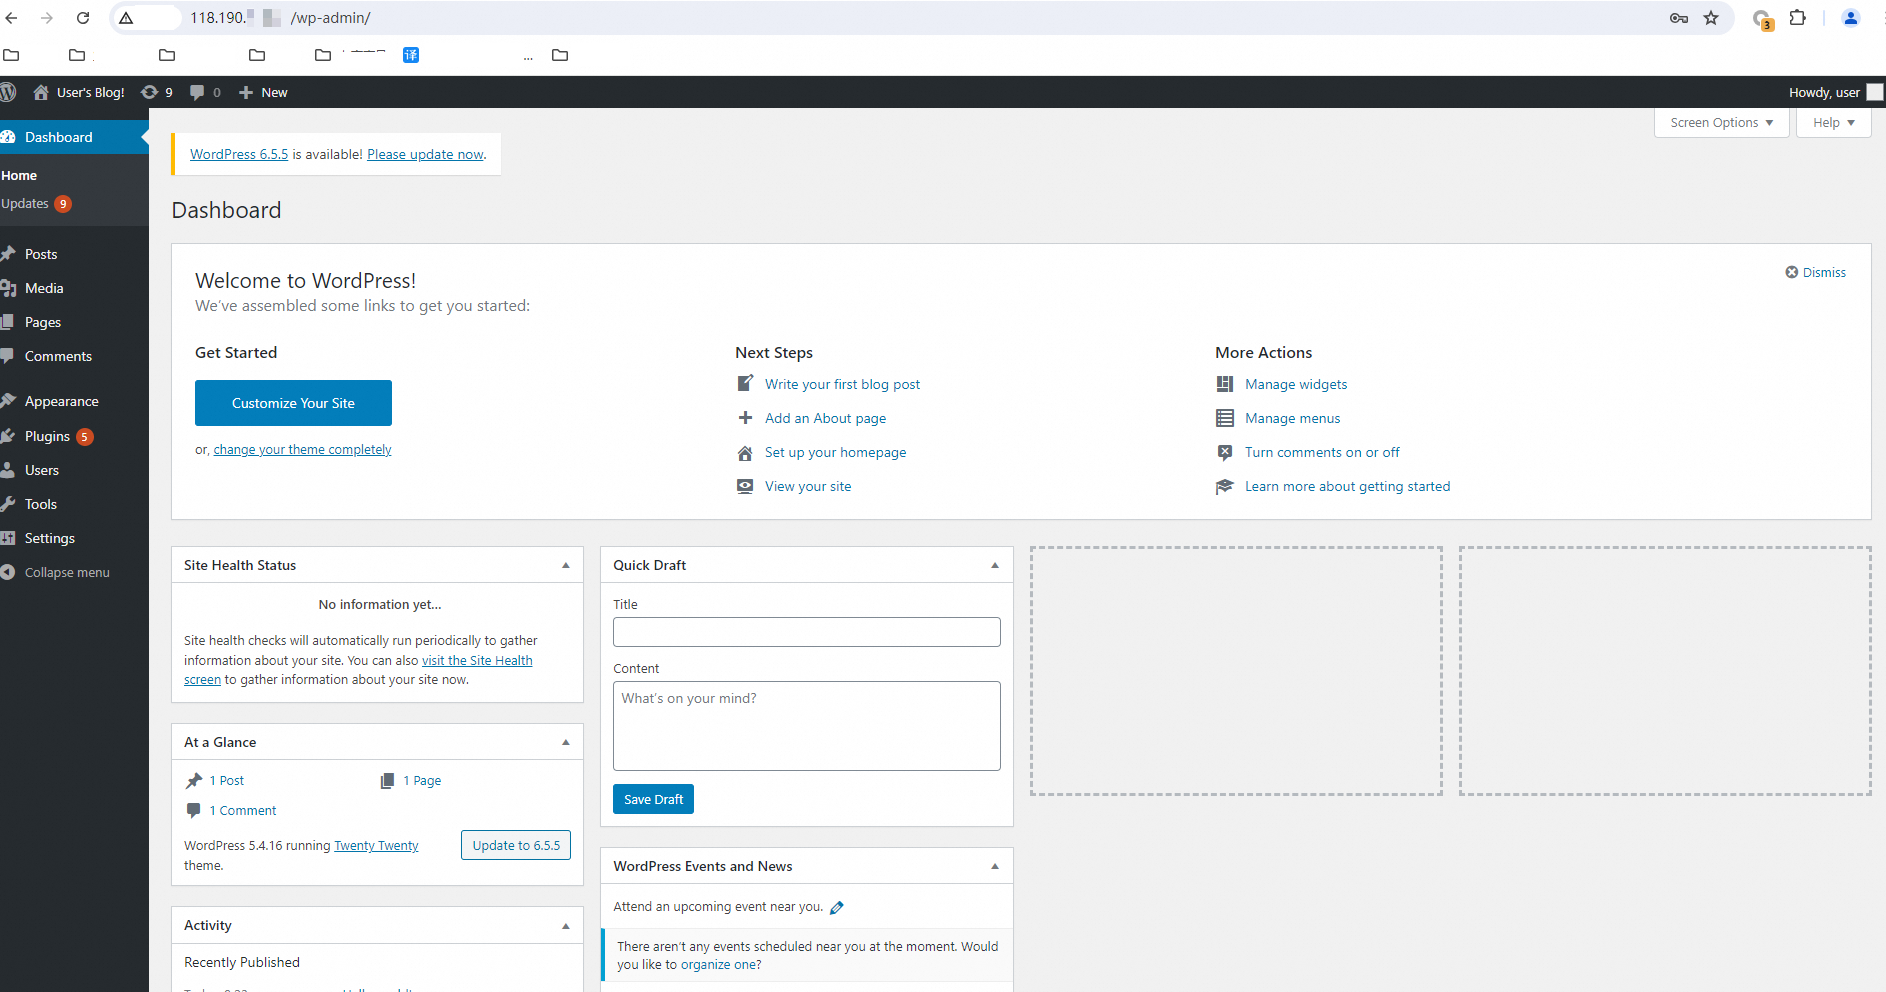
Manage the installed applications in the console
On the Helm page, you can manage installed releases:
Click Release Name or View Details to view information about the release, such as resources, YAML files, and history versions.
Click Update. In the Update Release panel, modify the parameters based on your requirements and click OK to update the release.
Click Delete. In the Delete dialog box, select Clear Release Records and click OK. After the release is deleted, the resources of the release are deleted, including the Services and Deployments.
ImportantIf you do not select Clear Release Records, the release remains in the release list. This may result in naming conflicts that cause subsequent application deployments to fail.
Use a third-party chart repository to deploy applications using the Helm CLI
If the charts provided by ACK do not meet your requirements, you can use the Helm CLI to deploy an application from a third-party repository:
helm repo add <REPO_NAME> <REPO_URL> # Add a chart repository. Replace REPO_NAME with the name of the chart repository. Replace REPO_URL with the address of the chart repository. helm repo update # Update repository information. helm install <APP_NAME> <REPO_NAME>/<CHART_NAME> # Install the application. Replace APP_NAME with the name of an application and CHART_NAME with the name of a chart.For more information about Helm commands, see Using Helm.
FAQ
Why can't I delete a Helm application?
Symptoms
When you delete a Helm application from the console, the application remains in the Uninstalling state for a long time.
When you delete the application using the Helm CLI, the following error is reported:
no matches for kind "***" in version "***" ensure CRDs are installed first
Cause
When you upgrade a cluster, some APIs of earlier Kubernetes versions are deprecated. If a resource in the Helm application uses a deprecated API, Helm fails to delete the resource because the deprecated API cannot be called. This causes the deletion to fail.
For a list of deprecated APIs for different Kubernetes versions, see Deprecated API Migration Guide.
Solution
You can use the helm-mapkubeapis plugin provided by Helm to fix this issue. Install the plugin and replace the deprecated APIs in the Helm release with supported APIs:
helm plugin install https://github.com/helm/helm-mapkubeapis helm mapkubeapis <RELEASE_NAME> -n <NAMESPACE> # Replace <RELEASE_NAME> and <NAMESPACE> with the name and namespace of your Helm application.After the APIs in the release are replaced, you can delete the application:
helm uninstall <RELEASE_NAME> -n <NAMESPACE>The following output indicates that the Helm application is successfully deleted.
release "***" uninstalledReferences
We recommend that you upgrade from Helm V2 to Helm V3 to avoid potential security risks from the Helm V2 Tiller server, such as attackers installing unauthorized applications in your cluster. Upgrading also lets you use more Helm features. For more information about the upgrade, see Migrate from Helm V2 to Helm V3.
To view the Helm version in your cluster, run the following command:
helm versionExpected output:
version.BuildInfo{Version:"***", GitCommit:"***", GitTreeState:"***", GoVersion:"go***"}Container Registry Enterprise Edition supports pushing and pulling Helm charts. For more information, see Push and pull Helm charts.