All Products
Search
Document Center

Container Service for Kubernetes:Create an ACK managed cluster (Auto Mode)

Last Updated:Aug 23, 2025

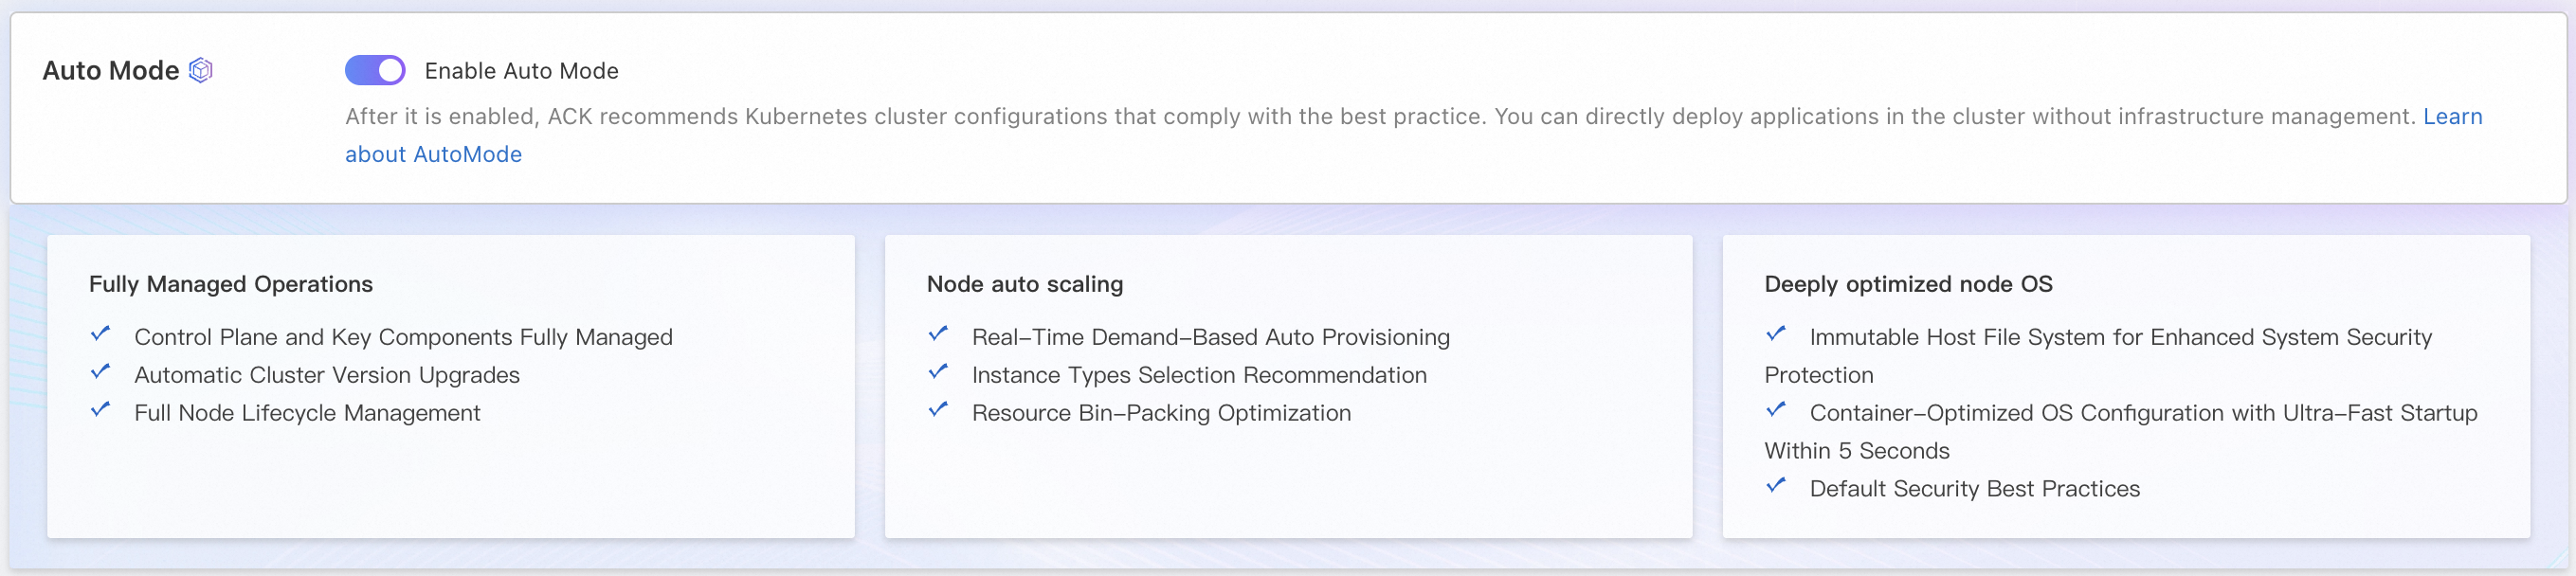
You can enable Auto Mode when you create an ACK managed cluster. This mode lets you create a best-practice Kubernetes cluster with a single click after completing simple planning and configuration. By default, the cluster creates an Auto Mode node pool, and ACK manages the lifecycle and O&M of the nodes in this pool.

Before you enable Auto Mode, see Introduction to Auto Mode to learn about its features and scenarios.

Preparations

Planning and design

Before you create a cluster, plan the cluster configurations based on your requirements. This helps ensure that the cluster runs in a stable, efficient, and secure manner.

  • Region: Services deployed in a region that is geographically closer to your users are more responsive when your users access the services.

  • Zone: We recommend that you configure multiple zones to ensure high availability of the cluster.

  • Plan the network of an ACK cluster: Configure the virtual private cloud (VPC) CIDR block, vSwitch CIDR block, container CIDR block, and Service CIDR block based on your business scenario and cluster size. Then, specify the IP address range of the cluster and the number of available IP addresses for pods and nodes.

  • Access to Internet: Specifies whether the nodes in the cluster can access the Internet. The cluster must have Internet when pulling public images.

Activation and authorization

Before you create a cluster, make sure that you have activated ACK, granted the required ACK service roles to your Alibaba Cloud account or RAM user, and activated related cloud products, such as VPC, Server Load Balancer (SLB), and NAT Gateway.

  • Activate ACK: If this is your first time using ACK, log on to the ACK activation page and follow the on-screen instructions to activate the service.

  • Grant permissions: Go to the RAM console for quick authorization page to grant the default service roles to your Alibaba Cloud account. This ensures that ACK can access the required cloud resources.

  • Activate related cloud products: Activate the cloud products that ACK clusters depend on, such as VPC and SLB.

    Note
    • The creation process involves purchasing pay-as-you-go resources, such as Classic Load Balancer (CLB). Make sure that your account has a sufficient balance to prevent service interruptions due to overdue payments.

    • Only Alibaba Cloud accounts can activate cloud products. To authorize a Resource Access Management (RAM) user to manage activated cloud products, see Use RAM to grant access permissions on clusters and cloud resources.

Procedure

  1. Log on to the ACK console. In the navigation pane on the left, click Clusters.

  2. In the navigation bar on the top, select the resource group and region where your target resource resides.

  3. On the Clusters page, click Create Cluster. On the ACK Managed Cluster page, turn on the Auto Mode switch.

    image

  4. For more information about the parameters, see Configuration description. Follow the on-screen instructions to configure the cluster. Carefully review the cluster configurations, read the terms of service, and then click Create Cluster.

    Auto Mode is available only for ACK Pro clusters. It incurs fees for cluster management and related cloud products. You can view the total cluster cost at the bottom of the creation page. You can also view the billing documentation for ACK and other products. For more information, see Billing overview and Cloud resource fees.

    You can also click Equivalent Code in the upper-right corner of the page to generate sample Terraform or software development kit (SDK) parameters that correspond to the current cluster configuration.
  • After the cluster is created, an Auto Mode node pool is automatically created. For more information, see Auto Mode node pools. This node pool dynamically scales in or out based on the workload. ACK manages the node lifecycle and is responsible for O&M tasks such as OS version upgrades, software version upgrades, and security vulnerability fixes.

  • After the cluster is created, ACK installs components based on your configurations. These components may consume computing resources in the cluster. The Auto Mode node pool automatically scales out to provide the required nodes.

Configuration description

You can create a cluster with the default configurations or adjust them based on your requirements and available resources. In the Modifiable column of the following tables, 错 indicates that the configuration cannot be modified after the cluster is created, and 对 indicates that it can be modified. Pay close attention to the items that cannot be modified.

Basic configurations

Configuration item

Description

Modifiable

Cluster Name

The custom name of the cluster.

Region

The region of the cluster. The closer the selected region is to the user and the deployed resources, the lower the network latency and the faster the access speed.

Cluster Maintenance Window

ACK automatically updates the cluster and performs automated O&M operations on managed node pools within the maintenance window. The operations include runtime updates and automatic fixes for CVE vulnerabilities. You can click Set to configure the detailed maintenance policies.

Network configurations

Configuration item

Description

Modifiable

IPv6 Dual-stack

If you enable IPv4/IPv6 dual-stack, a dual-stack cluster is created.

Important
  • Only clusters that run Kubernetes 1.22 and later support this feature.

  • IPv4 addresses are used for communication between worker nodes and the control plane.

  • You must select Terway as the network plug-in.

  • If you use the shared elastic network interface (ENI) mode of Terway, the ECS instance type must support IPv6 addresses. To add ECS instances of the specified type to the cluster, the number of IPv4 addresses supported by the ECS instance type must be the same as the number of IPv6 addresses. For more information about ECS instance types, see Overview of instance families.

  • The VPC used by the cluster must support IPv4/IPv6 dual-stack.

  • You must disable IPv4/IPv6 dual stack if you want to use Elastic Remote Direct Memory Access (eRDMA) in an cluster.

VPC

Configure the VPC of the cluster. You can specify a zone to automatically create a VPC. You can also select an existing VPC in the VPC list.

Configure SNAT for VPC

Do not select this option if you use a shared VPC for the cluster.

After you select this check box, ACK performs the following operations on the newly created or selected VPC:

  • If the VPC does not have a NAT gateway, a NAT gateway will be automatically created and switch-level SNAT rules will be configured for all switches used by the cluster.

  • If the VPC already has a NAT gateway:

    • If there are no VPC-level SNAT rules, switch-level SNAT rules will be configured automatically for all switches used by the cluster.

    • If VPC-level SNAT rules already exist, no action will be taken.

If you do not select this check box, you can manually configure a NAT gateway and configure SNAT rules after creating the cluster to ensure that instances in the VPC can access the Internet. For more information, see Create and manage an Internet NAT gateway.

Access to API Server

The API server provides various HTTP REST interfaces for managing resource objects (such as pods and Services), including create, read, update, delete, and watch operations.

  • By default, the system creates a pay-as-you-go internal-facing Classic Load Balancer (CLB) instance for the API server to serve as the internal endpoint of the API server in the cluster.

  • To use an existing CLB instance, you must first submit a ticket to request whitelist access. After configuring to use existing VPCs, you can use existing CLB instances as the load balancer source.

Specify whether to Expose API server with EIP:

  • If you select this check box, an elastic IP address (EIP) is associated with the internal-facing CLB instance used to expose the API server of the cluster. This way, you can access the API server of the cluster over the Internet.

  • If you clear this check box, no EIP is created. You can use a kubeconfig file to connect to the cluster only from within the VPC and then manage the cluster.

Important
  • If you delete the default CLB instance, you cannot access the API server.

  • After binding an EIP to a CLB instance, the API server can receive requests from the public network. However, resources within the cluster cannot access the public network. To allow resources within the cluster to access the public network to pull public images, select the Configure SNAT check box for the VPC.

  • Starting from December 1, 2024, an instance fee will be charged for newly created CLB instances. For more information, see CLB billing adjustments.

Network Plug-in

Flannel and Terway are supported. For more information about the comparison between Terway and Flannel, see Comparison between Terway and Flannel.

  • Flannel is an open source network plug-in provided by the community. Flannel uses the Virtual Private Cloud (VPC) of Alibaba Cloud in ACK. Packets are forwarded based on the VPC route table. Flannel is suitable for scenarios that require smaller nodes, simplified network configuration, and no requirements for custom control over the container network.

  • Terway is a network plug-in developed by Alibaba Cloud. The plug-in builds networks based on elastic network interfaces (ENIs). Terway supports the use of extended Berkeley Packet Filter (eBPF) to accelerate network traffic. Terway also supports network policies and pod-level switches and security groups. Terway is suitable for scenarios such as high-performance computing, gaming, and microservices that require large nodes, and high network performance and security.

    Note
    • If you select Terway, a secondary IP address of the ENI is assigned to each pod. An ENI can allocate multiple IP addresses (depending on the instance specifications). The number of pods that can be deployed on a node depends on the number of ENIs that are attached to the node and the maximum number of secondary IP addresses that are provided by these ENIs.

    • If you select a shared VPC for a cluster, you must select Terway as the network plug-in.

    • If you select Flannel, ALB Ingress only supports forwarding requests to NodePort and LoadBalancer Services, and does not support ClusterIP Services.

    When you set the Network Plug-in parameter to Terway, you can configure the following parameters:

    • DataPathV2

      You can enable the DataPath V2 acceleration mode only when you create a cluster. After you enable the DataPath V2 acceleration mode for Terway in inclusive ENI mode, Terway adopts a different traffic forwarding path to accelerate network communication. For more information, see Network acceleration.

      Note
      • When enabled, the container with Terway policies is expected to consume an additional 0.5 cores and 512 MB of resources on each worker node, and this consumption will increase as the cluster size grows. In the default configuration of Terway, the CPU limit for the container is set to 1 core, and no restrictions are specified on memory.

      • In DataPath V2 mode, container network connection tracking (conntrack) data is stored in eBPF maps. Similar to Linux's native conntrack mechanism, eBPF conntrack implements Least Recently Used (LRU) eviction. When map capacity is reached, the oldest connections are automatically evicted to store new ones. Configure parameters based on your workload scale to prevent exceeding connection limits. For details, see Optimize conntrack configurations in Terway.

    • Support for NetworkPolicy

      If you select this check box, Kubernetes-native NetworkPolicies are supported.

      The feature of managing NetworkPolicies by using the console is in public preview. If you want to use the feature, log on to the Quota Center console and submit an application.

    • Support for ENI Trunking

      The Terway Trunk ENI feature allows you to specify a static IP address, a separate vSwitch, and a separate security group for each pod. This allows you to manage and isolate user traffic, configure network policies, and manage IP addresses in a fine-grained manner. For more information, see Configure static IP addresses, separate vSwitches, and separate security groups for a pod.

      Note
      • You can select the Support for ENI Trunking option for an ACK managed cluster without the need to submit an application. If you want to enable the Trunk ENI feature in an ACK dedicated cluster, log on to the Quota Center console and submit an application.

      • By default, the Trunk ENI feature is enabled for newly created ACK managed clusters that run Kubernetes 1.31 or later versions.

Pod vSwitch

Configure this parameter only if you select Terway as the network plug-in.

The vSwitch that is used to assign IP addresses to pods. Each pod vSwitch corresponds to a vSwitch of a worker node. The vSwitch of the pod and the vSwitch of the worker node must be in the same zone.

Important

We recommend that you set the subnet mask of the CIDR block of a pod vSwitch to no longer than 19 bits, but the subnet mask must not exceed 25 bits. Otherwise, the cluster network has only a limited number of IP addresses that can be allocated to the pods. As a result, the cluster may not function as expected.

Container CIDR Block

Configure this parameter only if you select Flannel as the network plug-in.

The container CIDR block must not overlap with the CIDR block of the VPC, the CIDR blocks of the ACK clusters in the VPC, or the Service CIDR block. The container CIDR block cannot be modified after it is specified. For more information about how to plan CIDR blocks for a cluster, see Network planning of an ACK managed cluster.

Number of Pods per Node

Configure this parameter only if you select Flannel as the network plug-in.

The maximum number of pods that can be stored on a single node.

Service CIDR

Specify the CIDR block of Services in the cluster. The Service CIDR block must not overlap with the CIDR block of the VPC, the CIDR blocks of the ACK clusters in the VPC, or the pod CIDR block. The Service CIDR block cannot be modified after it is specified. For more information about how to plan CIDR blocks for a cluster, see Network planning of an ACK managed cluster.

Service Forwarding Mode

iptables and IP Virtual Server (IPVS) are supported.

  • iptables is a mature and stable kube-proxy mode. In this mode, service discovery and load balancing for Kubernetes Services are configured by using iptables rules. The performance of this mode depends on the size of the Kubernetes cluster. This mode is suitable for Kubernetes clusters that manage a small number of Services.

  • IPVS is a high-performance kube-proxy mode. In this mode, service discovery and load balancing for Kubernetes Services are configured by the IPVS module of Linux. This mode is suitable for clusters that manage a large number of Services. We recommend that you use this mode in scenarios where high-performance load balancing is required.

Advanced Options

The following settings are based on Kubernetes cluster best practices. You can use the default settings. To make adjustments, see the parameter descriptions and follow the on-screen instructions.

Configuration item

Description

Modifiable

Kubernetes Version

The supported Kubernetes versions. We recommend that you use the lastest version. For more information, see Kubernetes versions supported by ACK.

Supports manual cluster upgrades and automatic cluster upgrades

Auto Upgrade

Enable the auto update feature for the cluster to ensure periodic automatic updates of control plane components and node pools. ACK automatically updates the cluster within the maintenance window. For more information about the auto update policy and usage method, see Automatically update a cluster.

Security Group

When VPC is set to Select Existing VPC, you can select the Select Existing Security Group option.

You can select Create Basic Security Group, Create Advanced Security Group, or Select Existing Security Group.

  • By default, automatically created security groups allow all outbound traffic. When you modify the security group for business purposes, make sure that traffic destined for 100.64.0.0/10 is allowed. This CIDR block is used to access other Alibaba Cloud services to pull images and query basic ECS information.

  • If you select an existing security group, the system does not automatically configure security group rules. This may cause errors when you access the nodes in the cluster. You must manually configure security group rules. For more information, see Configure security groups for clusters.

Deletion Protection

We recommend that you enable deletion protection in the console or by using API to prevent clusters from being accidentally released.

Resource Group

The resource group to which the cluster belongs. Each resource can belong to only one resource group. You can regard a resource group as a project, an application, or an organization based on your business scenarios.

Labels

Add a label to the cluster. Labels are used to identify cloud resources. A label is a key-value pair.

Time Zone

The time zone of the cluster. By default, the time zone of your browser is selected.

Log Service

You can select an existing Simple Log Service (SLS) project or create a project to collect cluster logs. For more information about how to quickly configure SLS when you create an application, see Collect log data from containers by using Simple Log Service.

Alerts

Enable the alert management feature. You can specify contacts and contact groups. The default is Default Contact Group.

What to do next

Deploy a workload and implement load balancing

References

Shared responsibility model

The Auto Mode of an ACK managed cluster provides automated and intelligent O&M features for Kubernetes clusters to reduce your O&M workload. However, you are still responsible for certain tasks in some scenarios.

Alibaba Cloud responsibilities

Customer responsibilities

Shared responsibilities

  • Deploy, maintain, and upgrade the cluster control plane.

  • Install, configure, and upgrade core cluster components.

  • Automatically scale, upgrade the OS, and upgrade software (including fixing CVE security vulnerabilities) for node pools.

  • Configure basic cluster information, such as network planning and VPC configurations.

  • Set up and manage cluster RAM permissions and RBAC.

  • Deploy, operate, and properly configure application workloads. Proper configuration includes the number of replicas, graceful shutdown policies such as PreStop, and PodDisruptionBudget policies. This ensures that nodes can be drained for O&M without business interruptions.

  • Promptly receive monitoring alerts for the cluster and applications, and respond to the alert information.

  • Ensure overall cluster security. The security of the cluster is subject to the shared responsibility model. For more information, see Shared responsibility model.

  • Troubleshoot and resolve issues.

Quotas and limits

If the cluster size is large or the account has a large number of resources, follow the quotas and limits specified for ACK clusters. For more information, see Quotas and limits.

  • Limits: ACK configuration limits, such as account balance and capacity limit of a cluster, which is the maximum capacity of different Kubernetes resources in a cluster.

  • Quota limits and how to increase quotas: Quota limits for ACK clusters and the quota limits of cloud services that ACK depends on, such as ECS or VPC. If you want to increase the quota, see the related topics.