
Running Supabase on Top of StackGres
Supabase With StackGres
Supabase is all about providing a flexible, scalable, and reliable backend platform for your product. Besides using the hosted platform, you probably know that you can also self-host Supabase. Doing so provides the maximum flexibility. But as always, with great power comes great responsibility, and you do want to make sure that the underlying databases are reliable and managed in a production-grade way, to keep your users' data available and safe. So, you do want to manage your PostgreSQL instances well, especially in containerized environments such as Kubernetes.
One of the best ways to manage and deploy PostgreSQL instances in a Kubernetes environment is to use the StackGres operator. StackGres provides all features and management options required for running PostgreSQL in production, and on top of that it ships with sensible default options. Think of StackGres as the Kubernetes version of your friendly DBA – just with a Kubernetes API, much faster response time, and fewer coffee breaks 🙂
This blog post will show you how to self-host Supabase in your Kubernetes cluster, using StackGres as PostgreSQL operator.
The Setup
In this post, we assume that you already have a Kubernetes cluster available, configured for your kubectl, and that you have a Unix-style shell with helm, git, npm, and npx (for the getting-started web app) installed.
We will install StackGres into your cluster, create a StackGres PostgreSQL cluster, install Supabase with our database configured, and create an example Hello World web app to test the whole setup.
You can find the example resources in the apps-on-stackgres GitHub repository.
Installing StackGres
One of the easiest ways to install StackGres is to use the official Helm chart. You can find exhaustive versions of installation guides in the official docs.
For our setup, we execute the following Helm commands:
helm repo add stackgres-charts https://stackgres.io/downloads/stackgres-k8s/stackgres/helm/ helm install --create-namespace --namespace stackgres stackgres-operator stackgres-charts/stackgres-operator For more configuration options, such as configuring cluster monitoring, have a look at the official docs.
In order to wait for the setup and to verify that the operator is running, execute the following commands:
kubectl wait -n stackgres deployment -l group=stackgres.io --for=condition=Available kubectl get pods -n stackgres -l group=stackgres.io The first kubectl waits for the successful deployment, and the second should list the following running pods in your stackgres namespace:
NAME READY STATUS RESTARTS AGE stackgres-operator-78d57d4f55-pm8r2 1/1 Running 0 3m34s stackgres-restapi-6ffd694fd5-hcpgp 2/2 Running 0 3m30s Great, now we already managed the first step and installed StackGres. Let’s deploy a PostgreSQL cluster.
Creating a StackGres Cluster
Now we will create a StackGres cluster (Kubernetes custom resource name SGCluster) with a configuration that fits Supabase’s requirements.
The following files are taken from the apps-on-stackgres GitHub repository.
In order to define a StackGres cluster, we create the following resource of type SGCluster:
# file cluster.yaml apiVersion: stackgres.io/v1 kind: SGCluster metadata: name: supabase-db spec: instances: 2 pods: persistentVolume: size: '5Gi' configurations: sgPoolingConfig: supabase-db postgres: version: '14' extensions: - name: pgsodium - name: pg_graphql - name: pg_stat_statements - name: pgcrypto - name: pgjwt - name: uuid-ossp managedSql: scripts: - sgScript: supabase-initdb --- You can copy this file from the GitHub repository. This creates a cluster named supabase-db with some additional configuration:
We’ll create a cluster with 2 instances, Postgres 14, and a few extensions that are required by Supabase. We’re also referencing a custom script and pooling config. The latter is required by how Supabase connects to our database – via PgBouncer.
We also create a file for the pooling config (type SGPoolingConfig):
# file poolconfig.yaml apiVersion: stackgres.io/v1 kind: SGPoolingConfig metadata: name: supabase-db spec: pgBouncer: pgbouncer.ini: pgbouncer: ignore_startup_parameters: extra_float_digits,search_path --- And we create another file for the custom init script (type SGScript). This definition is a bit more complex and it includes the initialization scripts that set up the Supabase schemas, as well as a small workaround that is required (as of StackGres 1.4.2) to not make the PgBouncer authenticator role collide with what Supabase will create:
# file script.yaml apiVersion: stackgres.io/v1 kind: SGScript metadata: name: supabase-initdb spec: scripts: - name: 00-reset-auth script: | drop role authenticator; - name: 01-initial-schema script: | -- Set up realtime create schema if not exists realtime; [...] - name: 02-auth-schema script: | CREATE SCHEMA IF NOT EXISTS auth AUTHORIZATION supabase_admin; [...] - name: 03-storage-schema script: | CREATE SCHEMA IF NOT EXISTS storage AUTHORIZATION supabase_admin; [...] - name: 04-post-setup script: | ALTER ROLE postgres SET search_path TO "\$user",public,extensions; [...] - name: 05-reset-auth script: | alter role authenticator INHERIT; alter role authenticator SUPERUSER; --- We omitted the full scripts for readability. You can find the full version here. The SQL scripts are based on the (unofficial) Supabase Helm chart.
In order to create the StackGres cluster, we need to create these three resources:
kubectl apply -f poolconfig.yaml kubectl apply -f script.yaml kubectl apply -f cluster.yaml We can then check the status of the running Postgres pods:
$ kubectl get pods NAME READY STATUS RESTARTS AGE supabase-db-0 6/6 Running 0 82s supabase-db-1 6/6 Running 0 36s And we can double-check the status of our cluster with the details:
kubectl describe sgcluster supabase-db Now we have a running PostgreSQL cluster, to which we could already connect from our applications.
You can also connect to the web-based admin UI and see your cluster there, as shown in the documentation.
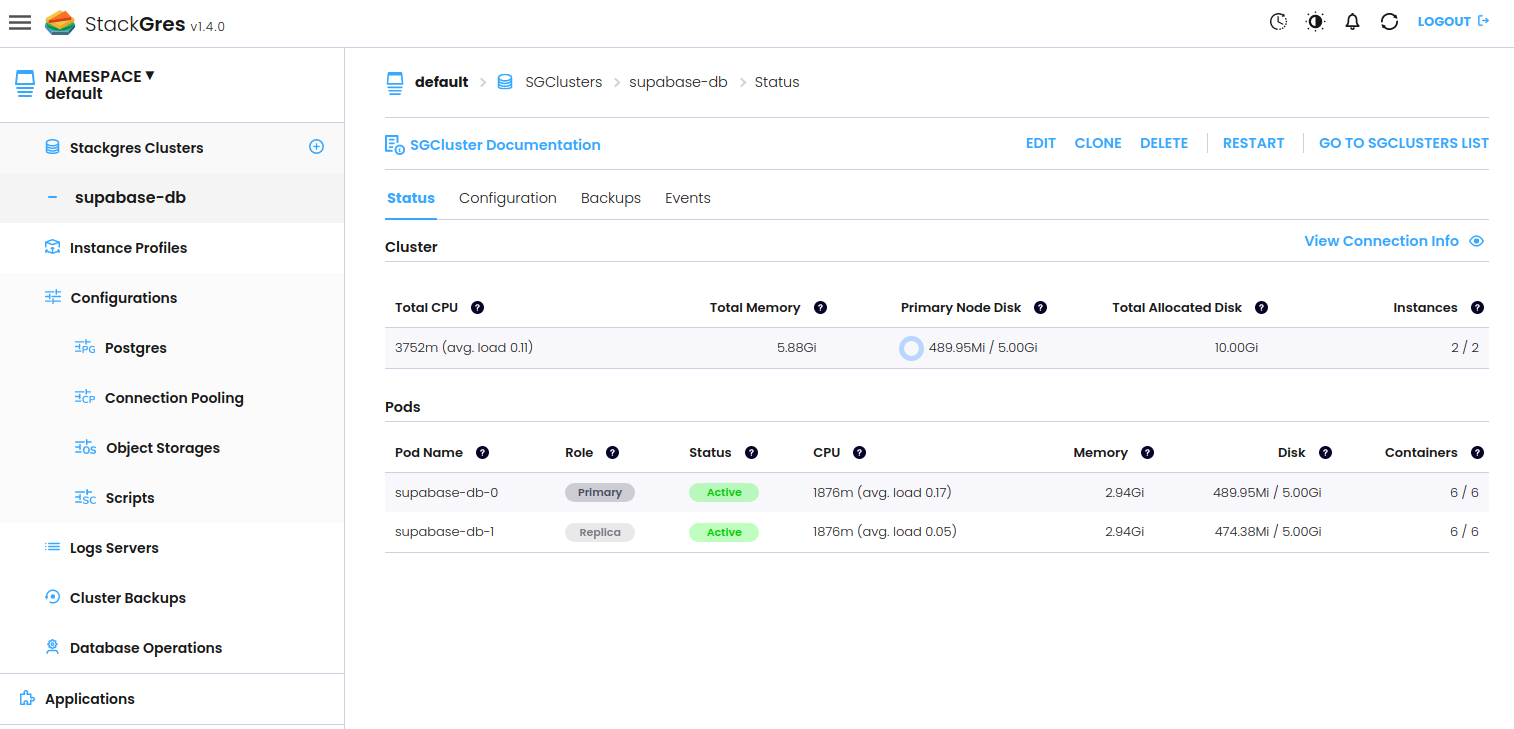
But for now, we continue with the installation of Supabase.
Installing Supabase
We use the unofficial Supabase Helm chart for creating the Kubernetes resources. We will need to make some small adjustments, so the easiest is to clone the repository and edit the provided values:
git clone https://github.com/supabase-community/supabase-kubernetes cd supabase-kubernetes/charts/supabase wget https://raw.githubusercontent.com/ongres/apps-on-stackgres/main/examples/supabase/values.stackgres.yaml -O values.stackgres.yaml We edit the contents of our values.stackgres.yaml, to disable the database creation (since we use our own), to change the db host names, and URLs of the Supabase API and Studio. For a first test, it’s sufficient to use a local port forwarding, so our example uses localhost addresses instead of Kubernetes ingress resources. You need to change this depending on your Kubernetes cluster and cloud setup, for example using Kubernetes ingresses with your correct host name, or exposing the demo-supabase-kong and demo-supabase-studio service in any other way.
You can find the full contents of our example values.stackgres.yaml here.
Before we can install the Supabase Helm chart, we also need to set up some secrets with the Supabase auth keys, and also our StackGres cluster credentials.
For this, we first find out the superuser password of our created StackGres cluster:
kubectl get secret supabase-db --template '{{ printf "%s" (index .data "superuser-password" | base64decode) }}' This is the password to connect to PostgreSQL as the postgres superuser. We use this password along the default Supabase credentials to create the secrets:
# creates JWT secret kubectl -n default create secret generic demo-supabase-jwt \ --from-literal=anonKey='eyJhbGciOiJIUzI1NiIsInR5cCI6IkpXVCJ9.ewogICAgInJvbGUiOiAiYW5vbiIsCiAgICAiaXNzIjogInN1cGFiYXNlIiwKICAgICJpYXQiOiAxNjc1NDAwNDAwLAogICAgImV4cCI6IDE4MzMxNjY4MDAKfQ.ztuiBzjaVoFHmoljUXWmnuDN6QU2WgJICeqwyzyZO88' \ --from-literal=serviceKey='eyJhbGciOiJIUzI1NiIsInR5cCI6IkpXVCJ9.ewogICAgInJvbGUiOiAic2VydmljZV9yb2xlIiwKICAgICJpc3MiOiAic3VwYWJhc2UiLAogICAgImlhdCI6IDE2NzU0MDA0MDAsCiAgICAiZXhwIjogMTgzMzE2NjgwMAp9.qNsmXzz4tG7eqJPh1Y58DbtIlJBauwpqx39UF-MwM8k' \ --from-literal=secret='abcdefghijklmnopqrstuvwxyz123456' # creates SMTP secret kubectl -n default create secret generic demo-supabase-smtp \ --from-literal=username='your-mail@example.com' \ --from-literal=password='example123456' # creates DB secret kubectl -n default create secret generic demo-supabase-db \ --from-literal=username='postgres' \ --from-literal=password='<your-superuser-password>' Then, we can install the Supabase Helm chart:
helm install demo -f values.stackgres.yaml . After the resources have been created, we can watch the status of the Supabase pods:
$ kubectl get pods --watch NAME READY STATUS RESTARTS AGE demo-supabase-auth-6b8c448b6b-njsh6 1/1 Running 0 2m demo-supabase-kong-7c5bdfc9bf-cfb5q 1/1 Running 0 2m demo-supabase-meta-54d7b47b89-sdzcb 1/1 Running 0 2m demo-supabase-realtime-6c4dc64668-cxxfd 1/1 Running 0 2m demo-supabase-rest-794594bb5f-tz4bh 1/1 Running 0 2m demo-supabase-storage-6c766bb9cc-r8psb 1/1 Running 0 2m demo-supabase-studio-59c86bd59b-k4p5w 1/1 Running 0 2m supabase-db-0 6/6 Running 0 3m supabase-db-1 6/6 Running 0 2m The Supabase Helm chart makes use of Alpine-based Docker images, e.g.
postgres:15-alpine. On some systems, this led to problems caused by issues with DNS, that might lead to an error such asWaiting for database to start... supabase-db.default.svc.cluster.local:5432 - no response. If that happens to you, you’ll need to change the base images in the Supabase Helm chart.
In order to test the setup, we create a local port forwarding to the Supabase API and Studio:
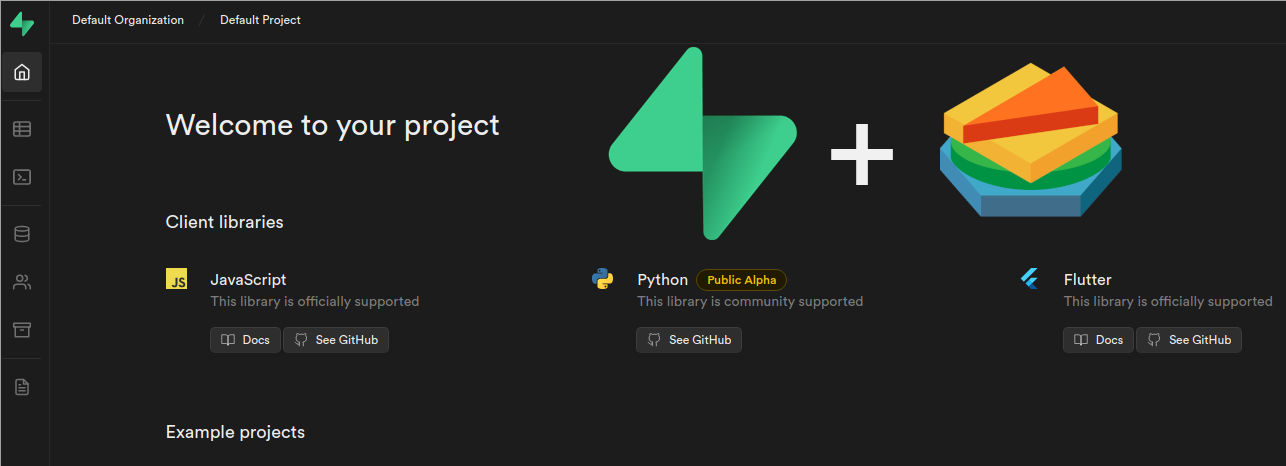
kubectl port-forward svc/demo-supabase-studio 3000 # in a new terminal window kubectl port-forward svc/demo-supabase-kong 8000 Navigating the browser to http://localhost:3000/project/default/ should now show you the default Supabase project.
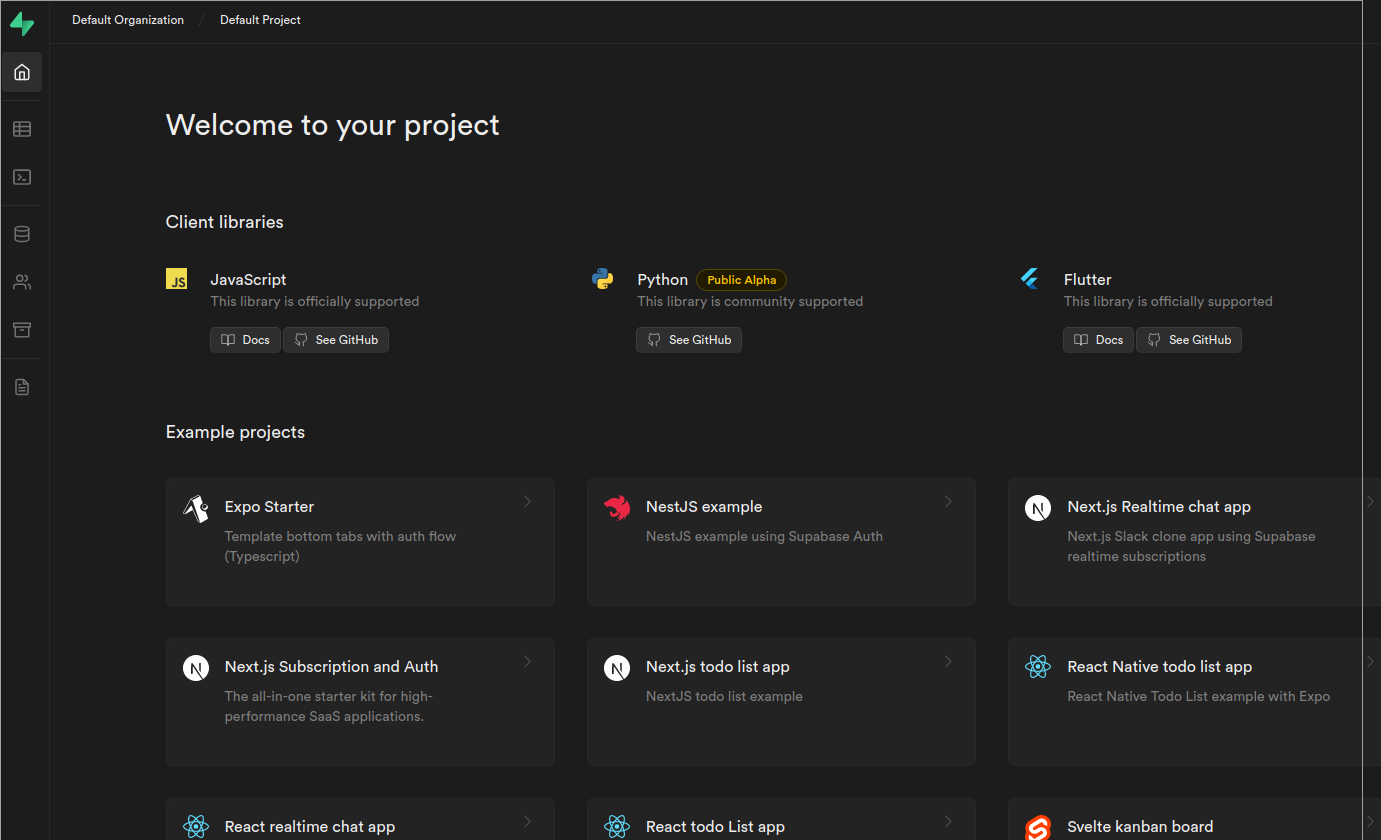
Congratulations! You’re now running Supabase on top of a production-ready Postgres cluster.
Creating a Supabase Hello World
For a quick test, we can use on of the Supabase quickstarts, for example the React quickstart.
We will go through this quickstart in the following.
At first, we can create a table in our Postgres database, that we now could access via any StackGres utility, or the Supabase SQL Editor. In the Supabase dashboard, you can select the default project and go to the SQL Editor
You can execute the following SQL to create a table countries with some data:
-- Create the table CREATE TABLE countries ( id SERIAL PRIMARY KEY, name VARCHAR(255) NOT NULL ); -- Insert some sample data into the table INSERT INTO countries (name) VALUES ('United States'); INSERT INTO countries (name) VALUES ('Canada'); INSERT INTO countries (name) VALUES ('Mexico'); 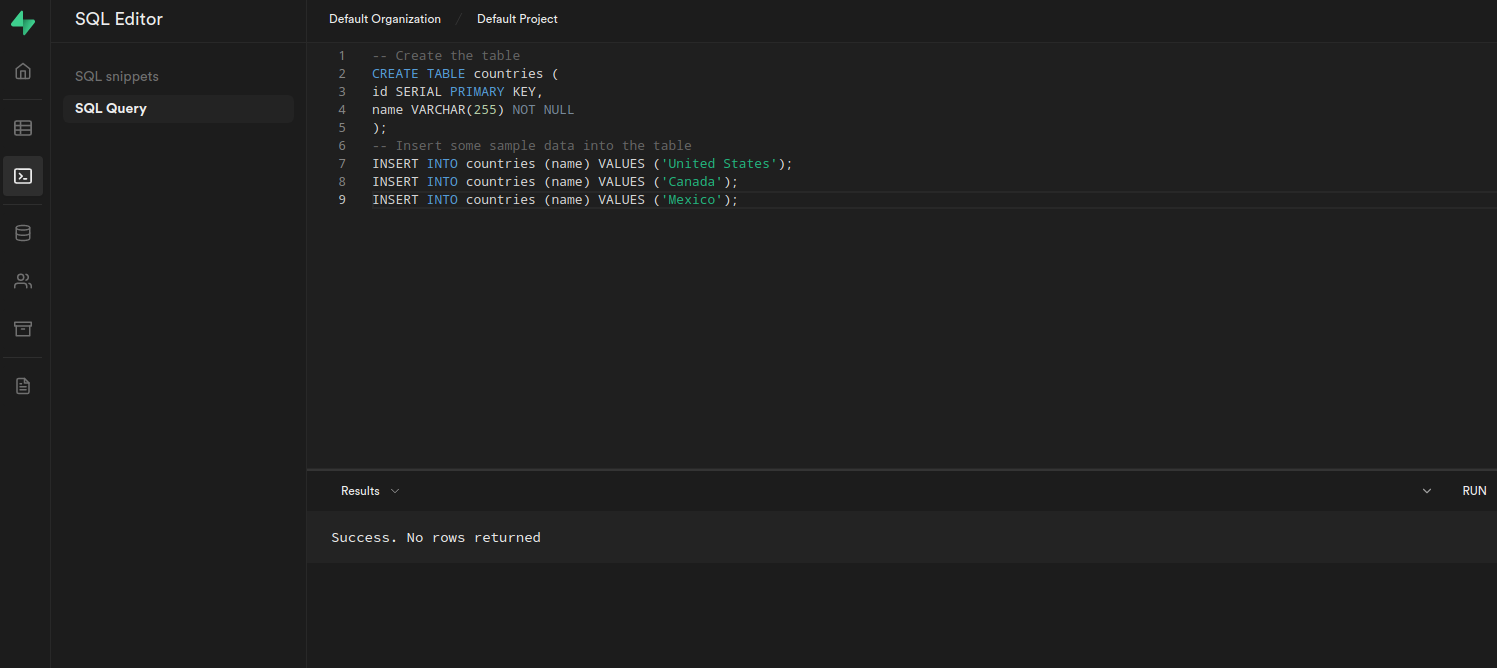
Then, you can create the React example using the npm and npx command line tools:
npx create-react-app my-app cd my-app && npm install @supabase/supabase-js This creates a new application under my-app and installs the supabase-js dependency.
You can change the JS file under src/index.js to the following JavaScript:
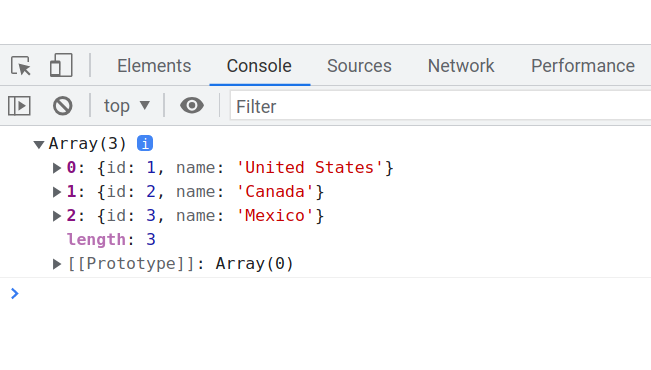
import { createClient } from '@supabase/supabase-js' // create client with API URL & public anon key const supabase = createClient('http://localhost:8000/', 'eyJhbGciOiJIUzI1NiIsInR5cCI6IkpXVCJ9.ewogICAgInJvbGUiOiAiYW5vbiIsCiAgICAiaXNzIjogInN1cGFiYXNlIiwKICAgICJpYXQiOiAxNjc1NDAwNDAwLAogICAgImV4cCI6IDE4MzMxNjY4MDAKfQ.ztuiBzjaVoFHmoljUXWmnuDN6QU2WgJICeqwyzyZO88') async function getCountries() { const countries = await supabase.from('countries').select() console.log(countries.data) } getCountries() As you can see, we’re using the Supabase URL that for now uses the locally-forwarded port, and the public anon key with which we’ve created the secret before.
You can start the app with npm start, which will choose a port that isn’t used locally – for us that will be 3001 – and which will make our app available under http://localhost:3001. If you open the browser’s console, you can see the output with the three countries.
You can also add some code to add a new country, for example by appending the following code to your index.js file:
async function addCountry(country) { await supabase.from('countries') .insert({'name':country}); } addCountry('Colombia'); getCountries() Saving the JS file will refresh the page and show the updated list of four countries.
To double-check, we can of course also log into our Postgres database and query all countries by using the StackGres utilities:
kubectl exec -ti "$(kubectl get pod --selector app=StackGresCluster,stackgres.io/cluster=true,role=master -o name)" -c postgres-util -- psql -c 'select * from countries' id | name ----+--------------- 1 | United States 2 | Canada 3 | Mexico 4 | Colombia (4 rows) Cleanup
To clean up the created Supabase resources and the StackGres cluster, we issue the following:
helm uninstall demo kubectl delete secret demo-supabase-db kubectl delete secret demo-supabase-jwt kubectl delete secret demo-supabase-smtp kubectl delete sgcluster supabase-db kubectl delete sgscript supabase-initdb kubectl delete sgpoolconfig supabase-db To also uninstall the StackGres operator, execute:
helm uninstall stackgres-operator