


This is an old post and some information might be obsolete. We have published new instructions. You can find them here:
OpenCV released OpenCV-3.4.4 and OpenCV-4.0.0 on 20th November. There have been a lot of bug fixes and other changes in these versions. The release highlights are as follows:
- OpenCV is now C++11 library and requires C++11-compliant compiler. Minimum required CMake version has been raised to 3.5.1.
- A lot of C API from OpenCV 1.x has been removed.
- Persistence (storing and loading structured data to/from XML, YAML or JSON) in the core module has been completely reimplemented in C++ and lost the C API as well.
- New module G-API has been added, it acts as an engine for very efficient graph-based image procesing pipelines.
- dnn module now includes experimental Vulkan backend and supports networks in ONNX format.
- The popular Kinect Fusion algorithm has been implemented and optimized for CPU and GPU (OpenCL)
QR code detector and decoder have been added to the objdetect module. - Very efficient and yet high-quality DIS dense optical flow algorithm has been moved from opencv_contrib to the video module.


In this post, we will provide an installation script to install OpenCV 3.4.4 (C++ and Python) on Windows.
We will be using command prompt throughout the process.
Before we jump into the technical stuff, let’s make sure we have all the right tools available.
Step 0.1: Install Visual Studio
Download and install Visual Studio 2017 community edition from https://visualstudio.microsoft.com/downloads/. Run the installer and click on Continue.
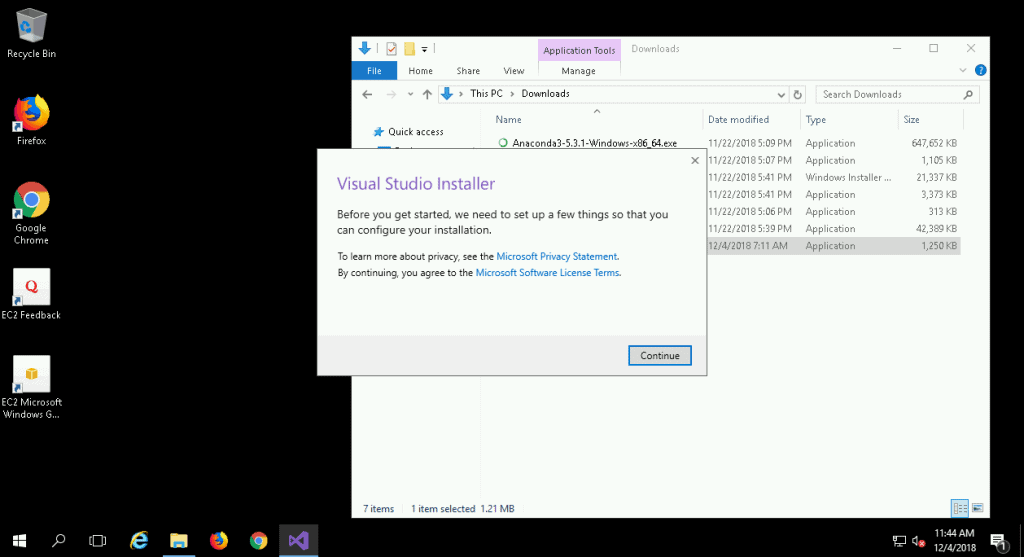
Once the download is complete, the installer state would look like the following.

Next, we select the packages. We will select Desktop development with C++.
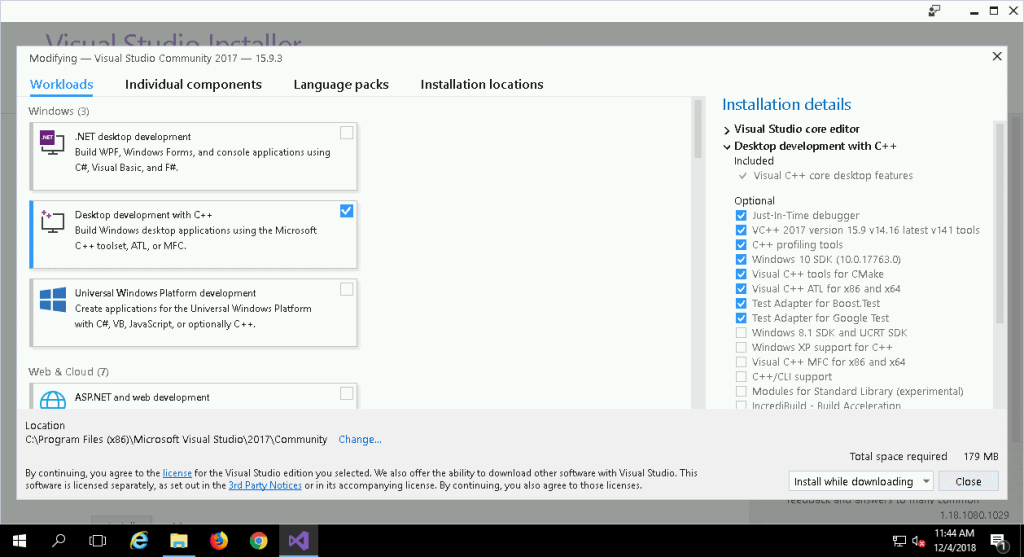
Finally, click on Install while downloading and wait while Visual Studio is installed.
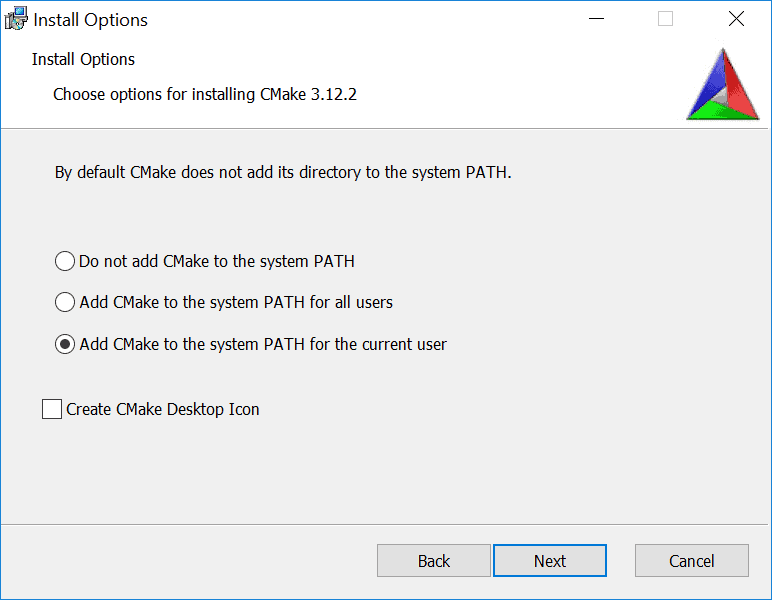
Step 0.2: Install CMake
Please note that the version mentioned in the screenshots might be different from the latest versions available on the website. Please download the latest versions and treat the screenshots as reference.
Download and install CMake v3.12.3 from https://cmake.org/download/.

During installation select “Add CMake to system PATH“
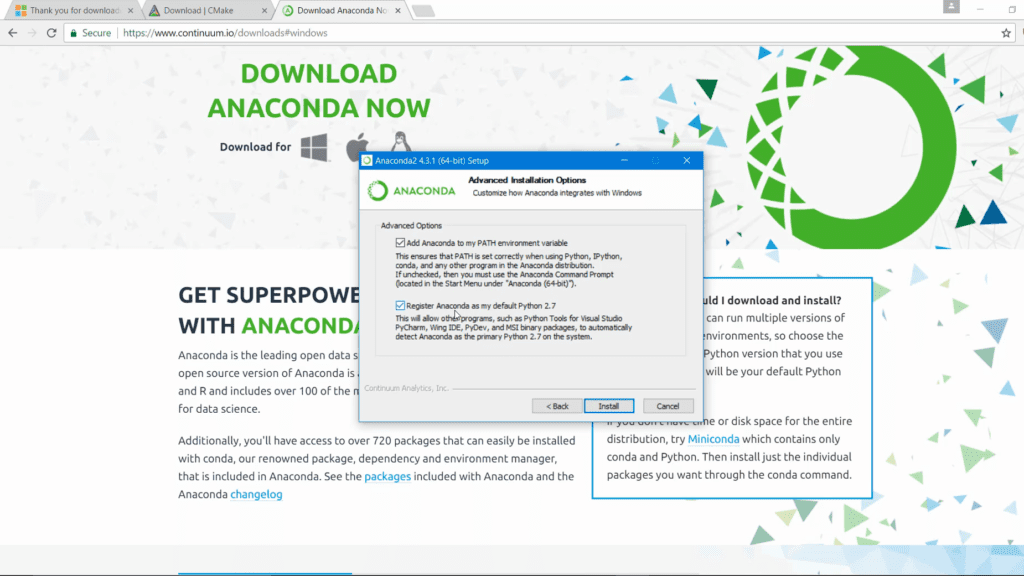
Step 0.3: Install Anaconda (a python distribution)
Download and install Anaconda 64-bit version from https://www.anaconda.com/products/individual#Downloads.
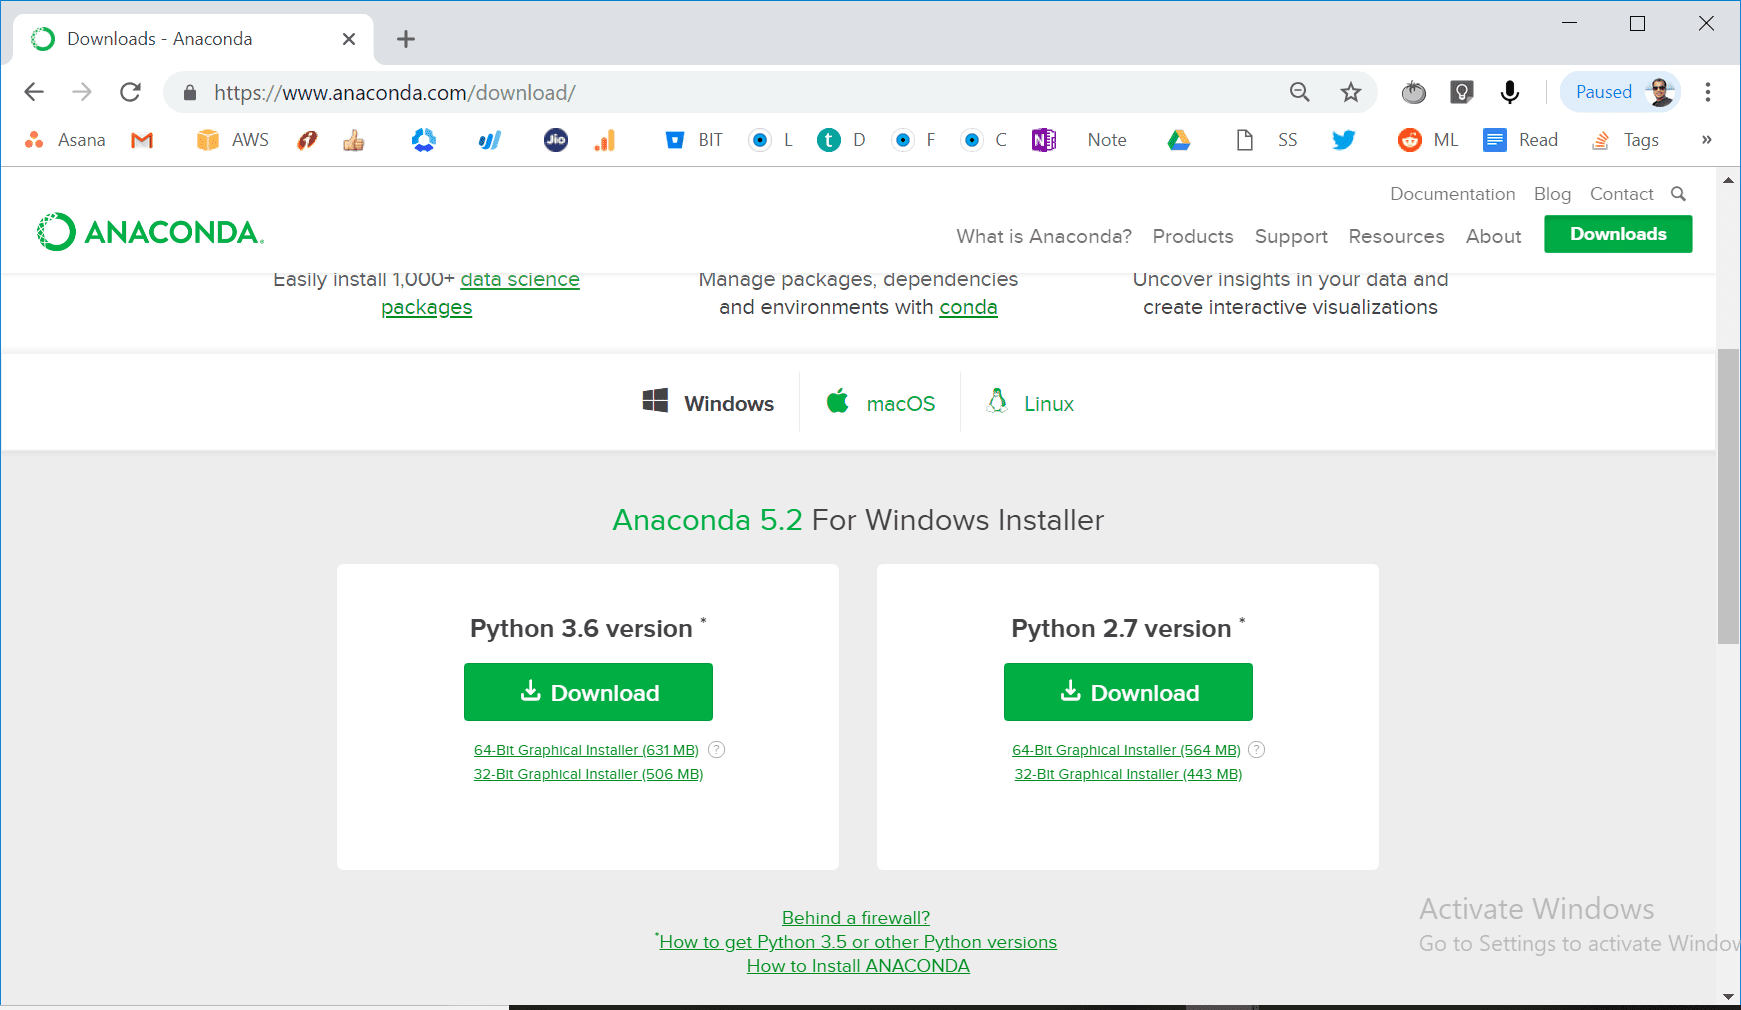
While installing Anaconda make sure that you check both options:
- Add Anaconda to my PATH environment variable
- Register Anaconda as my default Python
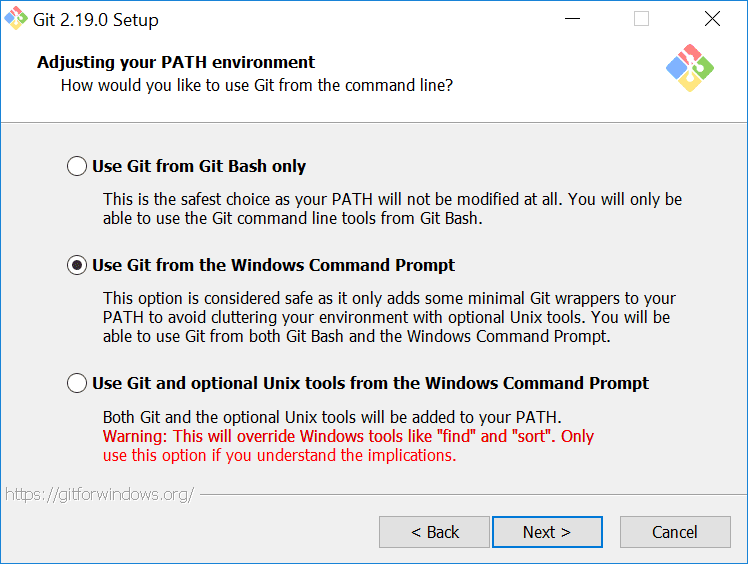
Step 0.4: Install Git for Windows
Finally, we are going to install Git 64 bit for Windows from https://github.com/git-for-windows/git/releases/download/v2.19.0.windows.1/Git-2.19.0-64-bit.exe. Choose “Use Git from the Windows Command Prompt“.
Restart your system at this point before moving on with further steps.
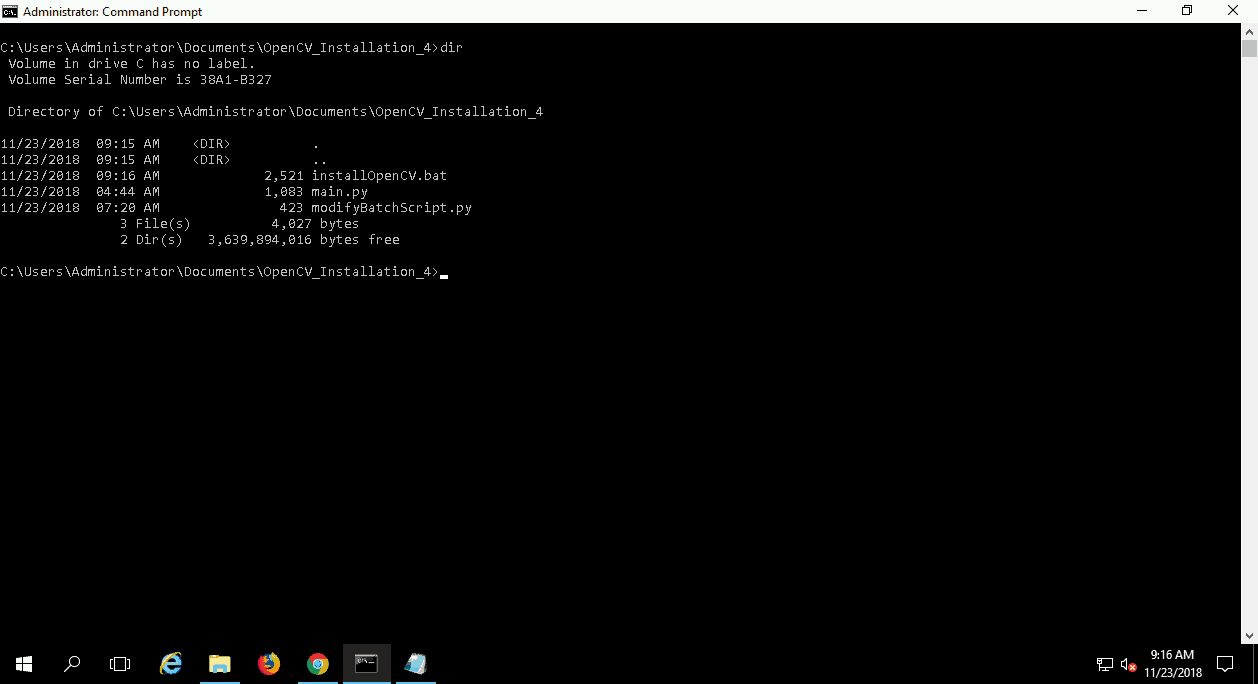
Download all the installation scripts provided in the Downloads section and put them in the same directory.

Step 1: Install OpenCV
Now it’s time to run that command line magic :).
Open Windows PowerShell/ Command Prompt and go to the windows folder.
Type python main.py and press Enter.
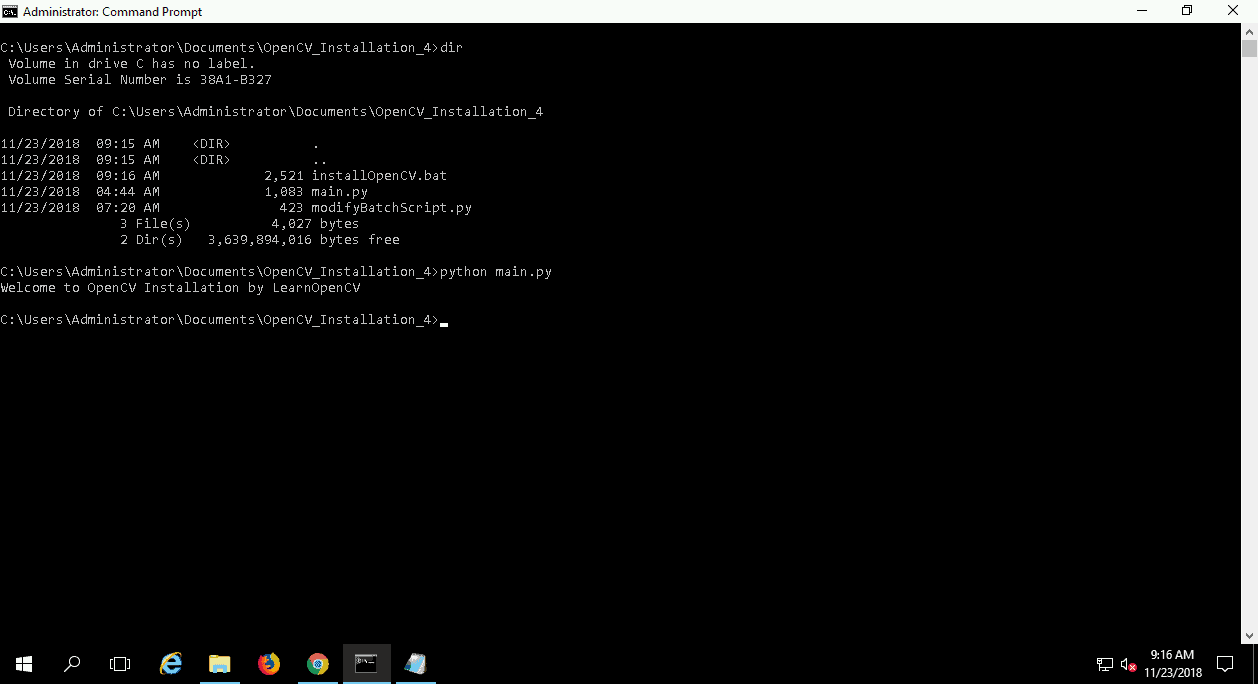
The script will create a new batch script: installOpenCV_modified.bat.
First, make sure that runScript.bat file is NOT present in the directory. Run del runScript.bat from command prompt to remove the file if it’s present.
Next, type installOpenCV_modified.bat and press Enter.

After completion you will get something similar to this.

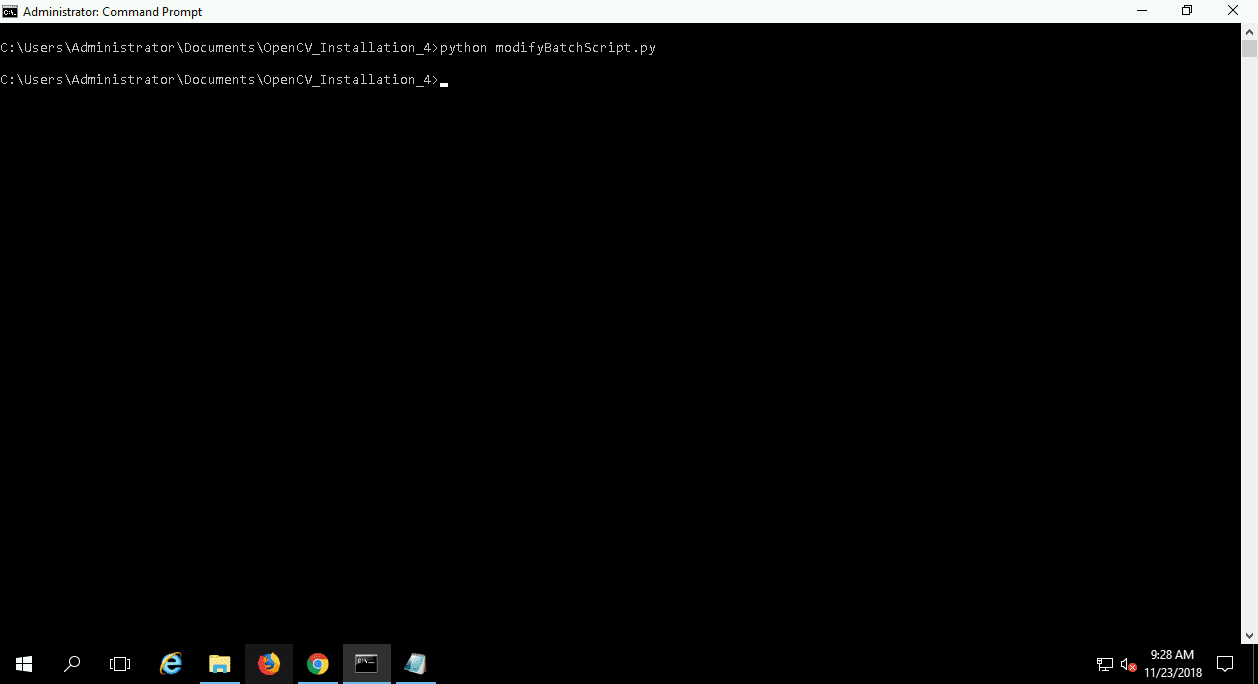
This will create a new batch script runScript.bat which will have all the necessary paths and instructions defined. But, these paths are in Windows format and CMake takes the paths in Unix format.
So, we run, python modifyBatchScript.py to modify the path format.
Finally, type finalScript.bat and press Enter.
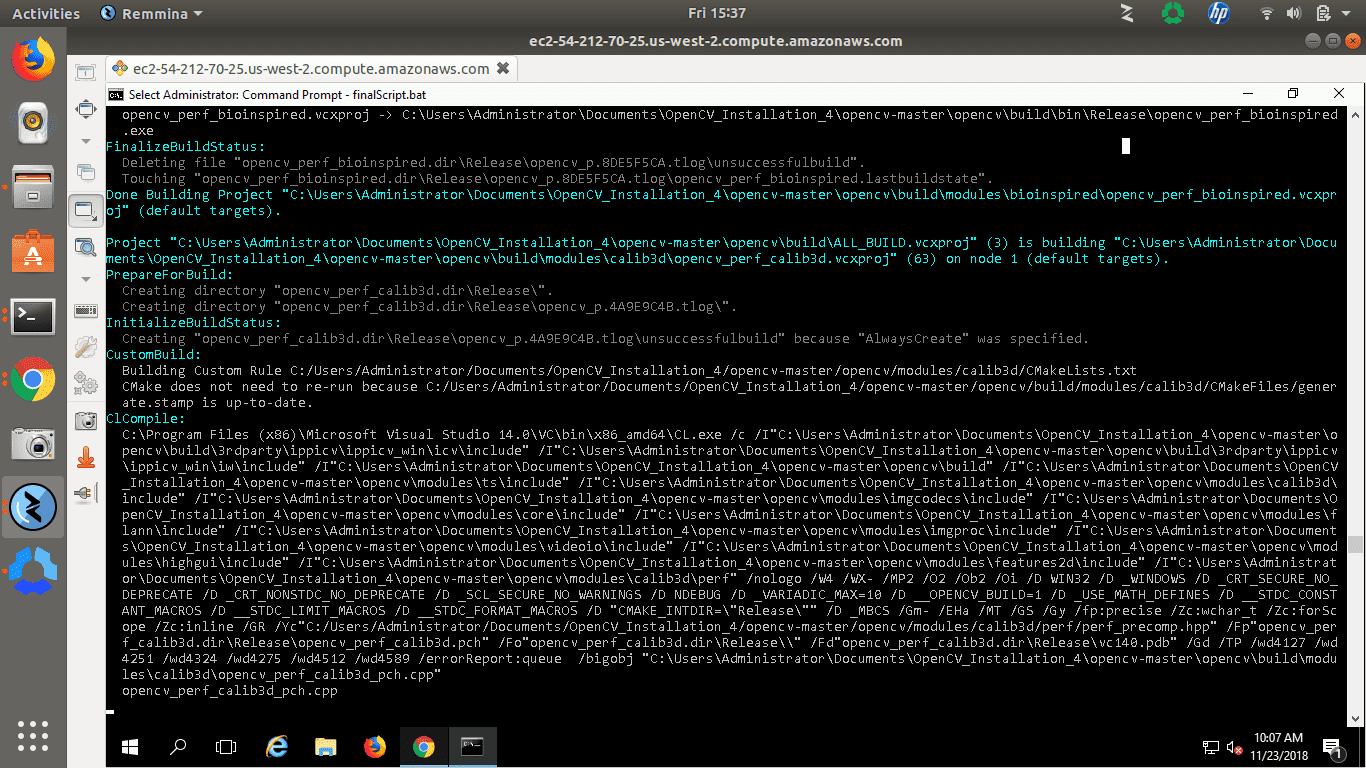
This step will take some time to build opencv. After completion you will get something similar to this.

This will install the version of OpenCV you selected initially.
Step 2: Update user environment variable – OPENCV_DIR
Press Start, type Environment variables and click on Edit the system environment variables.
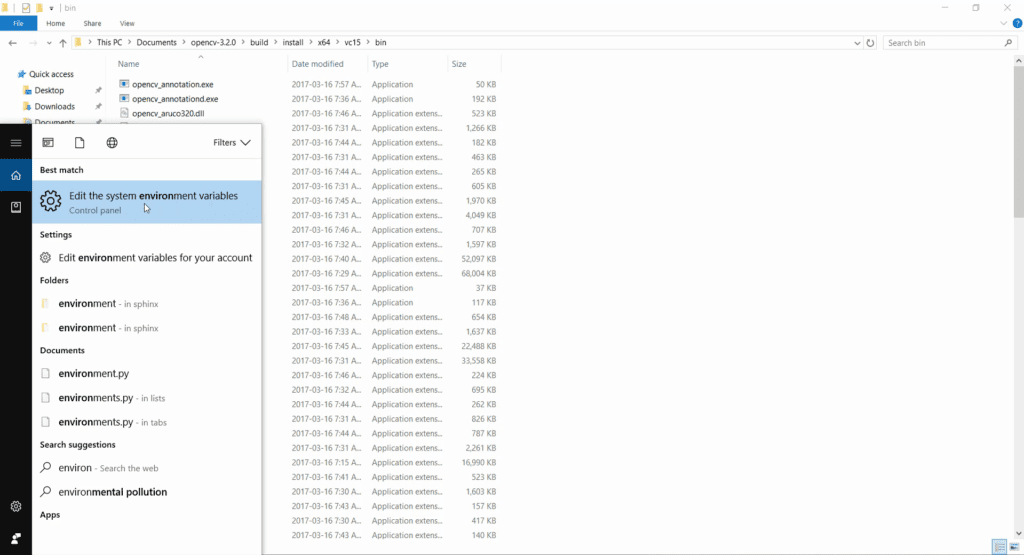
In the popup window, click on Environment Variables.
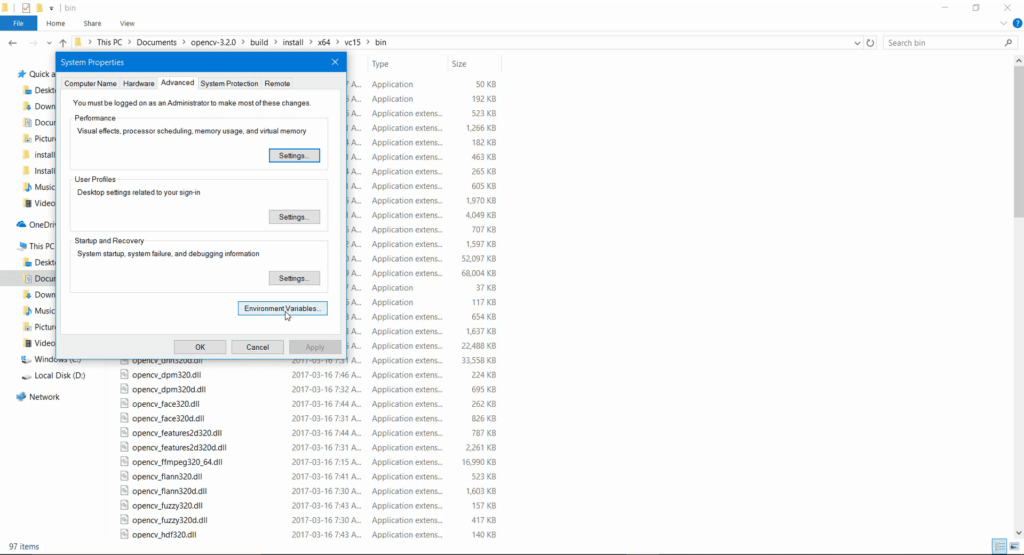
Under System Variables, select Path and click edit.
Add the complete path to the directory where OpenCV was installed. This can be found at as:
Click New, and give path to OPENCV_PATH\Installation\x64\vc14\bin and click Ok. Depending upon where you have kept opencv folder and what version of Visual Studio you used to compile OpenCV, this path would be different.
In my case full path is:
C:\Users\Administrator\Documents\OpenCV_Installation_4\opencv-3.4.4\Installation\x64\vc14\bin
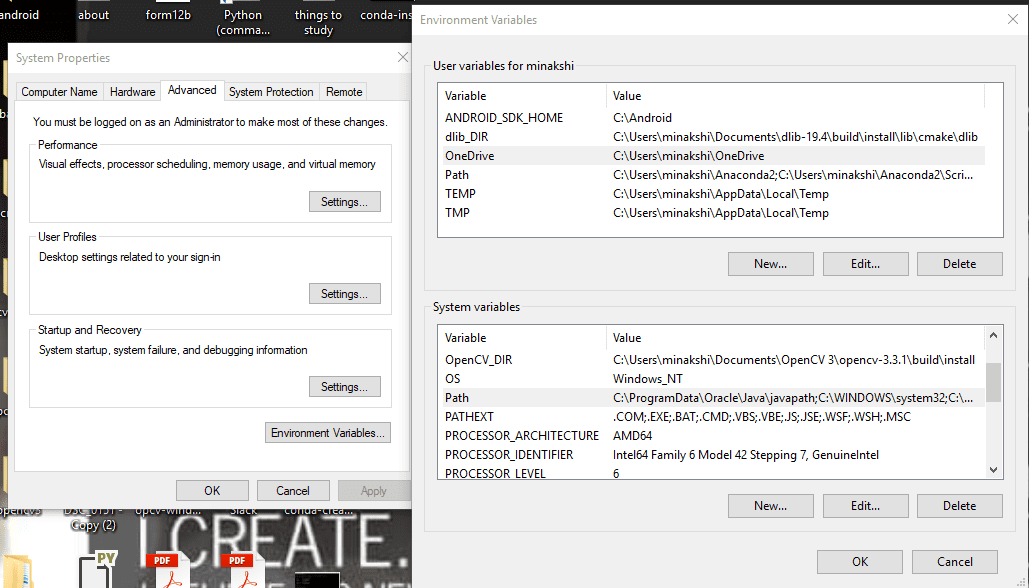
Click OK to save. Do NOT close the Environment Variables window.
In User variables, click on New, under Variable name:, enter OPENCV_DIR and under Variable value:, enter the path to the install directory of OpenCV.
In my case variable value is:
C:\Users\Administrator\Documents\OpenCV_Installation_4\opencv-3.4.4\Installation\x64\vc14\staticlib
This directory contains file “OpenCVConfig.cmake”. This is used by CMake to configure OpenCV_LIBS and OpenCV_INCLUDE_DIRS variables to generate project files.
Click on OK, and click on OK again to close Environment Variables window.
If you have an open Command Prompt/Power Shell window before these values were updated, you have to close and open a new Command Prompt/Power Shell window again.
Step 3: Test installation for Python 3
To test your installation, press Start, enter Command Line, and type:
activate OpenCV-3.4.4-py3 Once you have activated the Python environment, we start an IPython prompt.
ipython In IPython prompt, enter:
import cv2 cv2.__version__ 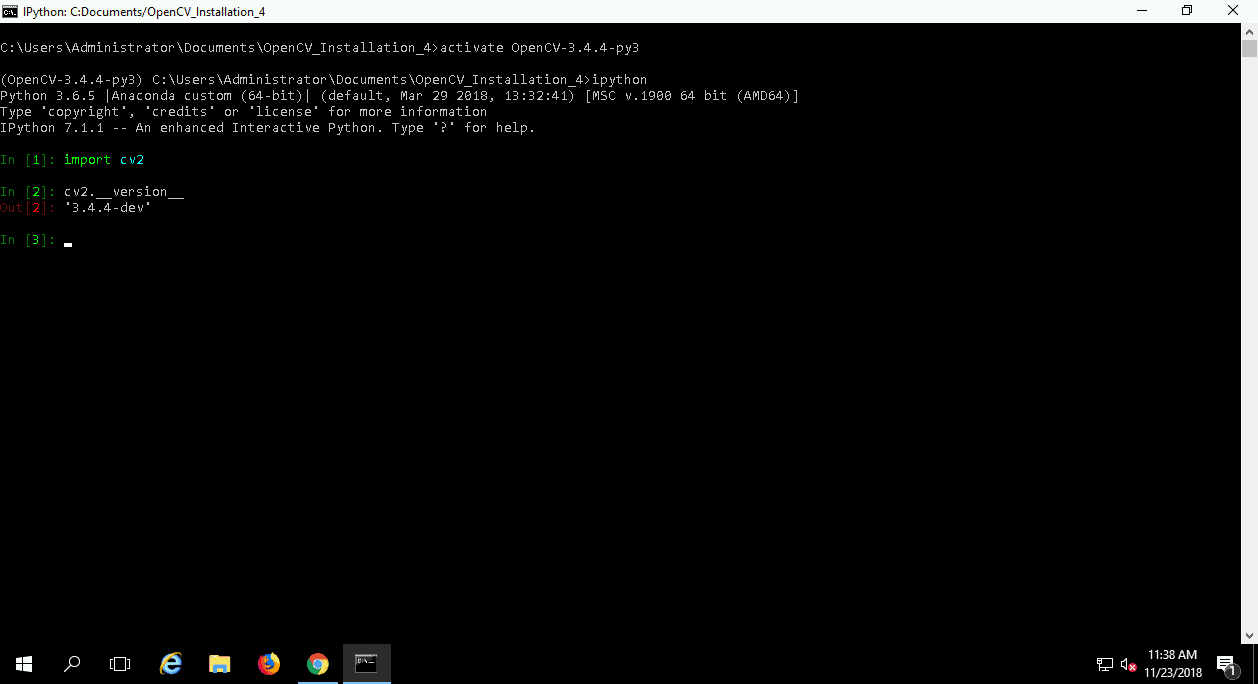
Hope you enjoy this script 🙂 In case of any queries, feel free to comment below and we will get back to you as soon as possible.


100K+ Learners
Join Free OpenCV Bootcamp3 Hours of Learning