 Roni Bandini
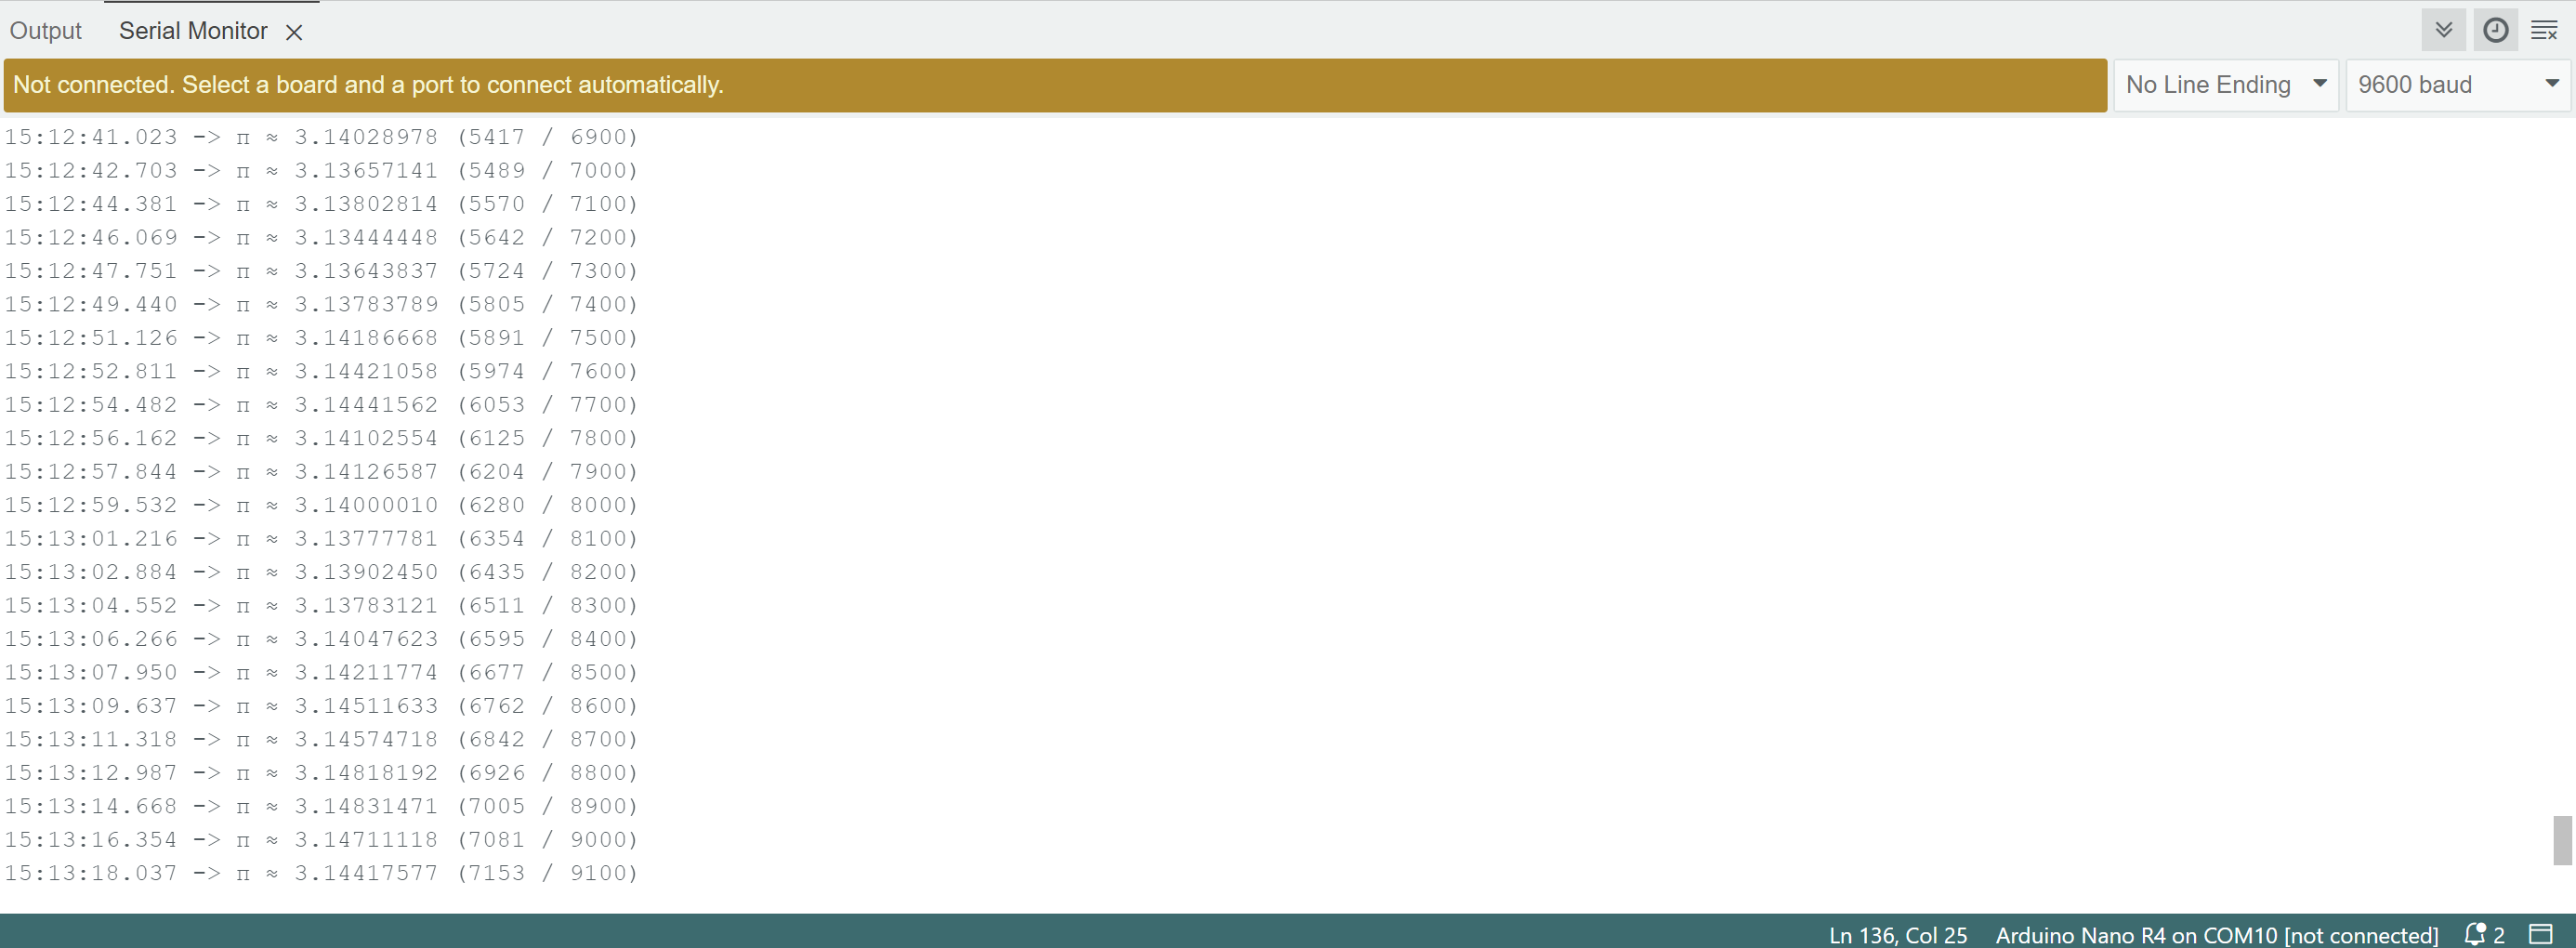
How does it work?
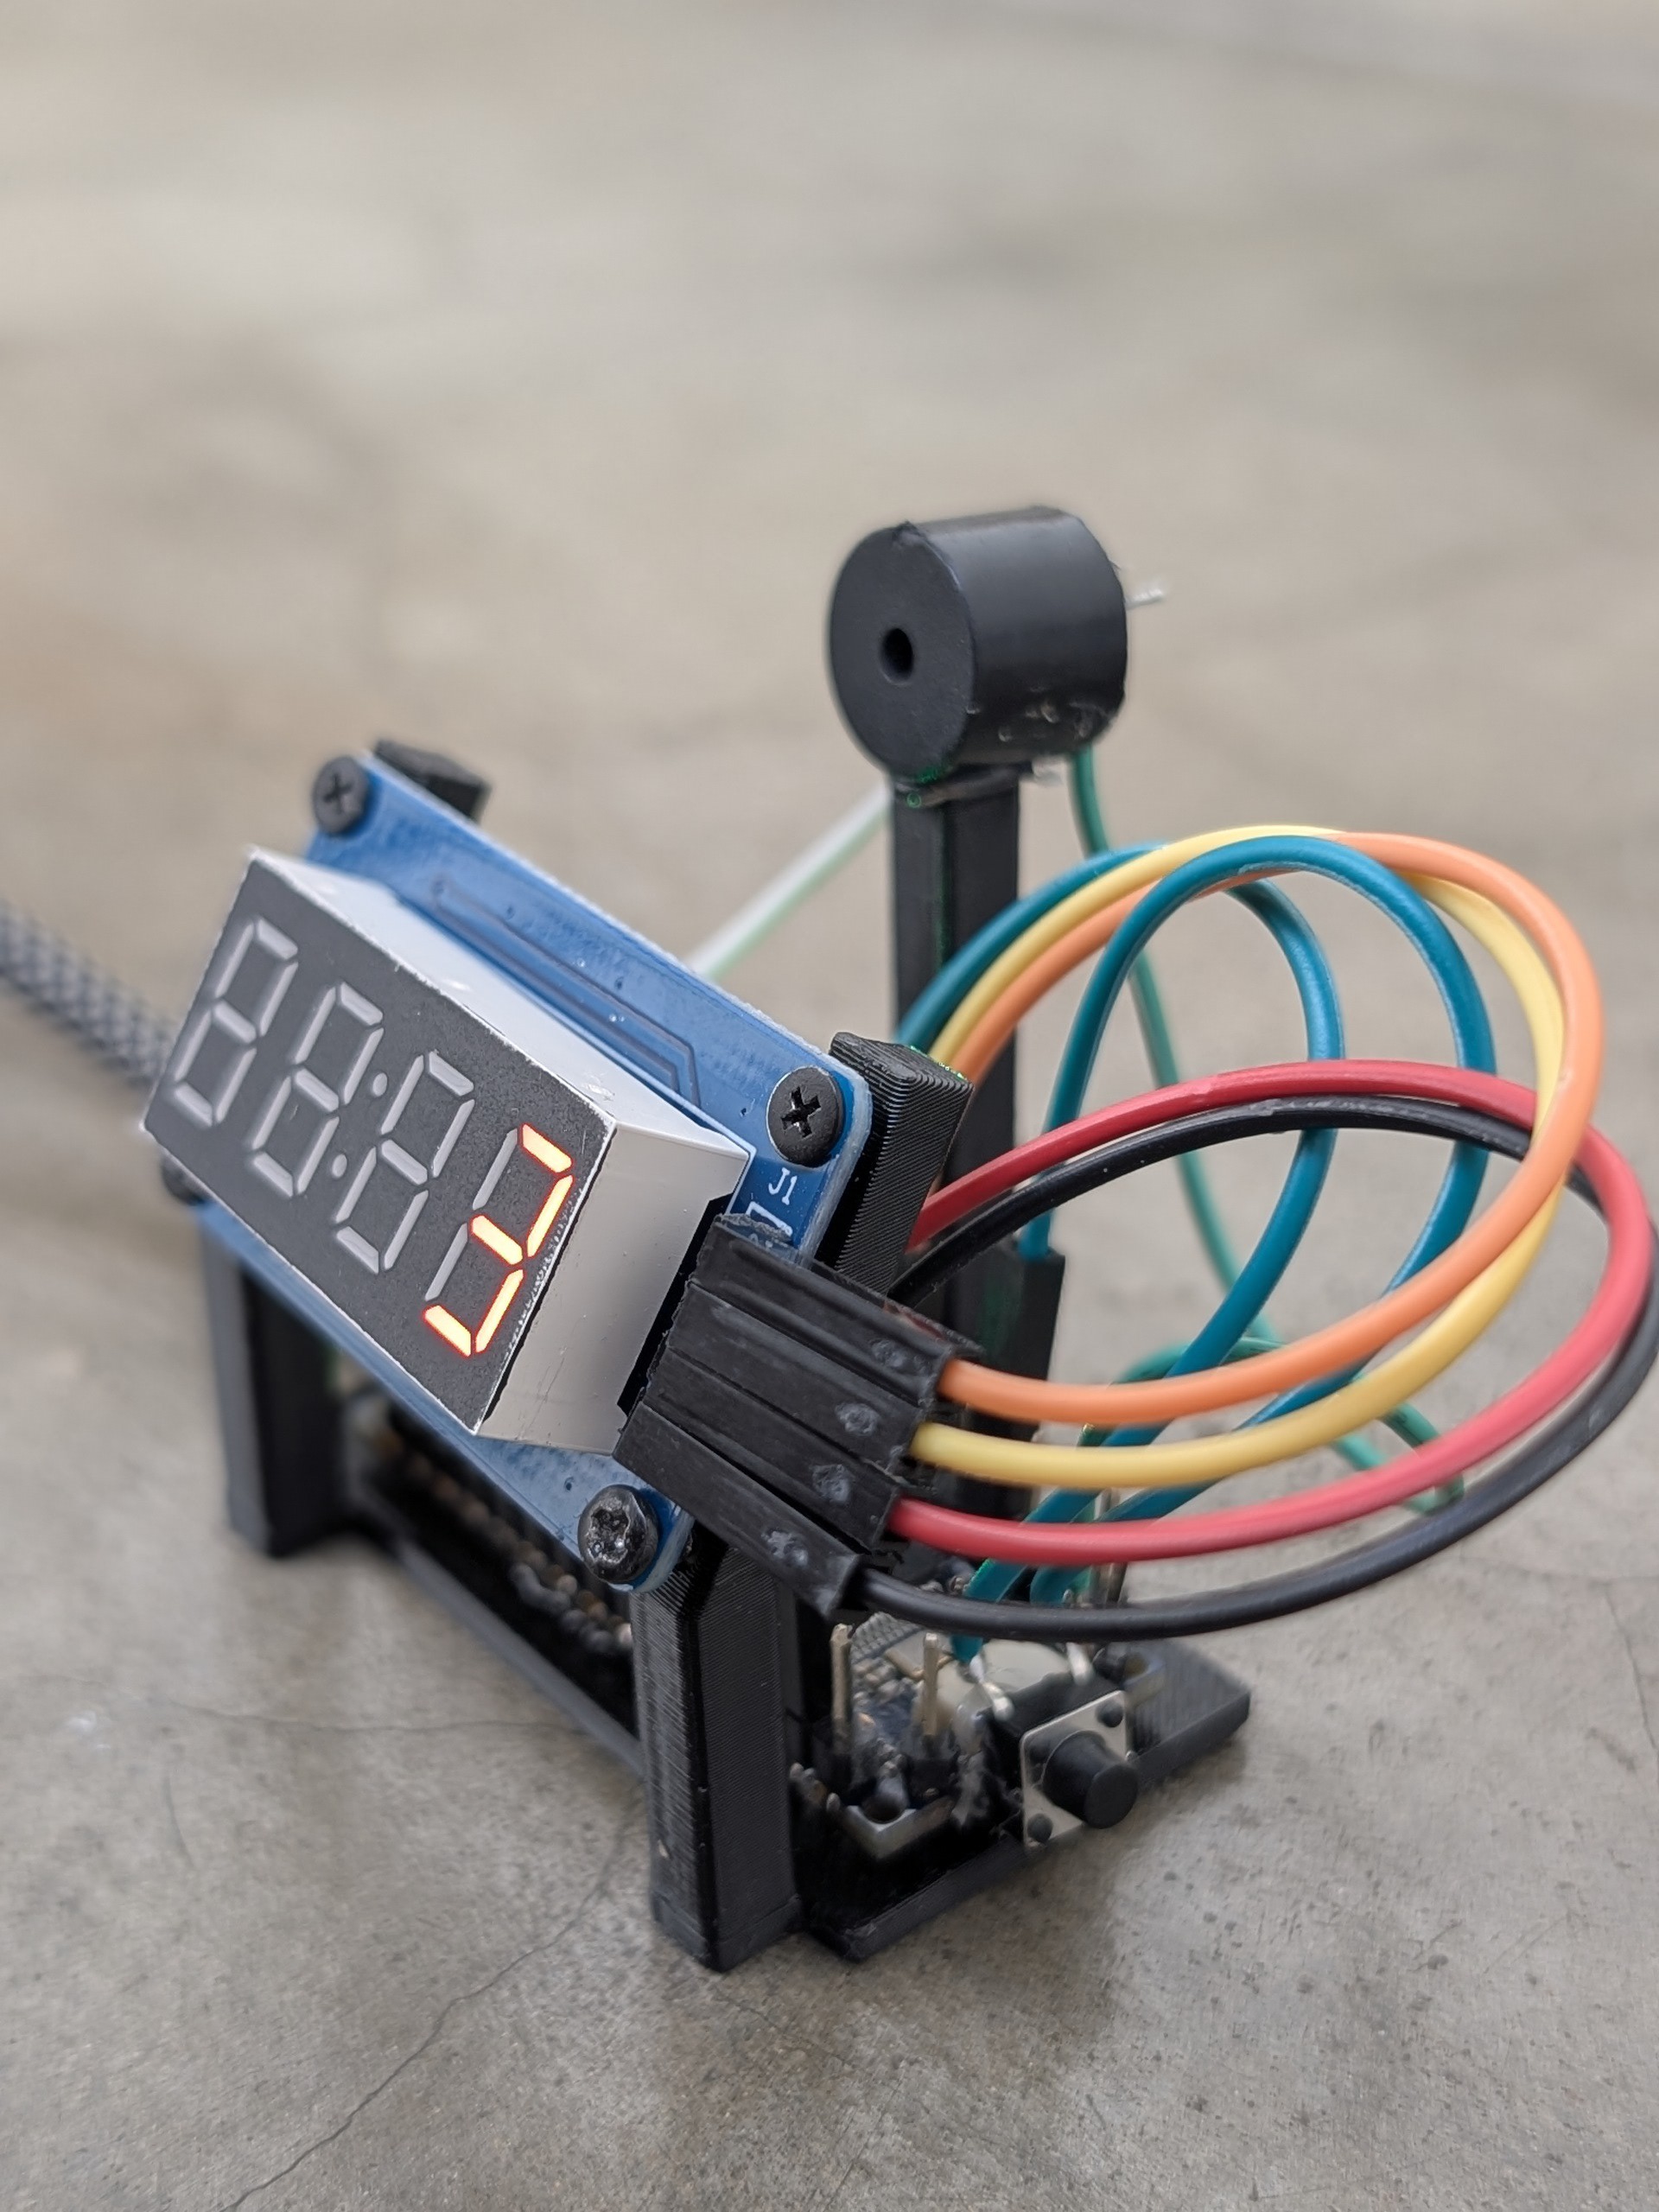
Once per second, 100 new samples are generated for the Monte Carlo simulation. The estimated Pi value is displayed on the serial monitor and also on the 7-segment display, accompanied by a beep and a change in the RGB LED color to indicate a new reading. The display is updated with the new, more precise PI.
What is the FPU?
The FPU is a hardware component located inside the processor to perform mathematical operations with floating-point numbers. Certain Arduino models have an FPU, such as the Nano R4, Uno R4, and the Portenta line, as well as the ESP32.
What is the Monte Carlo method?
The Monte Carlo simulation is a statistical method used to estimate numerical results through random sampling. It is especially useful when a problem is too complex for analytical solutions, such as estimating probabilities, integrals, or physical processes. Instead of solving a problem exactly, it is simulated many times using random numbers and the results are averaged.
How is Pi estimated with Monte Carlo?
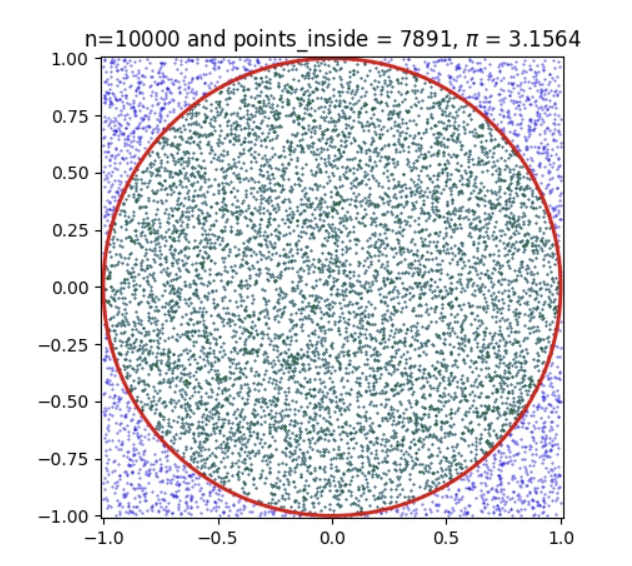
The program simulates the random throwing of darts - one per second -onto a square that goes from (0,0) to (1,1). A dart is considered "inside the circle" if: x² + y² ≤ 1. The proportion of darts inside the circle to the total is an approximation of π/4. Therefore: π ≈ 4 × (darts in the circle / total darts).
The first decimal digits of π begin to appear after a few hundred samples.
For example:
~100 samples → 1 correct digit,
~1,000 samples → 2 correct digits,
~10,000 samples → 3 correct digits.
Parts used
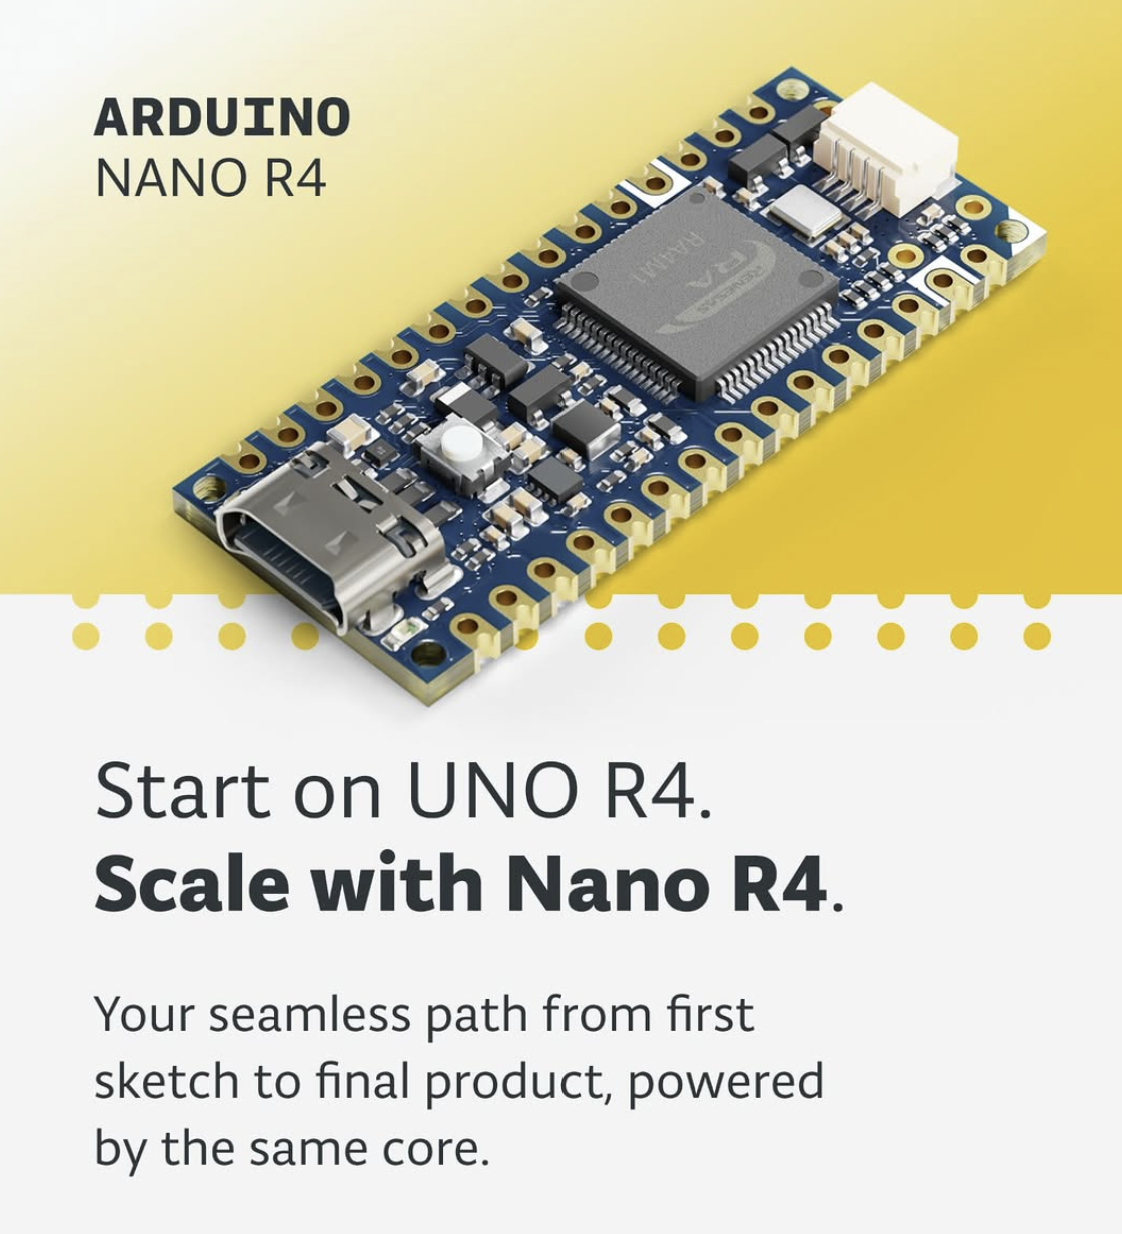
- Arduino Nano R4
- 7 segment 4 digit display
- Buzzer
- Switch
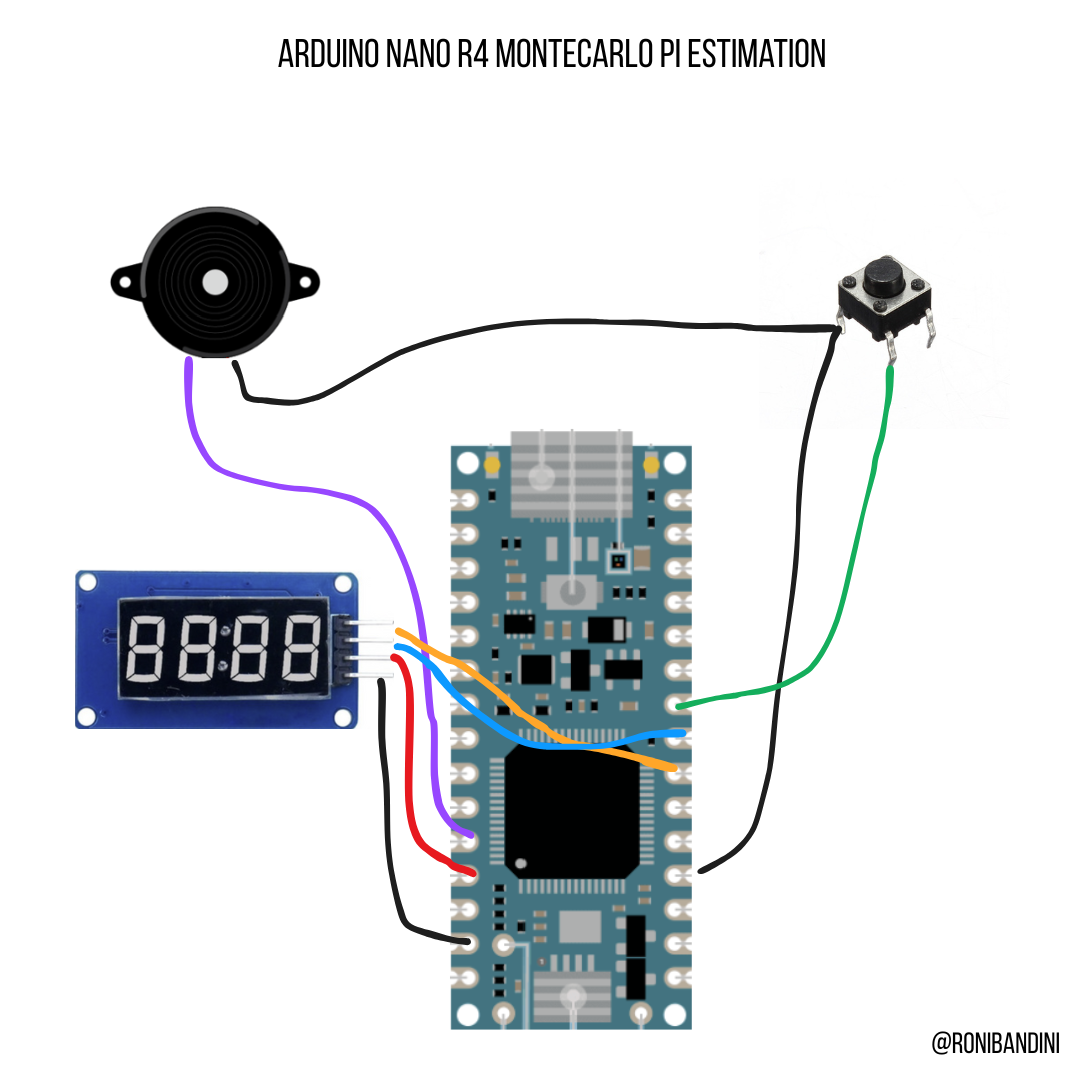
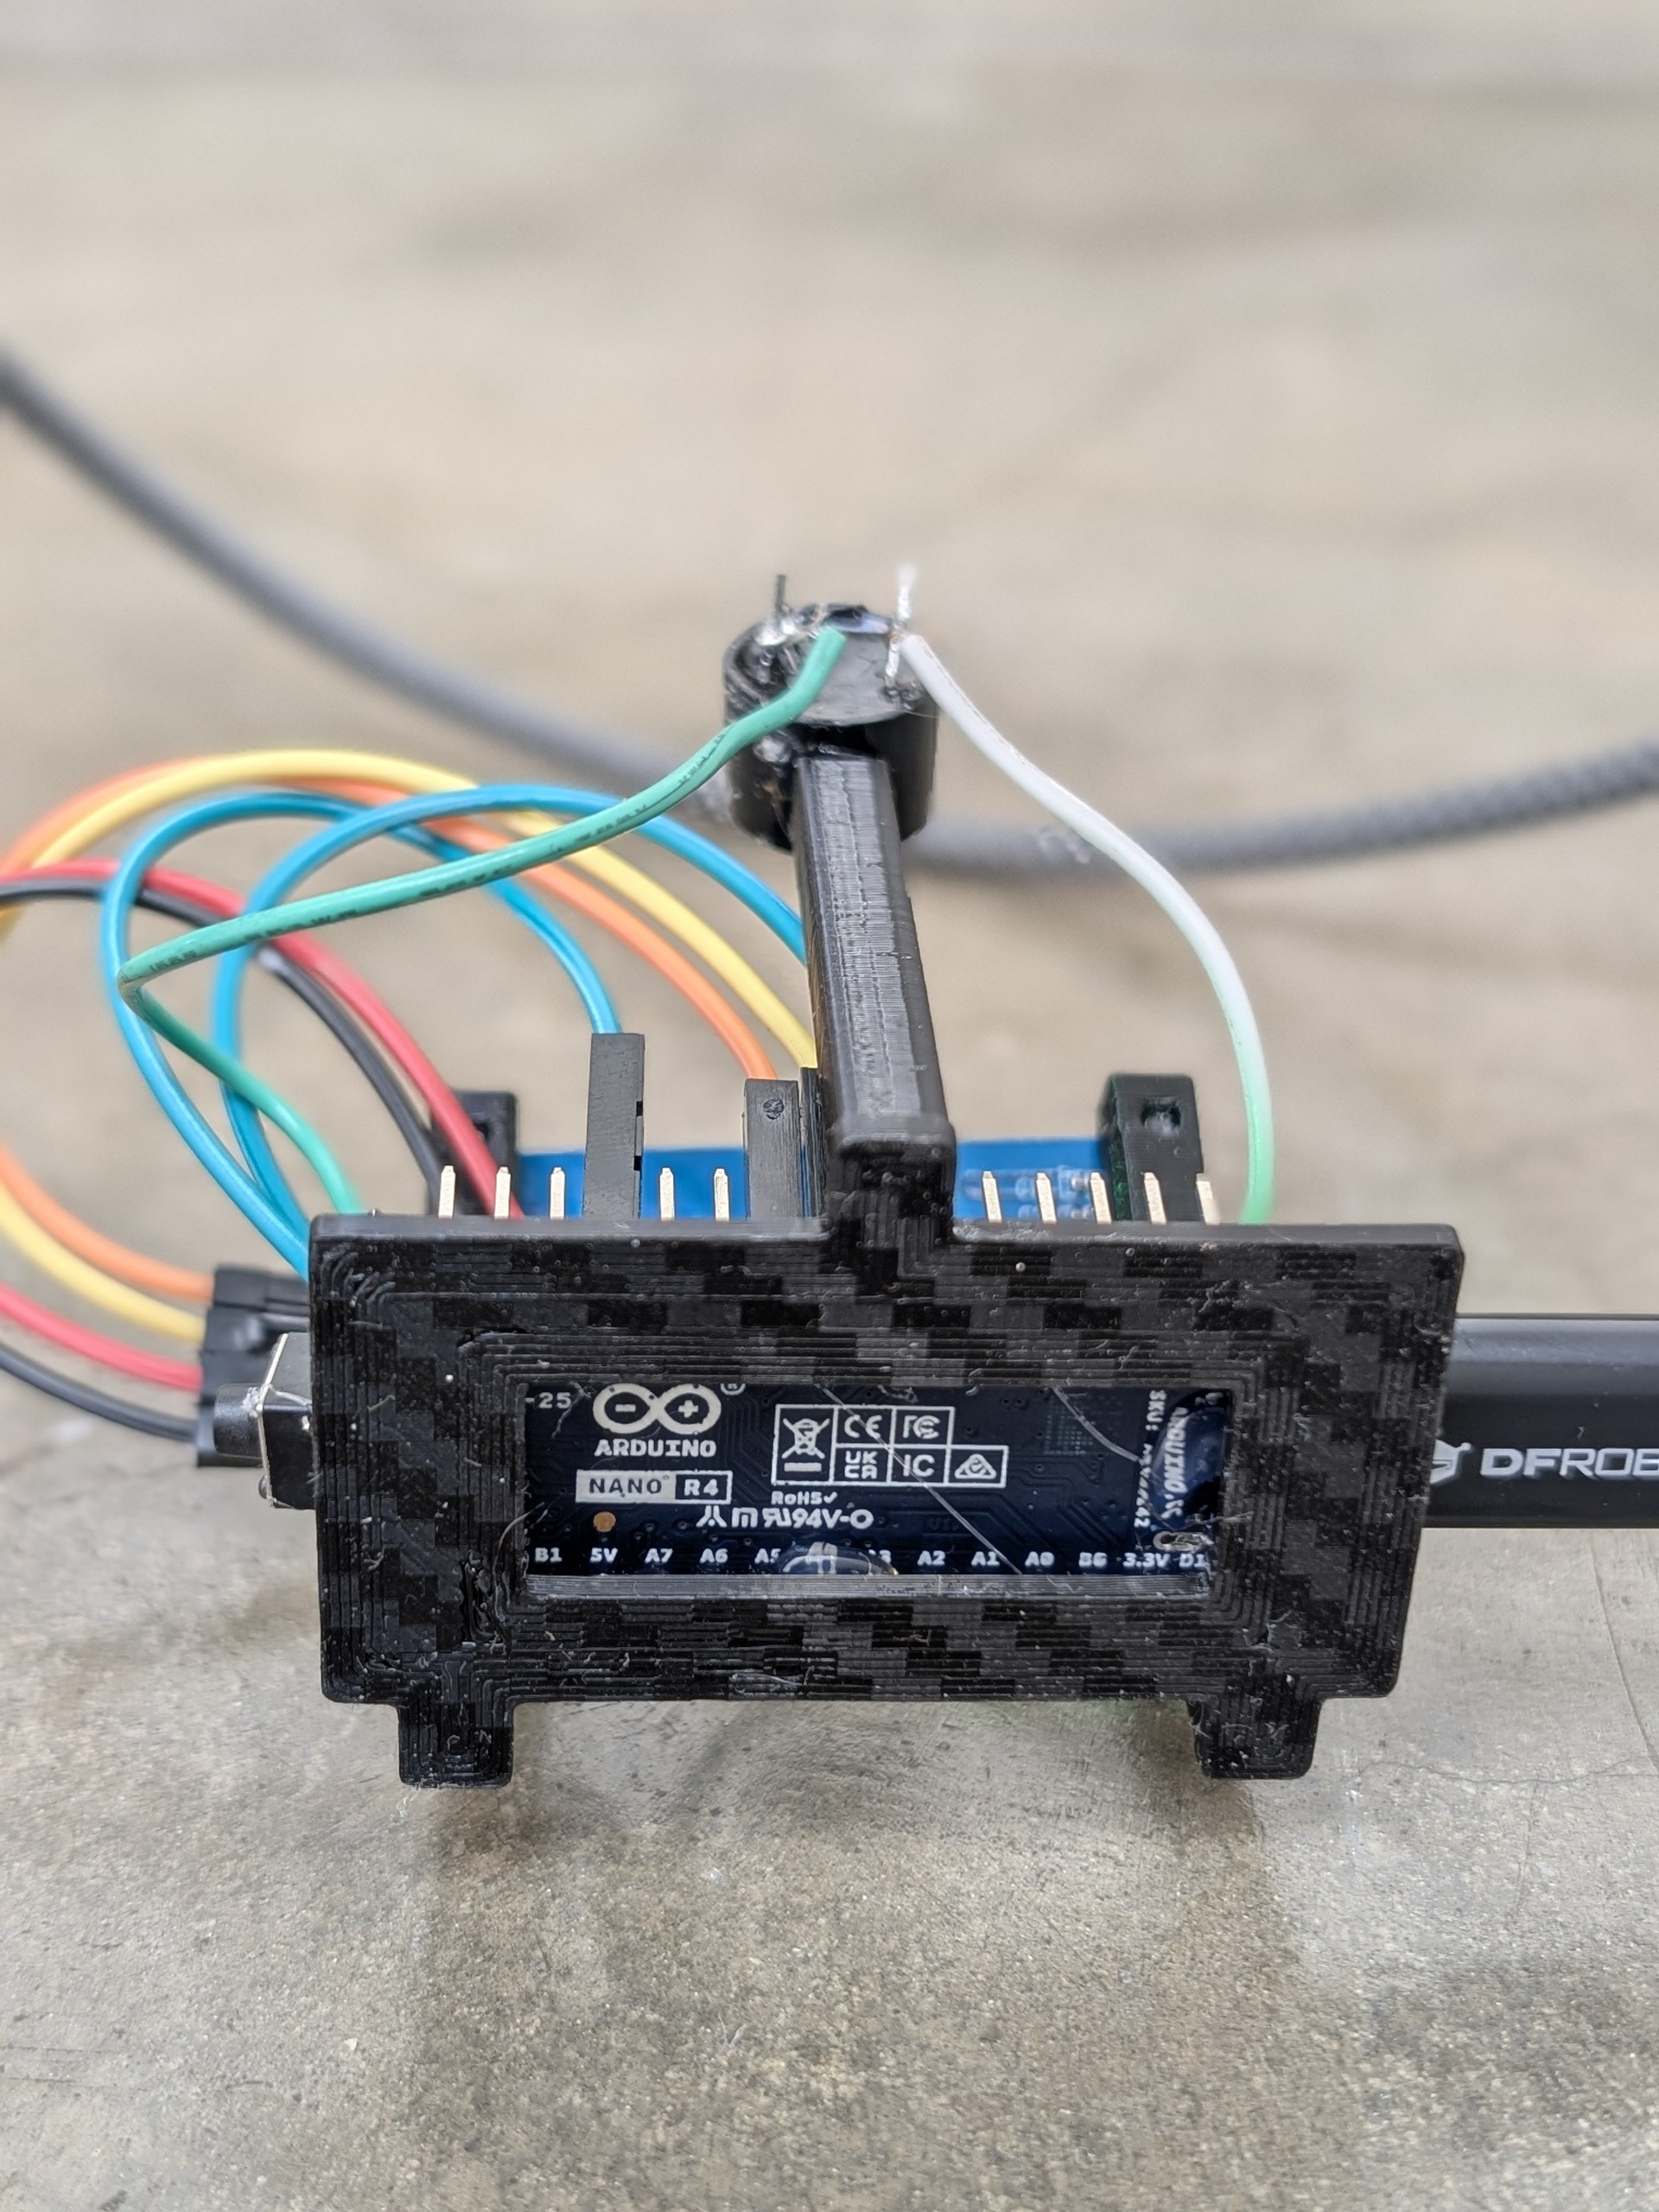
Circuit
- The 7-segment display is connected to the power supply and I2C (SDA 4 and SCL 5 of the Nano R4).
- The buzzer is connected to A7 and GND
- The button is connected to D6 and GND.
3d part
The stand for this project should be printed using PLA. No support is required.
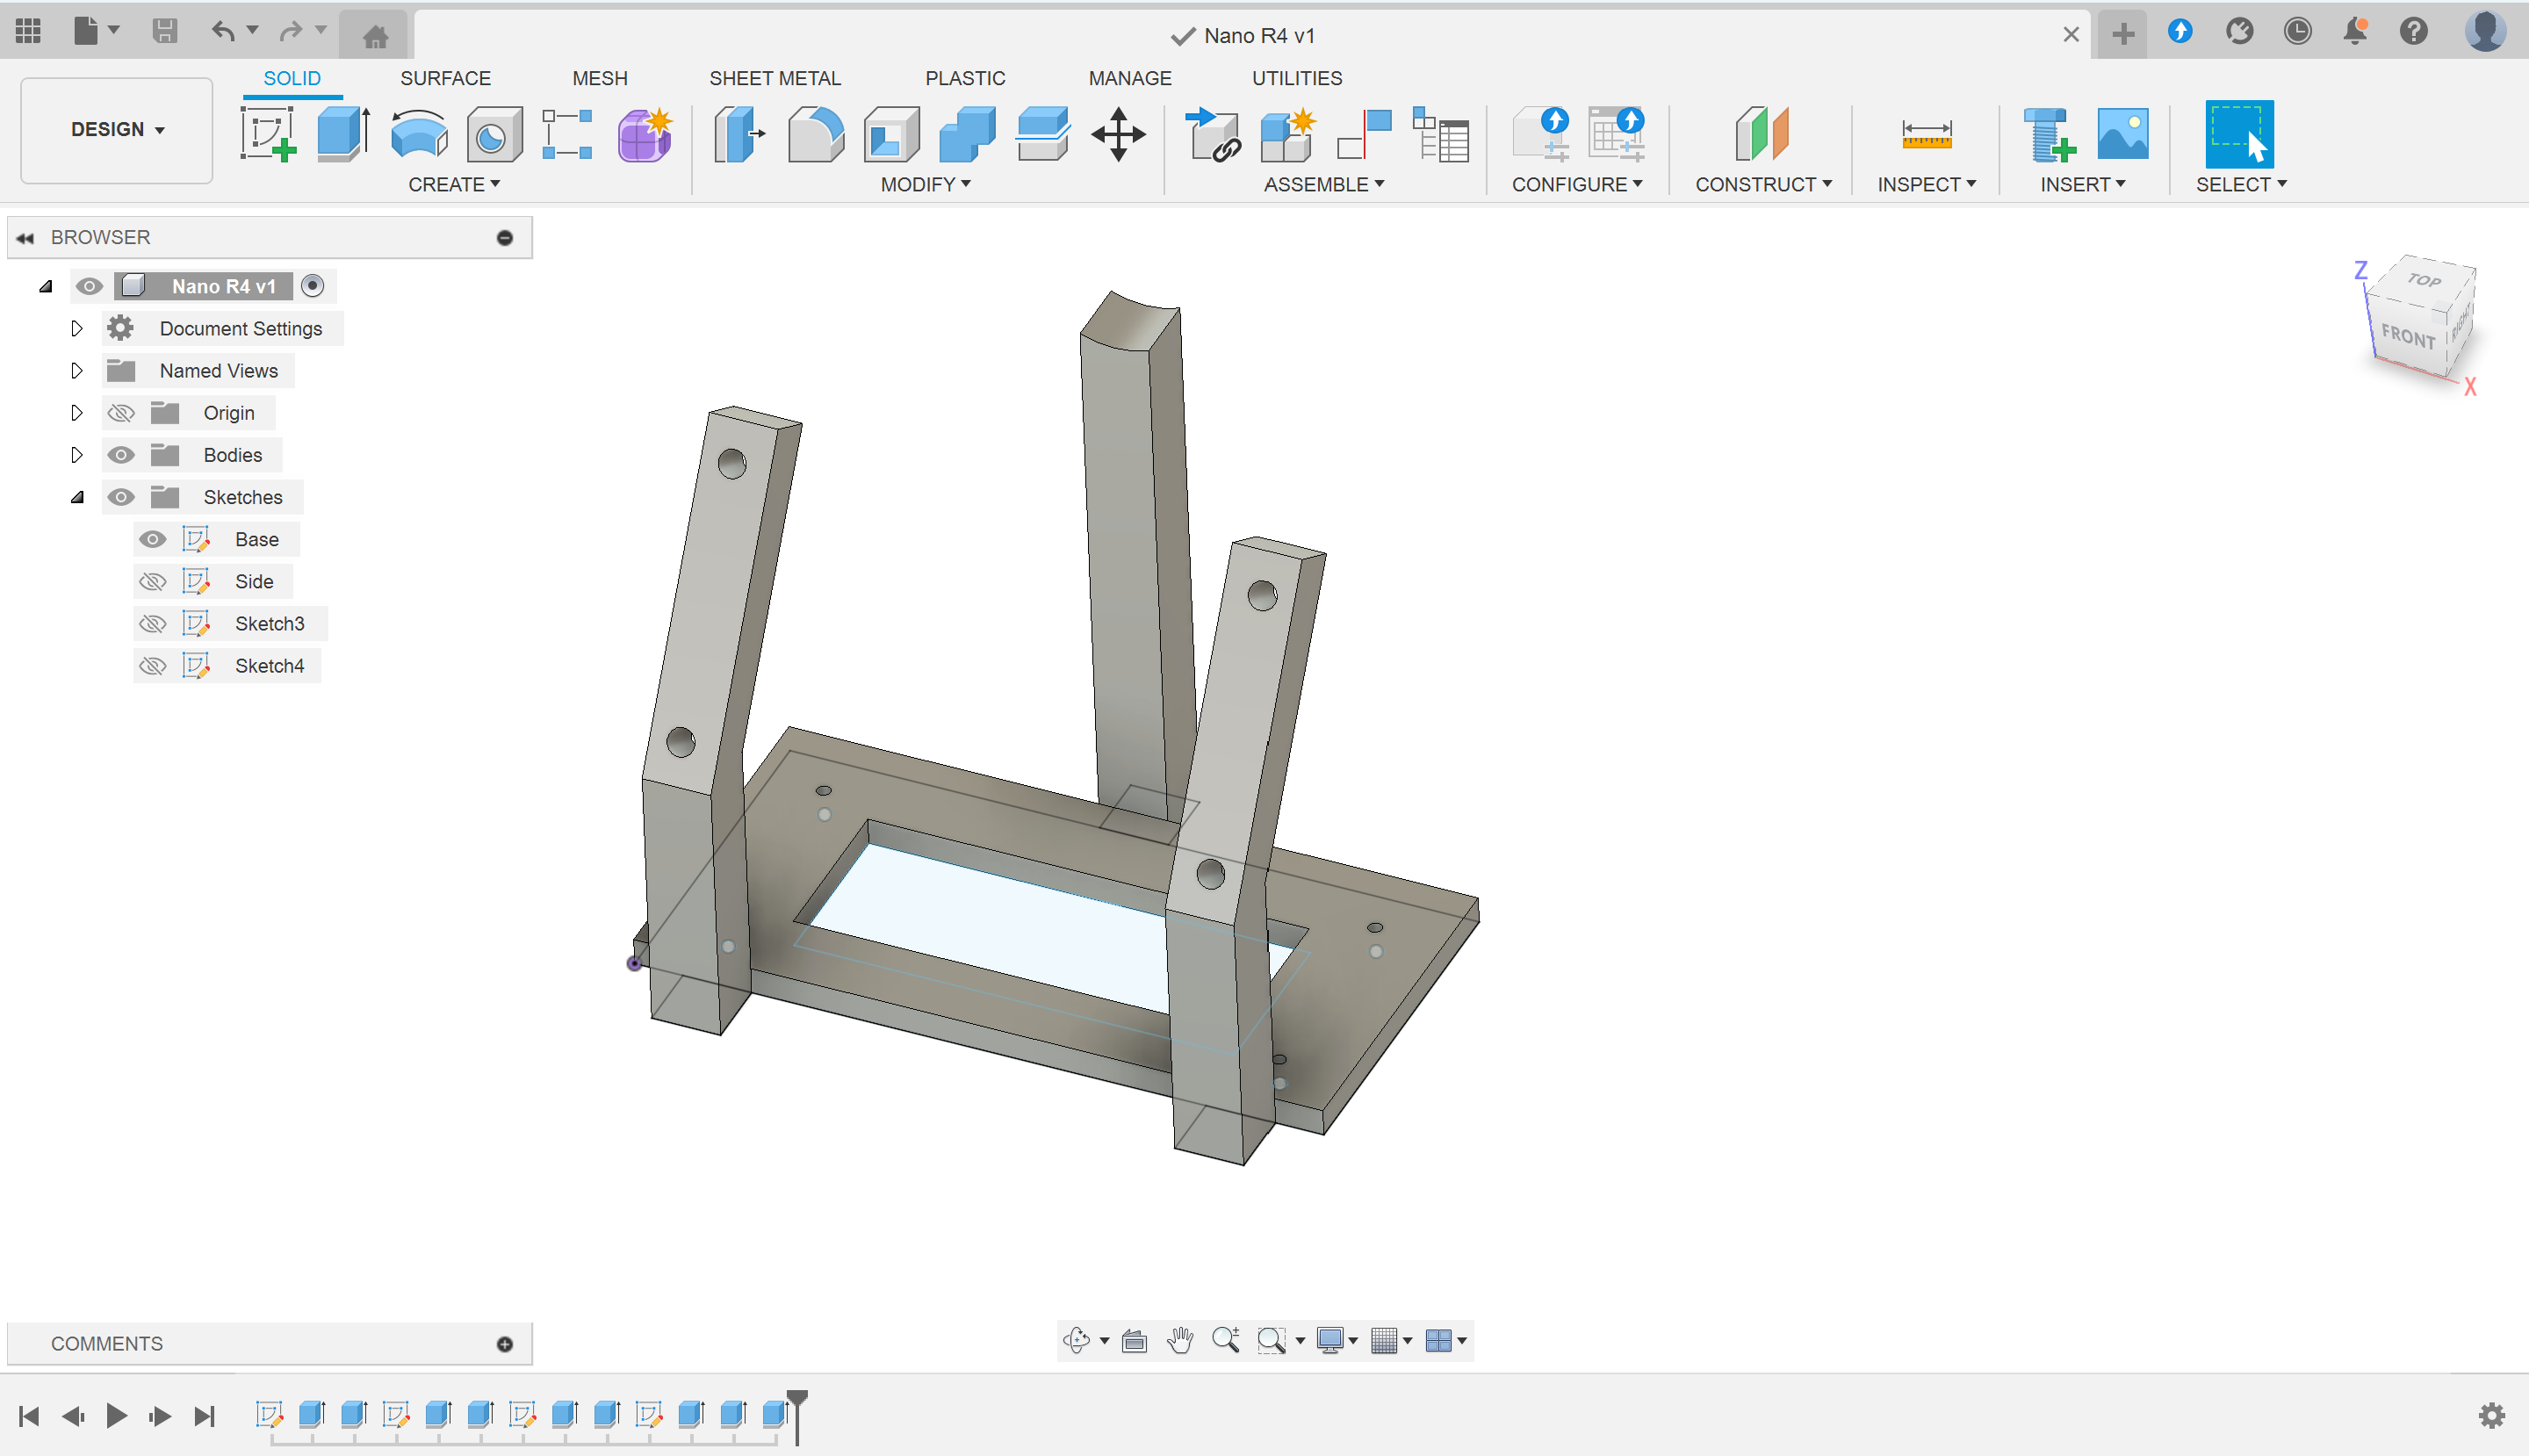
https://cults3d.com/en/3d-model/gadget/arduino-nano-r4-montecarlo-pi-estimation
Software Preparation
It is necessary to install the TM1637TinyDisplay.h library and specify the following in additional boards: https://downloads.arduino.cc/packages/package_renesas_private_index.json. This then allows you to select the Arduino Nano R4 board from the dropdown menu.
Demo
Final notes
I'm fully aware that a project with exposed wires, a constant beep, and a 7-segment display could easily be mistaken for something about to explode. The real goal was to test features of the new Arduino Nano R4, like its FPU and onboard RGB LED, while contributing a fun project to the One Hertz Challenge.

 Dylan R. Cloud
 makeTVee
 Lithium ION