Ludwin
Introduction
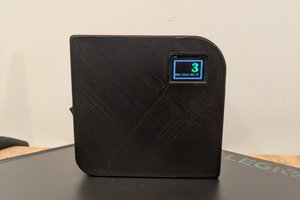
This project started with a simple idea: building a complete, standalone heart rate monitor using inexpensive and easily available components.
Instead of yet another breadboard prototype, the goal was to create a compact device that is ready to use and easy to replicate — perfect for makers who want to explore biosensing without needing complex tools.
All it takes is a bit of soldering experience and access to a 3D printer. Everything else is open source and well-documented, from code to case.
The One Hertz Challenge
This project was created as a submission to the One Hertz Challenge, a competition hosted by Hackaday and DigiKey.
The challenge: Build something that operates around one hertz — something that ticks, pulses, or beats once per second.
A natural and fascinating choice? The human heart.
Our heartbeat typically hovers close to one hertz, making it the perfect subject for this challenge.
This project not only visualizes your pulse in beats per minute (BPM) but also directly in hertz, reminding you that your body itself is a beautiful one-hertz oscillator.

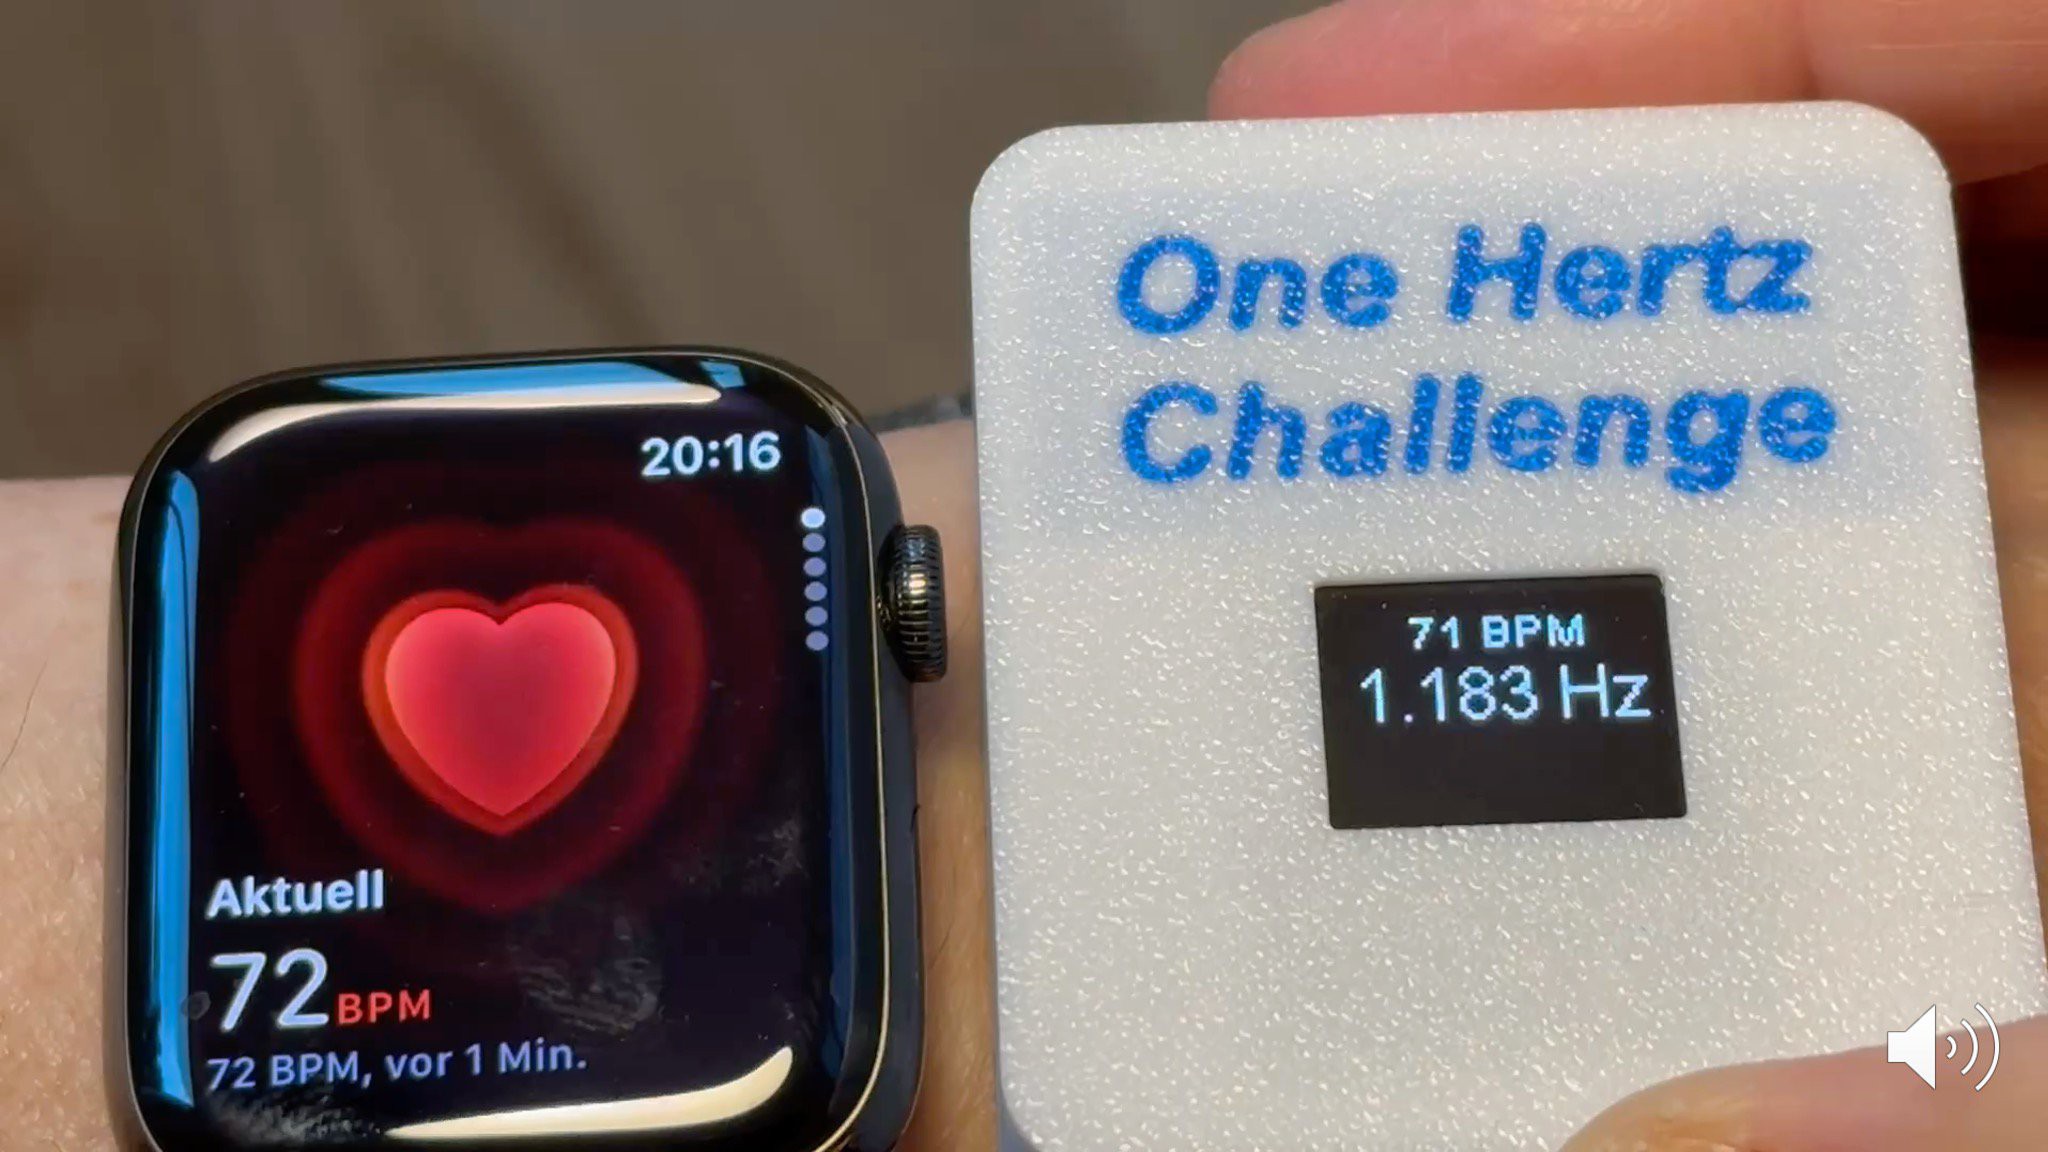
Accuracy Compared to Apple Watch
To validate the accuracy of the DIY heart rate monitor,, I compared its readings with those of an Apple Watch. The results are surprisingly close — both devices track the pulse in real time and deliver nearly identical values.
Minor differences can occur due to different averaging intervals. While the Apple Watch uses proprietary smoothing algorithms, my device calculates a rolling average over a few beats — simple, but effective.
This comparison shows that even with a minimal sensor setup, reliable heart rate monitoring is possible.
How Pulse Sensing Works
At the heart of the project is the MAX30102 pulse sensor.
It uses infrared light to detect subtle changes in light absorption caused by blood flow beneath the skin.
Each time your heart beats, the blood vessels expand slightly, changing how much IR light is absorbed. These changes form a waveform from which the heart rate can be derived.
Although the sensor can also estimate blood oxygen levels, this project focuses solely on measuring heart rate for simplicity and reliability.

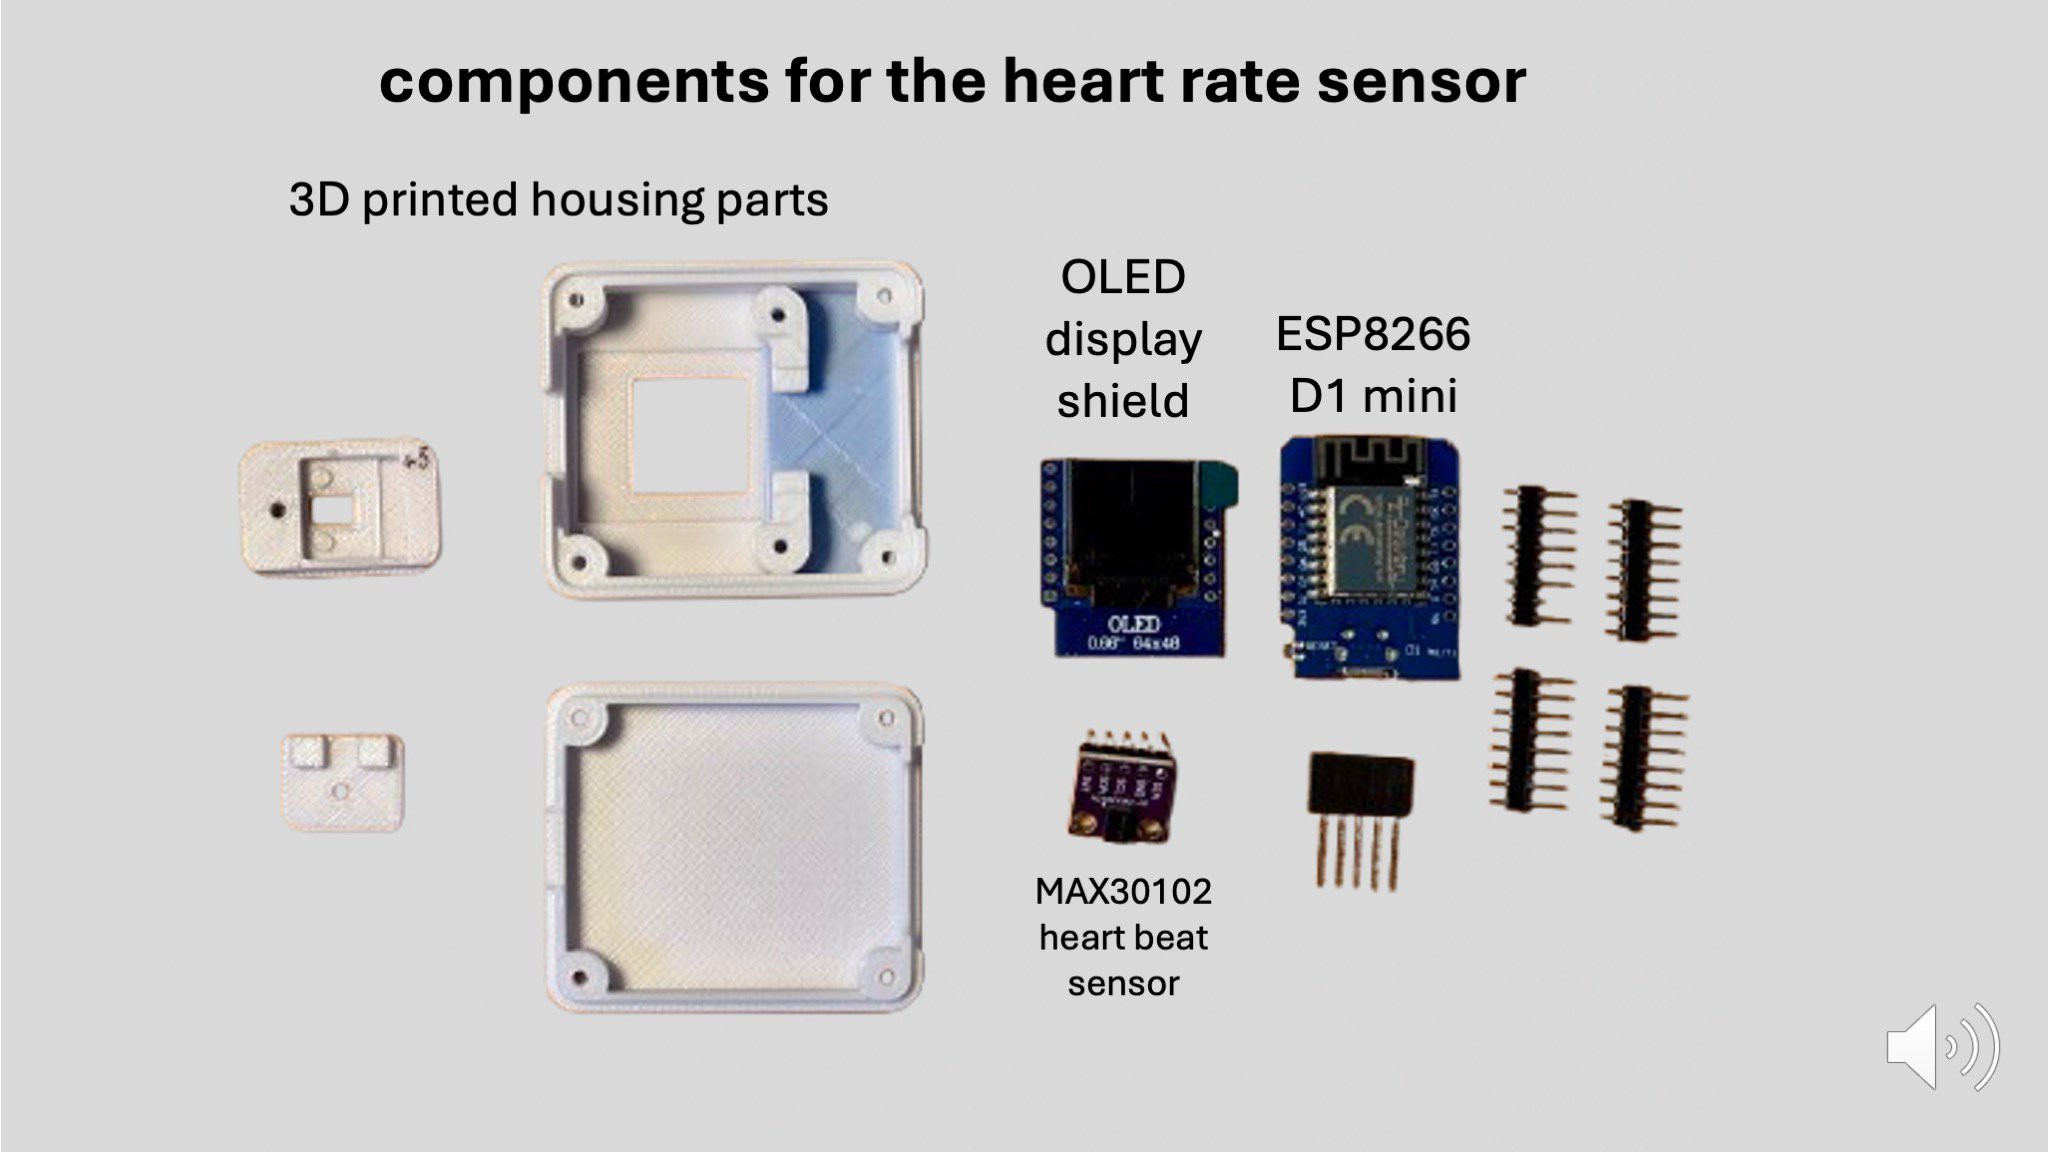
Parts Overview
This project was designed with simplicity and accessibility in mind.
Only a few, inexpensive components are needed:
- Wemos D1 mini (ESP8266-based microcontroller) (you might use a clone)
- MAX30102 pulse sensor
- 0.66” OLED display (SSD1306, I²C interface)
- Basic jumper wires and pin headers
- Custom 3D-printed enclosure
No specialized hardware is required, and all parts are easy to find from common electronics suppliers.
You only need basic soldering tools and access to a 3D printer to get started.
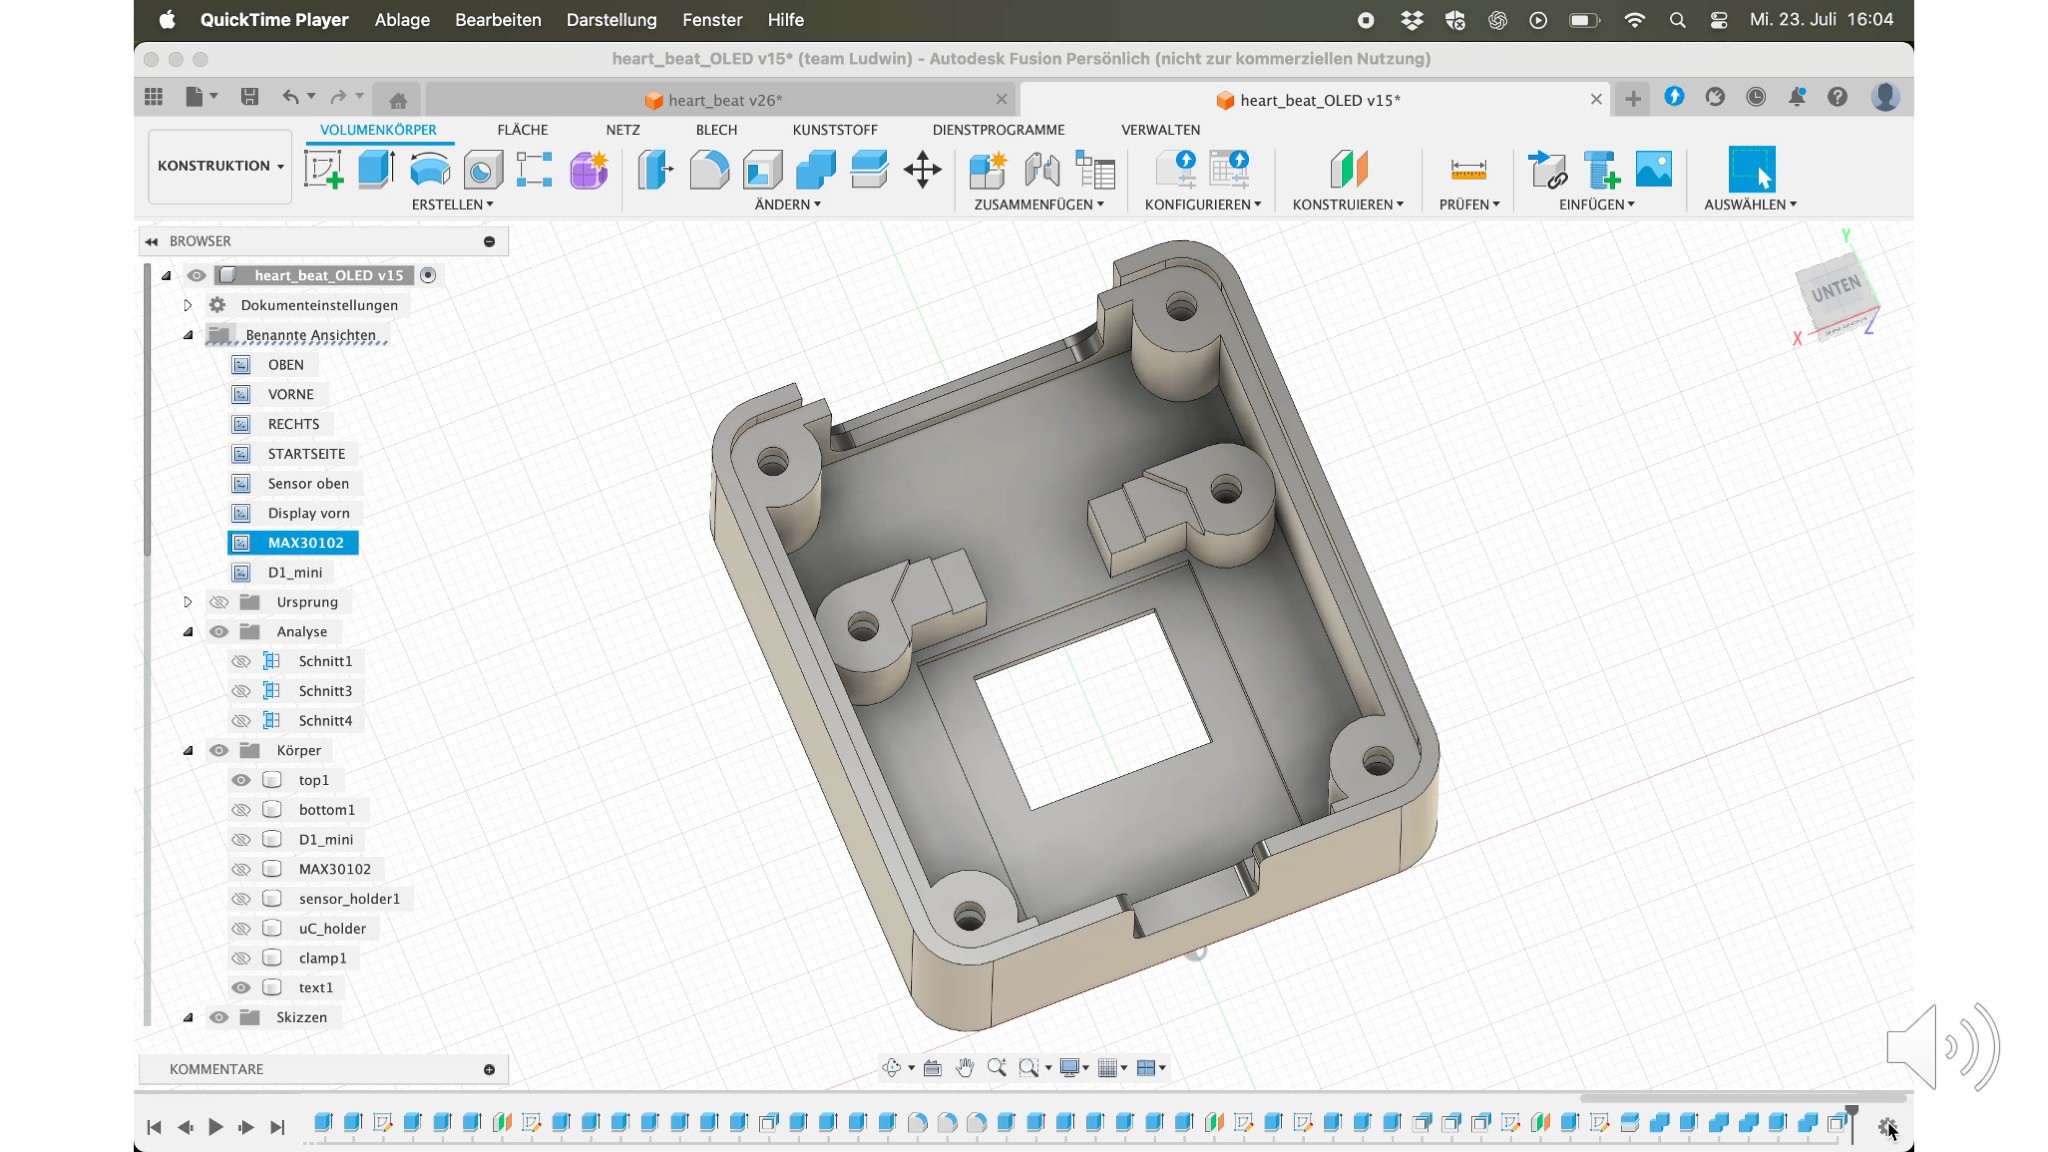
Fusion 360 Case Design
To ensure a compact and well-integrated device, a complete 3D model of the enclosure and electronic components was created in Fusion 360.
- The design centers around a structural top shell, which holds all components in place.
- The Wemos D1 mini with its soldered-on OLED display is mounted directly inside the case and secured with a crossbar.
- The MAX30102 sensor is placed on top, held in position with a custom clip and holder.
- The bottom shell closes the enclosure securely.
All 3D models are available as STL files in the GitHub repository, so you can print and customize the case to your liking.
Mounting the Display and Microcontroller
To minimize the height of the assembly and keep the design compact, the typical stackable header pins were not used.
Instead, simple male pin headers were soldered directly to the microcontroller and the OLED display.
To achieve the exact spacing between the two components, small plastic spacers—taken from standard pin header strips—were stacked between them....
Read more »
 Curt White
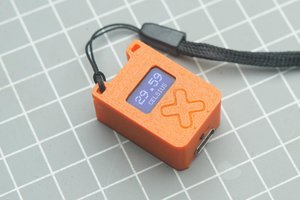
 gokux
gokux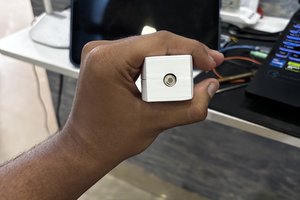
 Rohan Barnwal