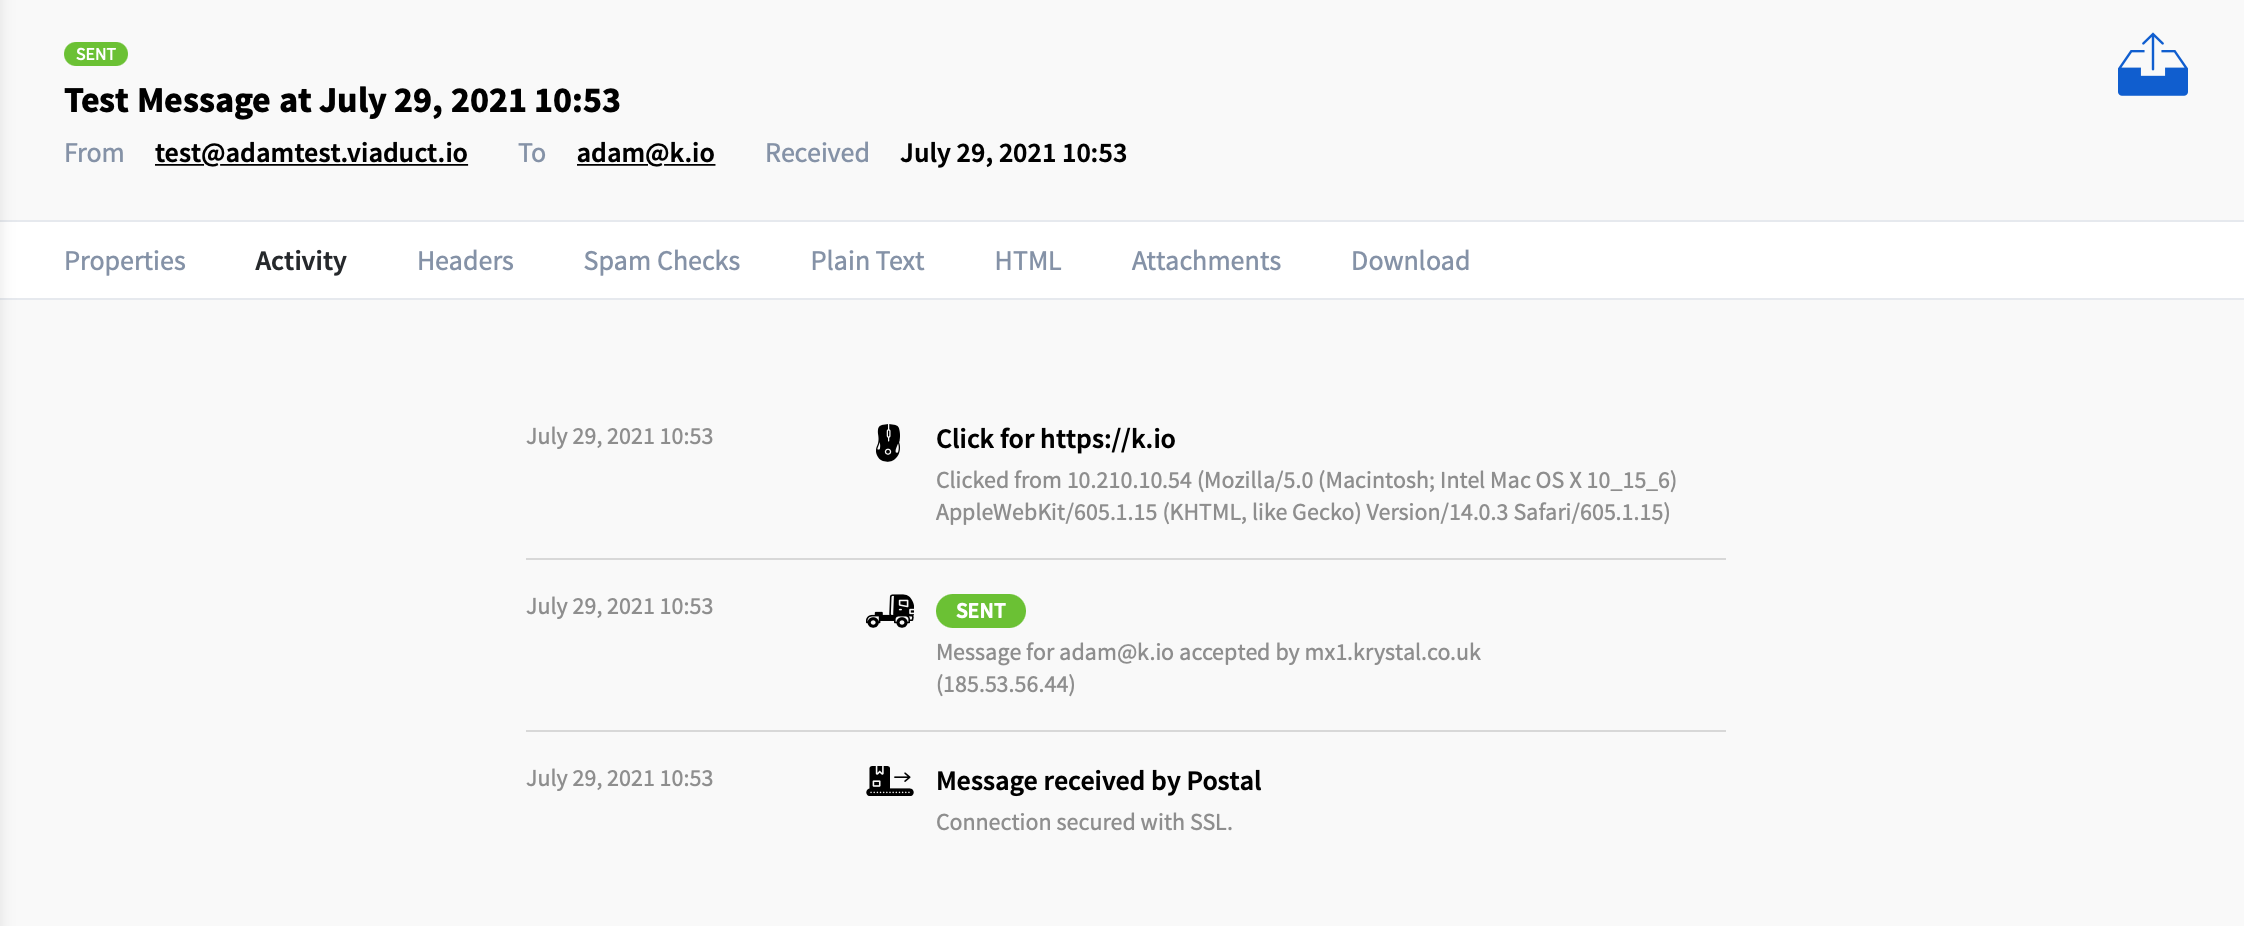
Click & Open Tracking
Postal supports tracking opens and clicks from e-mails. This allows you to see when people open messages or they click links within them.
How it works
Once enabled, Postal will automatically scan your outgoing messages and replace any links and images with new URLs that go via your Postal web server. When the link is clicked, Postal will log the click and redirect to the user to the original URL automatically. The links that are included in the e-mail should be on the same domain as the sender and therefore you need to configure a subdomain like click.yourdomain.com and point it to your Postal server.
Configuring your web server
To avoid messages being marked as spam, it's important that the subdomain that Postal uses in the re-written URLs is on the same domain as that sending the message. This means if you are sending mail from yourdomain.com, you'll need to setup click.yourdomain.com (or whatever you choose) to point to your Postal server.
There are two ways how to achive that traffic to click.yourdomain.com will reach Postal:
- Adding CNAME record for
click.yourdomain.comto previously configuredtrack.postal.example.comfollowed by Caddy additional configuration. - Configuring custom proxy for
click.yourdomain.comon your webserver.
Additional Caddy configuration
If you used Caddy as proxy for overall Postal traffic it easy to add additional proxy its config /opt/postal/config/Caddyfile:
# ... previous content click.yourdomain.com { reverse_proxy 127.0.0.1:5000 { header_up X-Postal-Track-Host "1" } } After saving this new configuration restart Caddy, for example if you're using docker, you may be able to docker restart postal-caddy.
After this you should see Hello. on click.yourdomain.com and SSL should work out of the box.
Custom proxy on webserver
You'll need to add an appropriate virtual host on your web server that proxies traffic from that domain to the Postal web server. The web server must add the X-Postal-Track-Host: 1 header so the Postal web server knows to treat requests as tracking requests.
Once you have configured this, you should be able to visit your chosen domain in a browser and see Hello. printed back to you. If you don't see this, review your configuration until you do. If you still don't see this and you enable the tracking, your messages will be sent with broken links and images.
Setting up tracking domain
If you're happy things are working, you can enable tracking as follows:
- Find the web server you wish to enable tracking on in the Postal web interface
- Go to the Domains item
- Select Tracking Domains
- Click Add a tracking domain
- Enter the domain that you have configured and choose the configuration you want to use. It is highly recommended that you use SSL for these connections. Anything else is likely to cause problems with reputation and user experience.
Disabling tracking on a per e-mail basis
If you don't wish to track anything in an email you can add a header to your e-mails before sending it.
X-AMP: skip Disabling tracking for certain link domains
If there are certain domains you don't wish to track links from, you can define these on the tracking domain settings page. For example, if you list yourdomain.com no links to this domain will be tracked.
Disabling tracking on a per link basis
If you wish to disable tracking for a particular link, you can do so by inserting +notrack as shown below. The +notrack will be removed leaving a plain link.
https+notrack://postalserver.iohttp+notrack://katapult.io/signup