Spring Boot
To run apps based on the Spring Boot frameworks using Unit:
-
Install Unit with a Java language module.
-
Create your Spring Boot project; we’ll use the quickstart example, creating it at https://start.spring.io:
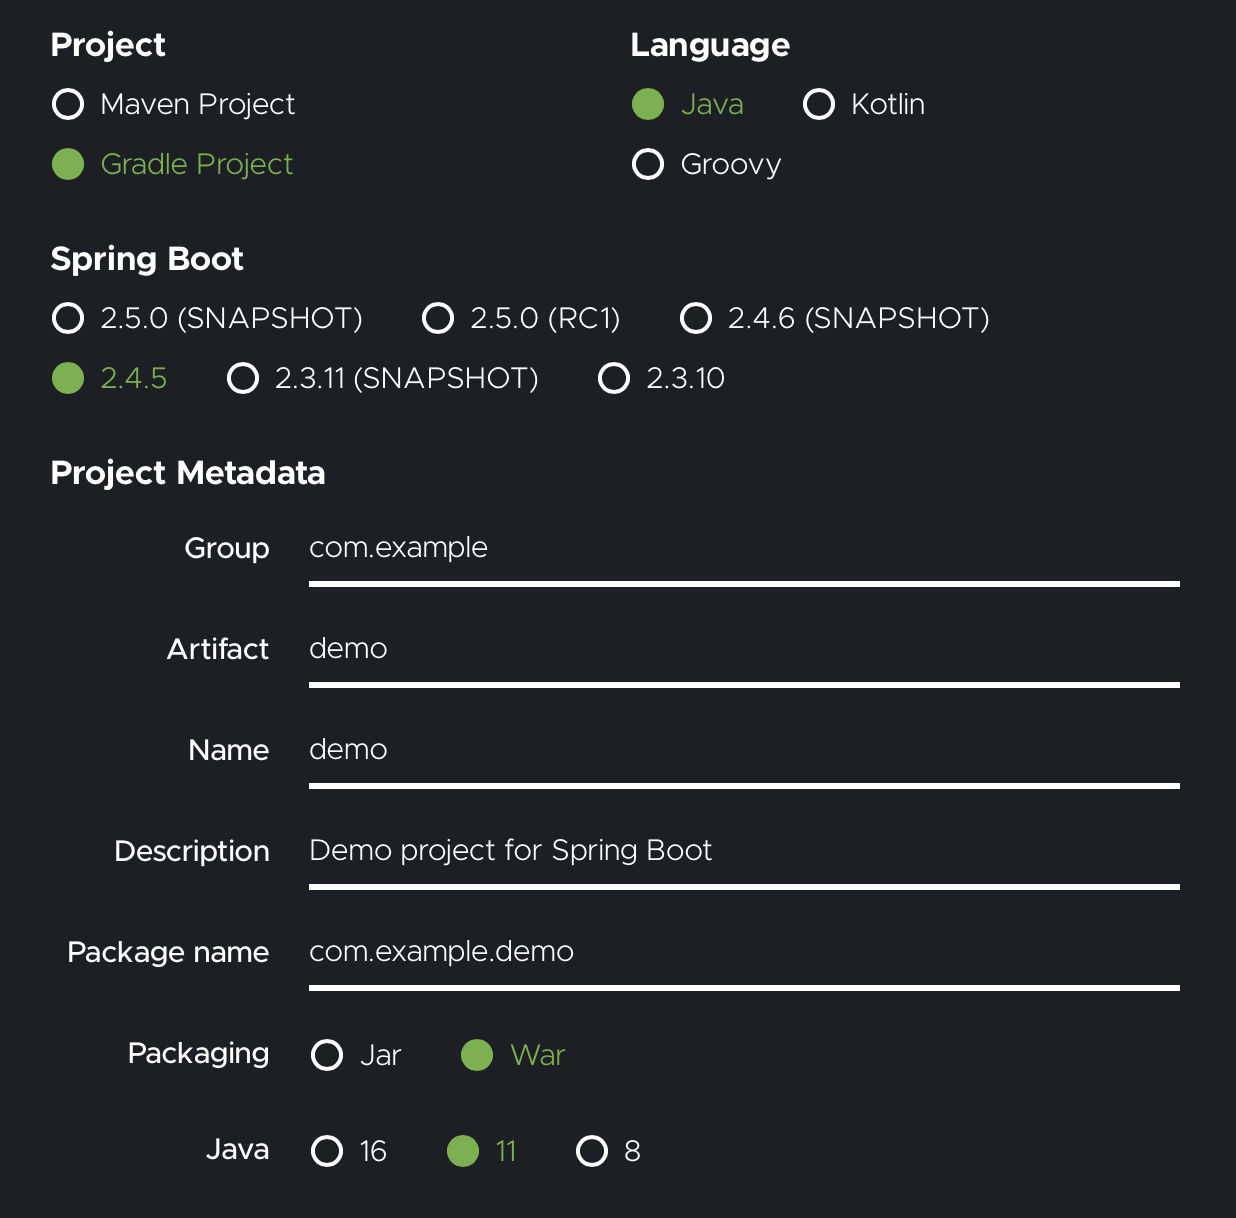 Choose the same Java version that your Unit language module has.
Download and extract the project files where you need them:
console $ unzip demo.zip -d /path/to/app/ # Path to the application directory; use a real path in your configurationThis creates a directory named /path/to/app/demo/ for you to add your app code to; in our example, it’s a single file called /path/to/app/demo/src/main/java/com/example/demo/DemoApplication.java:
java package com.example.demo; import org.springframework.boot.SpringApplication; import org.springframework.boot.autoconfigure.SpringBootApplication; import org.springframework.web.bind.annotation.GetMapping; import org.springframework.web.bind.annotation.RequestParam; import org.springframework.web.bind.annotation.RestController; @SpringBootApplication @RestController public class DemoApplication { public static void main(String[] args) { SpringApplication.run(DemoApplication.class, args); } @GetMapping("/hello") public String hello(@RequestParam(value = "name", defaultValue = "World") String name) { return String.format("Hello, %s!", name); } }Finally, assemble a .war file.
If you chose Gradle as the build tool:
console $ cd /path/to/app/demo/ # Path to the application directory; use a real path in your configurationconsole $ ./gradlew bootWarIf you chose Maven:
console $ cd /path/to/app/demo/ # Path to the application directory; use a real path in your configurationconsole $ ./mvnw packageBy default, Gradle puts the .war file in the build/libs/ subdirectory, while Maven uses target/; note your path for later use in Unit configuration. -
Change ownership:
Run the following command (as root) so Unit can access the application directory (If the application uses several directories, run the command for each one):
console # chown -R unit:unit /path/to/app/ # User and group that Unit's router runs as by defaultThe unit:unit user-group pair is available only with official packages , Docker images, and some third-party repos. Otherwise, account names may differ; run theps aux | grep unitdcommand to be sure.For further details, including permissions, see the security checklist.
-
Next, put together the Spring Boot configuration (use a real value for working_directory):
json { "listeners": { "*:80": { "pass": "applications/bootdemo" } }, "applications": { "bootdemo": { "type": "java", "webapp": "gradle-or-maven-build-dir/demo.war", "webapp_comment": "Relative pathname of your .war file", "working_directory": "/path/to/app/demo/", "working_directory_comment": "Path to the application directory; use a real path in your configuration" } } } -
Upload the updated configuration.
Assuming the JSON above was added to
config.json. Run the following command as root:console # curl -X PUT --data-binary @config.json --unix-socket \ /path/to/control.unit.sock \ # Path to Unit's control socket in your installation http://localhost/config/ # Path to the config section in Unit's control APIAfter a successful update, your app should be available on the listener’s IP address and port:
console $ curl http://localhost/hello?name=Unit Hello, Unit!