To display features in a feature layer, you need to use a client-side mapping API such as an ArcGIS Maps SDK or open source library. In most cases, the APIs provide a class to access the feature service with a service URL or item ID. The API is responsible for making query requests for features for the visible map extent.
You display features when you want to:
- Draw points, polylines, or polygons on a map
- Draw features with specific visualization and styling
- Access the feature geometry for a feature layer
- Access the feature attributes for a feature layer
- Display features with visualization settings defined in the hosted feature layer (item)
How to display features
To display features, a client-side mapping API needs to use the feature service URL or hosted feature layer (item) ID to query features from the feature service. If the map extent is large and contains many features to display, the client-side API is required to perform multiple query requests to get all of the features to fill the area on the map. At a minimum, the extent with the area of the map that requires features and the fields you would like returned with each feature need to be provided. The ArcGIS Maps SDKs automatically provide these parameters in addition to other parameters to optimize each request. When using open source libraries, you typically have to provide the parameters yourself.
The steps to access and display features are:
- Find the service URL or item ID for the feature layer you want to display.
- Use the service URL or item ID in an API to
queryfeatures. - Display the features in a map.
Feature queries and caches
When you query and/or display features, different response caches are available to help maximize the performance and scalability of applications. A response cache is the data returned from a query request that is stored and managed so it can be reused by clients. Response caches are only beneficial to applications that make repeatable queries. Making use of response caches improves both performance and scalability allowing your application to perform well even when experiencing high load.
There are multiple levels of caches available to applications. This includes the following:
- Client-side cache: A response cache stored and managed by a web browser, native application, or operating system.
- CDN cache: A response cache stored and managed by CDN servers worldwide (ArcGIS Location Platform and ArcGIS Online only). This cache is configurable.
- Feature tile cache: A response cache stored and managed internally by the feature service.
All three levels of caches can exist at the same time. How the caches are used by an application, however, depends on the type of API you are using, the CDN cache max age settings you apply, and the parameters you include with the request.
In general, when a query request is sent to a feature service, the response caches are accessed in the following order:
- Client-side cache (if available)
- CDN cache (if available)
- Feature tile cache (if available)
If a cache is available, the response cache is sent back to the client immediately. If a cache isn't available, the request will look for the next level of cache that is available. If no caches are found, the query is processed by the feature service and the response is sent back to the client. If the response is cacheable, it will be stored at the appropriate caching level so it can be reused in the future.
Client-side cache
A client-side cache is the response data from queries to the feature service stored in a web browser, native application, or operating system. If the cache is available, the applications use this cache first before making requests to the feature service. When using the cache, the ArcGIS Maps SDKs also check to see if the features have been updated in the feature service so it can update the local cache. A client-side cache is only used by individual applications and cannot be shared with others. When available, these are the highest-performing caches.
CDN cache
A CDN cache is the response data from queries stored on CDN servers around the world. The CDN caches the data returned from the service for requests for a length of time (cache) that you specify in the hosted feature layer (item) settings. The CDN cache is for feature layers with the sharing level set to Everyone (public) for ArcGIS Online and Owner (private) for ArcGIS Location Platform. The CDN cache is shared and can be accessed by any application that can access the service. The CDN cache is used when the client-side cache is not available. If available, these are the next highest-performing caches.
CDN caches are only available when using ArcGIS Location Platform (private layers) or ArcGIS Online (public layers).
Feature tile cache
A feature tile is a data structure that contains the results of a query request stored in the server. A feature tile is created when a query request contains result or cache. The tiles can be sent directly back to the client to satisfy a query request or stored in a feature tile cache, CDN cache, or client-cache for future use.
A feature tile cache is the response data from queries stored at the service level as one or more feature tiles. A feature service cache is used when a client application sends consistent and repeatable queries to a feature service and the service stores the results as feature tiles for future use. The ArcGIS Maps SDKs use this mechanism to ask the feature service to store query responses as feature tiles on the service so they can be used by others. The cache is managed by the feature service and automatically updated if the underlying features are edited or updated. Feature service caches are shared and available to all client applications that send the same query request. Feature tile caches are used when client-side and CDN caches are not available.
Feature tile caches are available when using ArcGIS Location Platform, ArcGIS Online, or ArcGIS Enterprise (object store must be configured).
Code examples
Display a feature layer (service URL)
To display a hosted feature layer using the service URL, reference the layer by its URL, create a renderer, and then add it to a map or scene. The API communicates with the feature service to retrieve data for the current visible extent. Using this method, you need to specify the feature attributes to return and the rendering code to use to display the features.
Steps
- Create a map or scene.
- Get the hosted feature layer URL.
- Create a renderer.
- Add the layer.
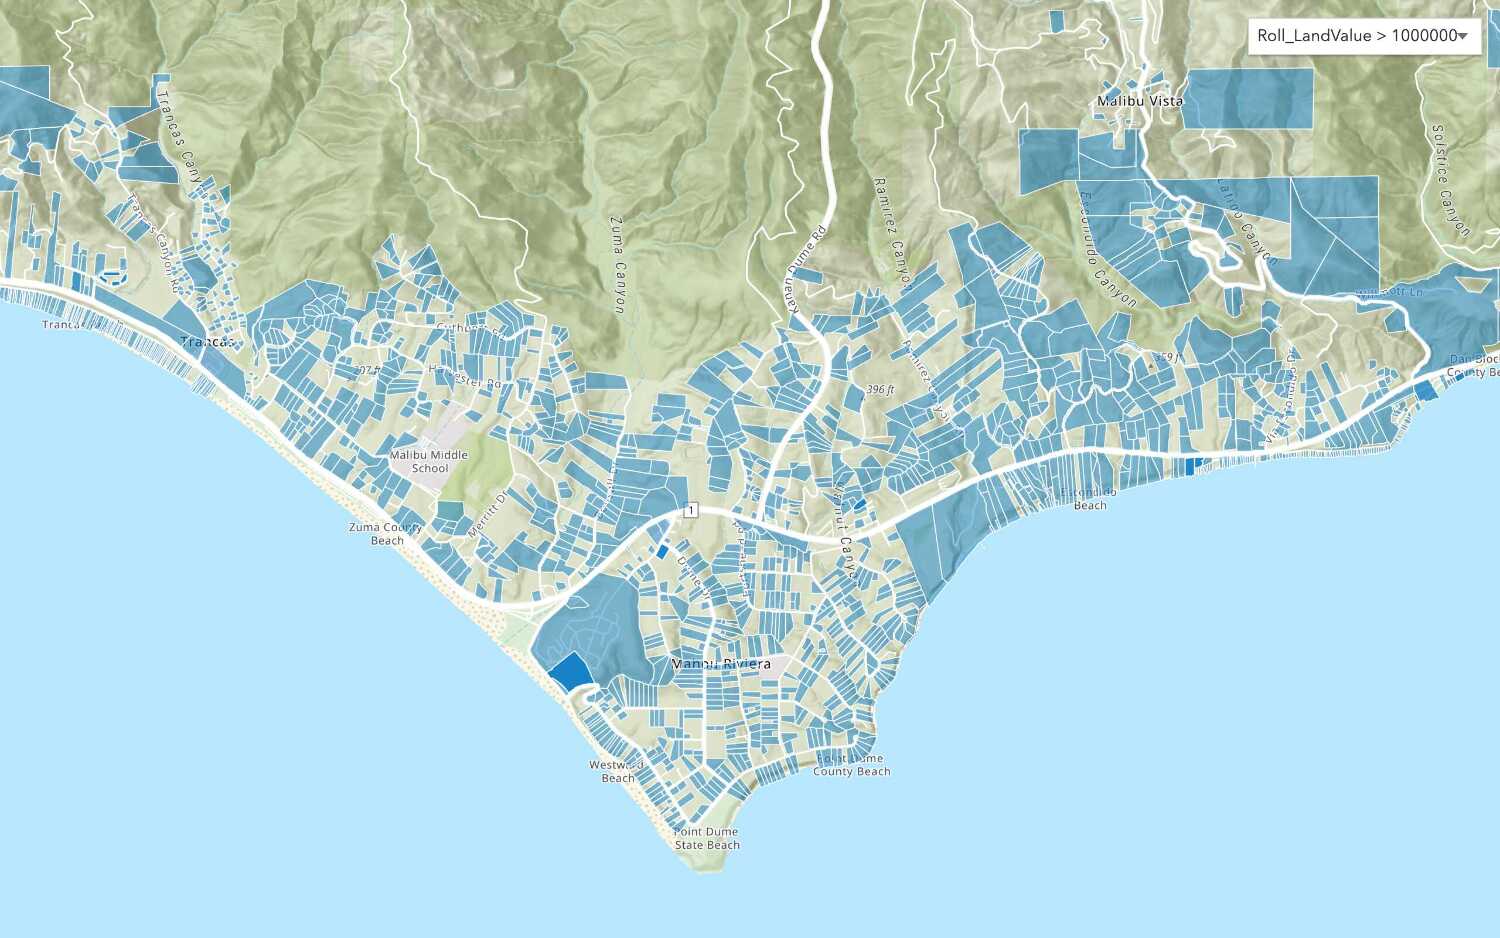
esriConfig.apiKey = "YOUR_ACCESS_TOKEN" const parcelsLayer = new FeatureLayer({ url: "https://services3.arcgis.com/GVgbJbqm8hXASVYi/ArcGIS/rest/services/Santa_Monica_Public_Parcels/FeatureServer/0", renderer: uniqueValRender, }) map.add(parcelsLayer) Display a feature layer (item ID)
To display a hosted feature layer by item ID, reference the service item ID, and then add it to a map or scene. The API communicates with the feature service to retrieve data for the current visible extent. Using this method, the ArcGIS Maps SDKs will automatically use all of the settings stored in the hosted feature layer (item) to display the feature layer. This includes all of the visualization and field settings.
Steps
- Create a map or scene.
- Get the service item ID.
- Add the layer.
const parcelsLayer = new FeatureLayer({ portalItem: { id: "b5d71d19fd4b43fbb88abf07773ec0c7", }, }) map.add(parcelsLayer) Tutorials
Add a feature layer
Access and display point, line, and polygon features from a feature service.
Add a vector tile layer

Add a map tile layer
Style a feature layer
Use symbols and renderers to style feature layers.
Query a feature layer (spatial)
Execute a spatial query to get features from a feature layer.
Query a feature layer (SQL)
Execute a SQL query to access polygon features from a feature layer.
Edit feature data

Display a popup
Format a popup to show attributes in a feature layer.
Workflows
Create a feature service for an app
Learn how to import parcel data, create and style a feature layer, and then access the features in an app.

Create a feature layer view for an editor app
Learn how to import parcel data, create and style a feature layer view, and then access the features in an editing app.

Create a vector tile service for an app
Learn how to import parcel data, style a feature layer, and then create a vector tile service for an app.

Create a map tile service for an app
Learn how to import contour data, style a feature layer, and create a map tile service for an app.

Services
Feature service
Add, update, delete, and query feature data.
Vector tile service
Store and access vector tile data.
Map tile service
Store and access map tile data.
Image service
Store and access imagery and raster data.
API support
Use data management tools or Client APIs to create, manage, and access data services. The table below outlines the level of support for each API.
- 1. Use portal class and direct REST API requests
- 2. Access via ArcGIS REST JS
- 3. Requires manually setting styles for renderers