How to Build a Solana NFT Collection
Solana NFT Tutorial
Hey there 👋🏼
If you haven’t yet explored the Solana ecosystem, NOW IS THE TIME!
Just recently Solana overtook Ethereum in Daily NFT trading volume. This means that you can be sure that NFTs are thriving on Solana.
Now if you’re interested in learning how to create NFTs with Solana, you’re in the right place.
The Alchemy team is super excited to walk you through this tutorial to create your very own NFT collection on Solana.
The original co-authors of this post are Kristian (@k_quirapas) and Albert (@thatguyintech). Go say hi to them if you found this post useful!
And of course, you can ask questions to the Alchemy University education team at any time by any of these methods:
- Tagging us in a tweet @AlchemyLearn
- Chatting in the Alchemy University Discord
Without further ado, let’s get into it!
Note: If you have any errors or questions, check out the FAQ at the bottom of this page.
Prerequisites
- Github Account
- Vercel Account
- Alchemy API Key
- Node(v14.19.0) and Yarn
What you’re building…
In this tutorial you will be learning all about Solana NFT Collections. You will start from generating your images and metadata with the art generation tool, HashLips. It will then be followed with the Sugar CLI tool allowing you to deploy your Candy Machine program to facilitate your NFT collection on Solana’s devnet. Lastly, you will finally deploy your NFT minting application to production with Vercel and manually test its functionality.
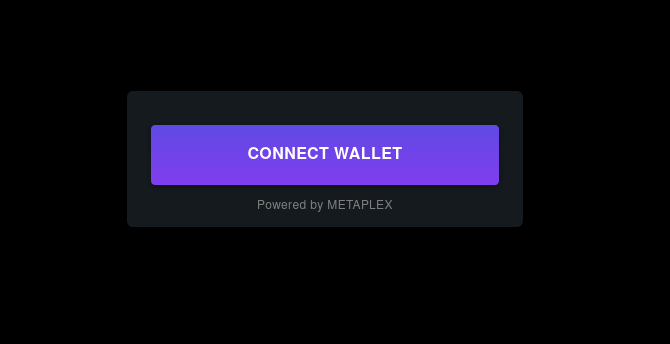
Here’s what your frontend DApp will look like: 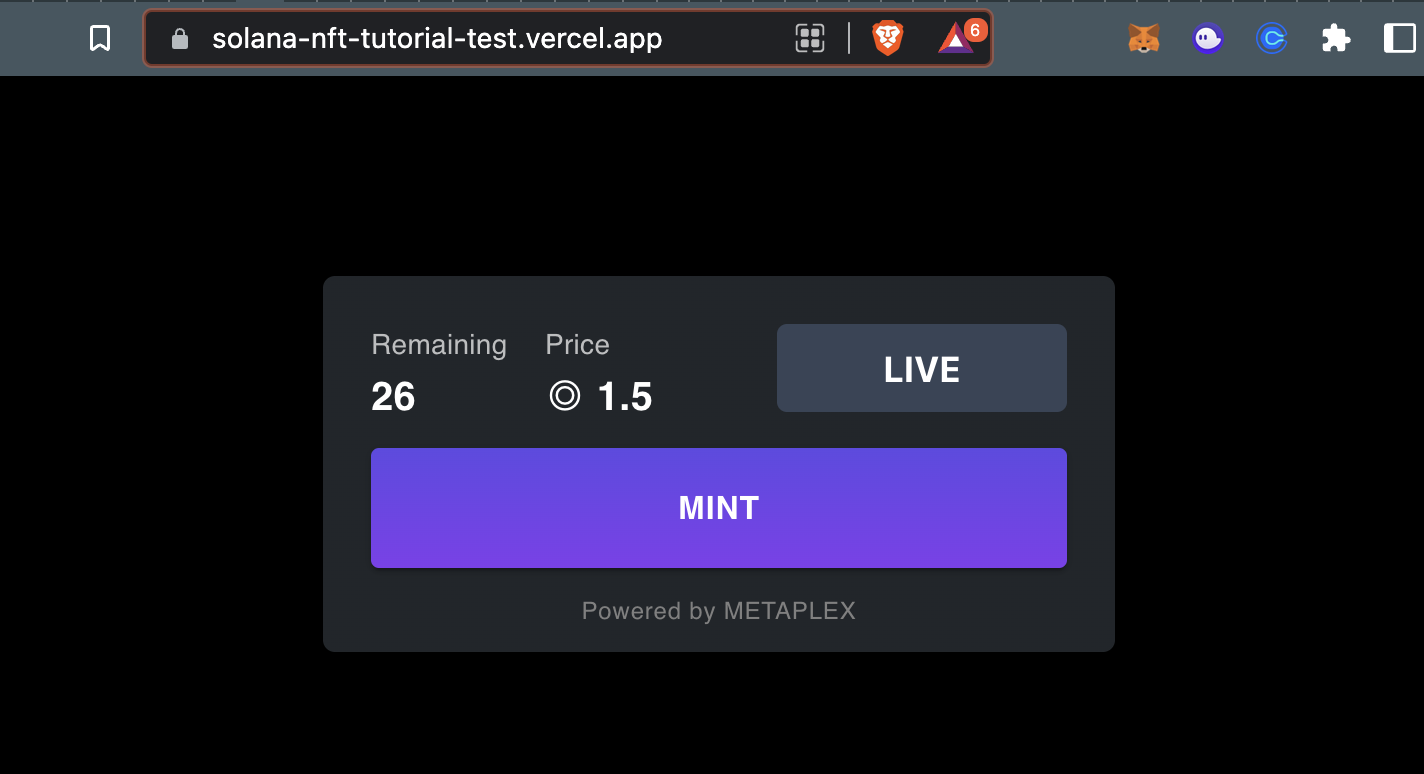
When you’re done, you’ll be able to mint your NFTs using any Solana wallet (i.e. Phantom) on the devnet via Alchemy’s Solana RPC. 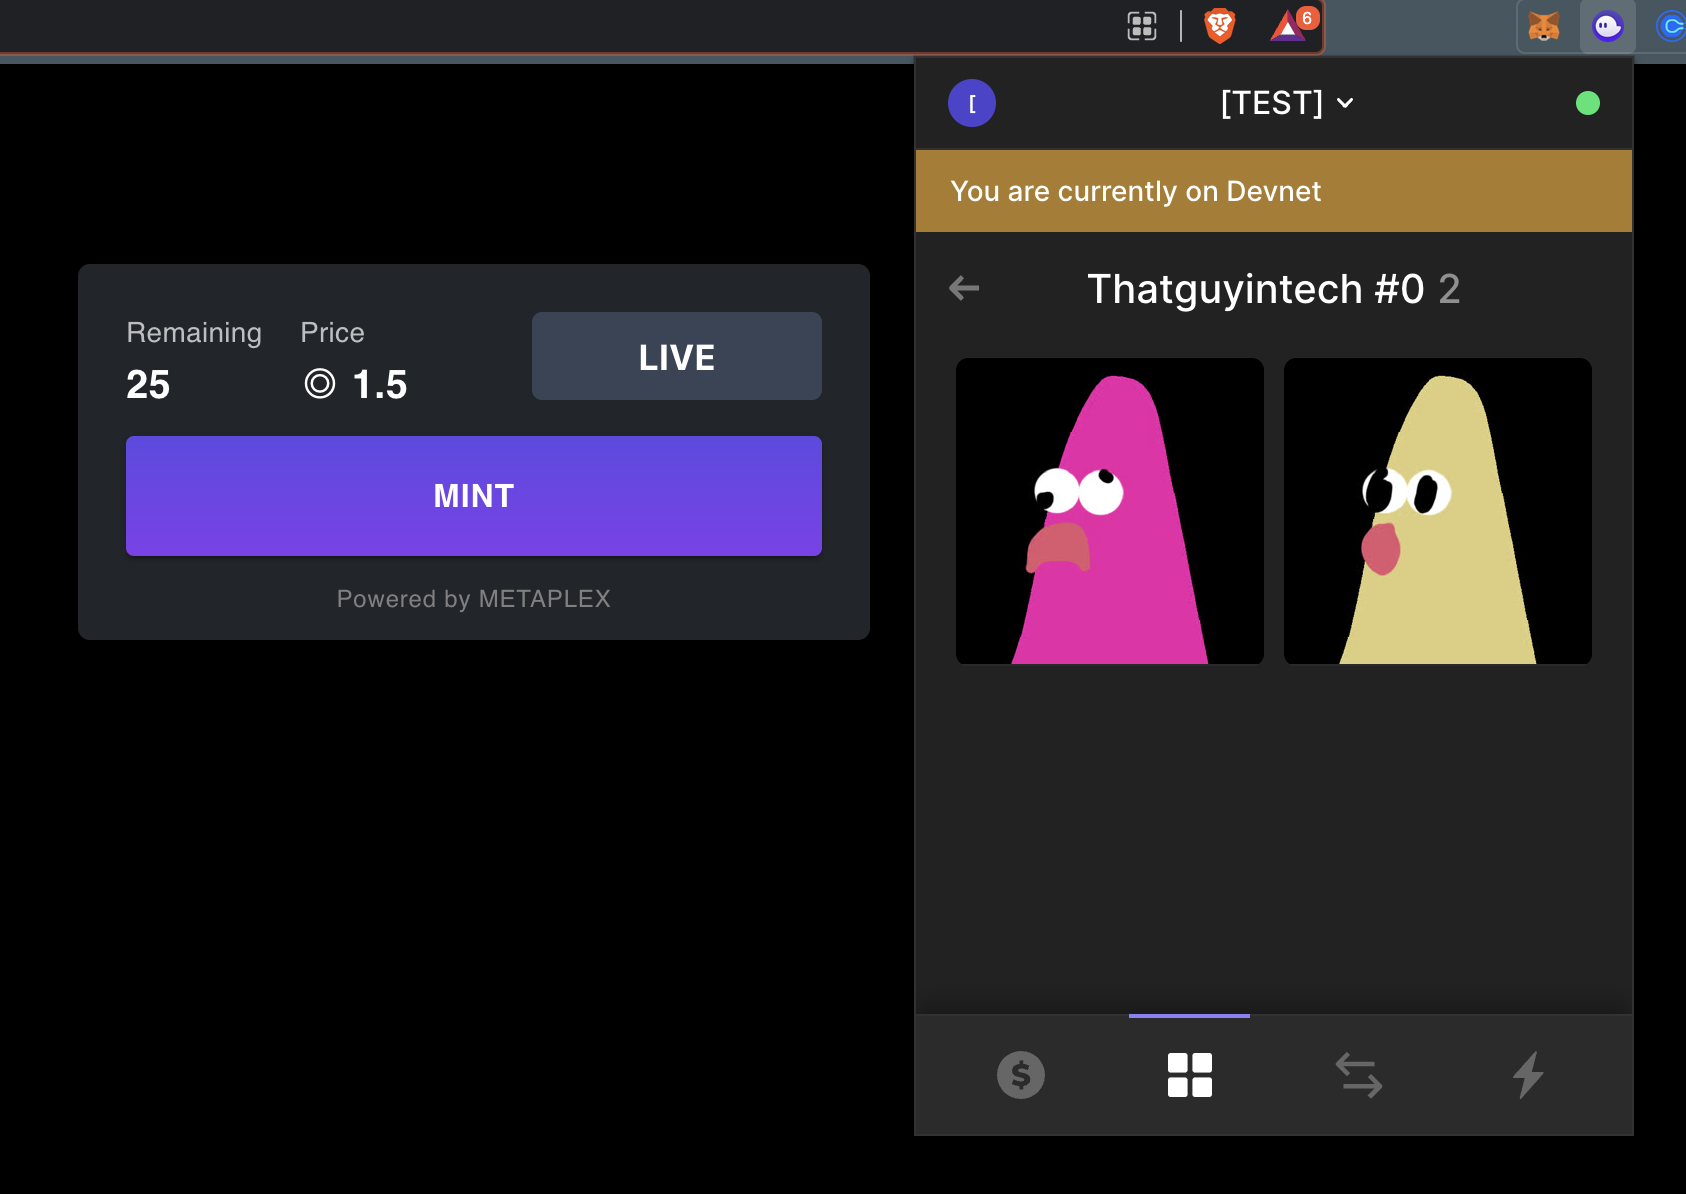
A Guide on CLI Format
For this tutorial I will be placing CLI commands within code blocks like below with # shell at the top to indicate that it’s a CLI command. I will also denote the output of the command in a separate code block labeled with # output.
Where we’ll work
Using the following commands below, change into your home directory and create a new directory. This will serve as your workspace to isolate your files during this tutorial so change your current directory to your newly created folder.
If done right you should get a similar output below.
Project Template
In order to make the process of going through the tutorial easier, I have made a template with different folders that will serve as your workspaces and you can get it over here.
Each folder would correspond to a different workspace for cloning, installing, generating, and deploying.
Solana Tool Suite
Installation
Before we jump into building our NFT collection we must first install Solana’s suite of tools by following this guide.
Upon installing, make sure that it’s properly installed by running the command below:
You must receive a similar output below:
Basic Usage
Solana’s tool suite is designed to have multiple commands we can use to deploy our NFT collection. However, for this tutorial we will only go through the crucial steps that you need in order to get started.
WARNING: The first thing you should always do is configure your Solana work environment to make sure you don’t deploy, use some of your Solana.
Quick list
solana --version - get the current version of the Solana tool suite installed
solana config get - get the current Solana tool suite configuration.
solana config set - set the current Solana tool suite configuration.
solana-keygen new - create a new filesystem keypair.
solana airdrop <amount> <address> - airdrop some devnet / testnet Solana in a certain address.
First Steps
The first thing you will be doing when you first install Solana is to test whether it’s installed properly with solana --version.
The next thing you should always do is to check the current configuration of your Solana tool suite with solana config get.
You should receive an output similar to the one below. The key things to look out for are the RPC URL and your Keypair Path. These 2 are the ones you will most likely change in order to do some testing.
Notice that the configuration above is in mainnet-beta. In order for us to do some testing, we must change this to a devnet URL. We’ll be using a dedicated devnet RPC from Alchemy. If you don’t already have an account, click on this link and sign up to create an API key.
Make sure to create a solana-devnet application and generate an HTTPS url that looks like this: https://solana-devnet.g.alchemy.com/v2/<your-api-key>. We’ll use that in the config setting below:
You should get a similar output below.
Now you’re done getting ready for development!
Generating Assets with HashLips
Setup
Now that you’re done installing Solana’s tool suite, it’s time to generate some assets with HashLips.
HashLips is an art generation tool that can be used to layer images on top of each other depending on your own configuration. It’s a tool that’s mainly used for generative art collections in Solana.
In order to get started get a copy of our template here and clone it locally with the command below.
You should receive directory structure similar to below with the pre-made layer images we will be using for the art generation we will be doing with HashLips.
Change directory into 1-generate and this will serve as your workspace for generating your art.
Once in 1-generate let’s get a copy of HashLips and install it locally.
Go to the root of the newly cloned repository and install the dependencies.
Usage
HashLips is a very powerful art engine that allows you to create different configurations for your art generation, but for this tutorial’s purposes we will keep it as simple as possible.
After doing the steps above you must be left with a similar set of files.
Change directory into layers and remove all the sample files.
Copy all of the folders inside 0-assets in the template into layers folder because that’s where all of our layers will be placed for art generation using HashLips.
After copy and pasting the folders from 0-assets your layers folder should look like the one below.
Now go into the src folder and modify config.js to your needs. For this tutorial we will keep it simple and only modify the necessary ones below:
networknamePrefixanddescriptionsolanaMetadatalayerConfigurations
First things first, modify your network from NETWORK.eth to NETWORK.sol.
Change your namePrefix to the name of your collection. In this case we’re calling it Patrick Head. Also change description to the description of your NFT collection.
Modify your Solana Token Metadata as needed. If you want to know more about Solana’s token metadata standard, you can check the Metaplex Docs.
This is the default Solana metadata in config.js.
Here’s a brief overview of the following properties.
-
symbolis the short representation of the NFT Collection. -
seller_fee_basis_pointsis the percentage of royalty you want to get from the collection’s secondary sales.- 1000 = 10% royalty
-
external_urlis a URI pointing to an external link defining the asset. (e.g. the project’s website) -
creatorsis an array list of addresses with royalty allocation that determines to whom the creators fees are sent to.- share number must be <= 100
- total shares of all creators combined must be equal to 100
Let’s modify it a bit to fit our collection. Let’s make our symbol PS and set our creator fees to 1000 basis points (10%). Let’s keep the external_url to default and add the creators as needed.
In this case, since we’re just doing a demo, I’ll keep the creators as default.
After that, head on over to the layerConfigurations variable and copy the one below. The configuration below states the ordering of the asset generation.
The top layer added { name: "Head" } is the first asset to be drawn hence the furthest from the front.
The bottom layer { name: "Eyes" } is the last asset to be drawn hence the nearest to the front.
Now that you’re done with the setup, it’s time to build. In order to generate your art, use the command below.
You should get a similar output below on success.
Important Note: It’s 26 (despite being 27 in total) because the count starts from 0 with Solana.

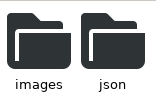
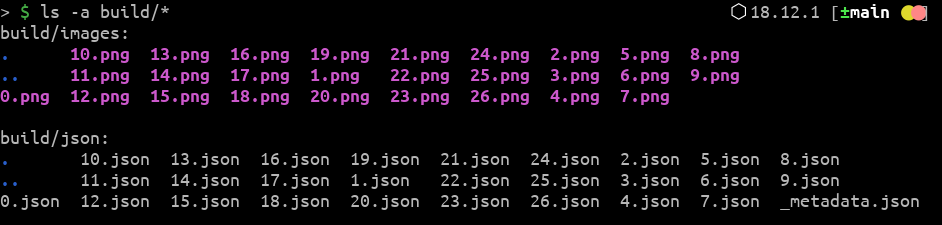
Upon running your command go to your build folder and there should be a folder for images and a folder for json.
You should expect 27 different PNG files, also 27 different JSON files from your generation with one _metadata.json.
Ignore _metadata.json for now.
If all is set and done you can now start deploying your collection with Metaplex’s Sugar CLI tool.
Deploying your Collection
Metaplex built a has a tool called Sugar that’s a CLI tool used for managing your deployed Candy Machine Program. The Candy Machine is used for minting and distribution of Solana NFTs.
Using Sugar will make your deployment and management easier.
Installation
Run the command below to fetch and install Sugar.
Confirm that it was installed correctly.
sugar Usage
Preparing the Assets
First change directory into 2-build in the template. This will serve as your workspace for using sugar and deploying the collection.
Next create an assets directory in the 2-build folder and copy the images and JSON file from HashLips generation earlier.
After copying the files from our 2-build directory should look similar to the one below.
Notice the _metadata.json file? Move it to a different folder to make sure only the images and JSON files are in the asset folder.
Collection Mint
Collection mint is the NFT that serves as the “album cover” of your NFT collection in the marketplace. It can be set any valid NFT, but for this tutorial we’ll let sugar automatically detect the collection mint.
In order to set the collection mint automatically go into the assets folder and copy 0.png into collection.png and 0.json into collection.json.
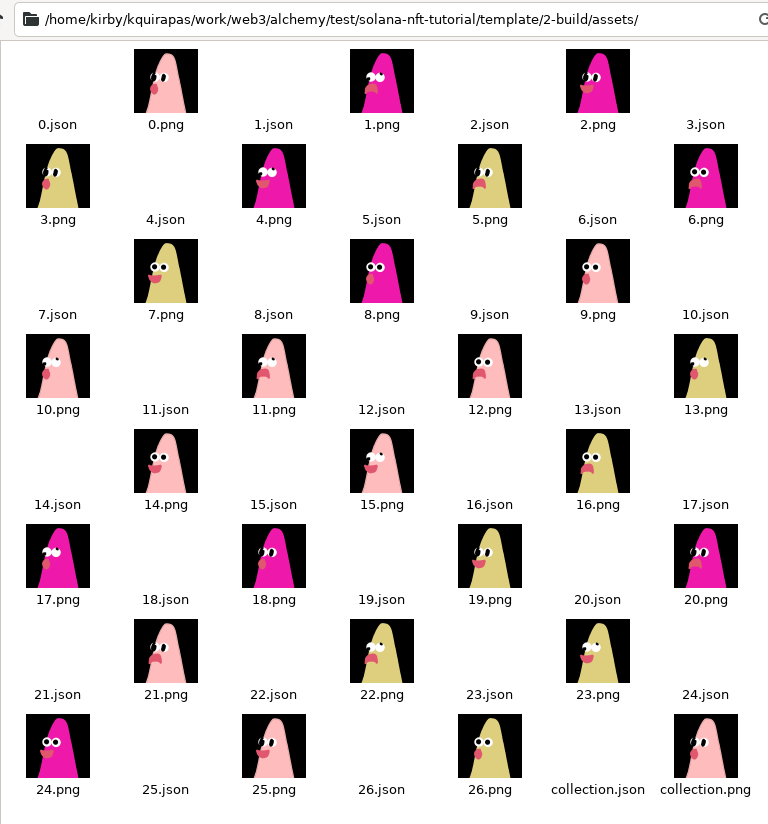
After removing _metadata.json and adding a collection mint your assets directory should be similar to the one below.
Now that your assets are ready and combined in your assets folder as seen below, it’s time to use sugar in order to deploy it.
Note: Noticed the
collection.jsonandcollection.png?
Deployment
Before we start make sure you change directory into the 2-build folder where the assets folder is found.
Overview
sugar validateto check if the images and metadata was generated correctlysugar create-configto create a Candy Machine configuration interactivelysugar uploadto upload your images and metadata (JSON) files to the storage of your choicesugar launchto launch your Candy Machine for NFT collection mintingsugar verifyto verify uploaded datasugar showto show the details of your launched Candy Machine
Step-by-Step
In the 2-build folder where the assets folder is found, run the following commands below.
Validate if the generated images and metadata (JSON) are valid and ready to be deployed.
You must receive the same output below with a command successful event if your images and metadata are ready for upload.
After validating your generated images and metadata, it’s time to interactively create a Candy Machine config using sugar create-config.
First make sure you have a local filesystem wallet generated by solana-keygen by running the command below.
When prompted for a passphrase just press enter for now to skip the passphrase. If everything is done correctly you should now have a keypair JSON file in a similar path: /home/kristian/.config/solana/id.json.
Warning: The authority for your Candy Machine is the keypair specified in the output of the
solana configcommand. For this tutorial it should be the path of your previously generated keypair withsolana-keygen newthat is/home/kristian/.config/solana/id.json.
After generating your keypair and making sure it’s the one used by our solana config, run the command below to begin the interactive config creation.
Note: Feel free to play around with the interactive config creation. Metaplex does a good job of handling errors, so rest assured that you will be guided by error messages along the way.
You will then be prompted for the following:
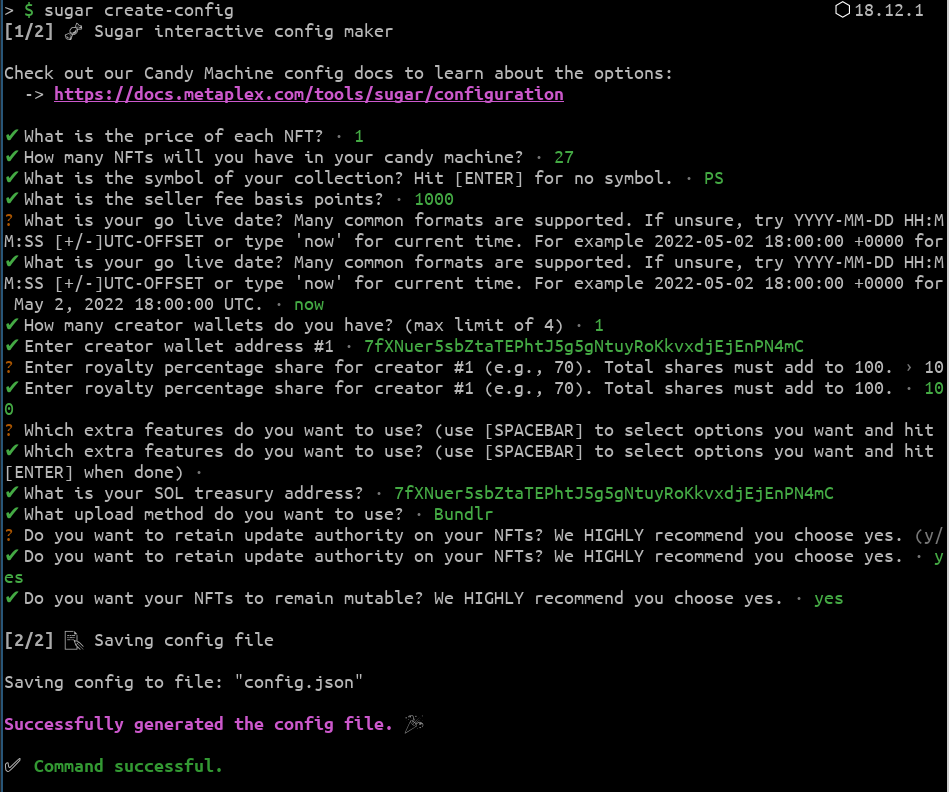
Price of each NFT- This is the mint price fo each NFT in your collectionNumber of NFTs in the collection- This is the number of NFTs in your collection. For this tutorial it’s27in totalSymbolto be used in the collection - Just likeBAYCfor Bored Ape Yacht Club. We usePSfor this tutorial.Seller fee basis points(1000 = 10%) - the amount of royalty to be earned from secondary market salesGo live date- date from when the collection becomes available for minting. You can use the keywordnowto signify that it’s ready for minting upon launch.Number of creator wallets- how many wallets would receive the royalties from secondary salesWallet address for each creator- addresses of the wallets that will receive the royaltiesRoyalty percentage for each creator- the percentage of the total royalty for each sale each creator should get. All of the percentages from each wallet combined should total to100Extra Features- additional features to be toggled for your Candy Machine. This will be discussed further in the section below
In order to keep this simple for this tutorial we won’t specify the other prompts and we recommend you follow the same responses below (colored in green).
Extra Features
The interactive prompt will prompt you with some extra features that you can use to cover different use cases. Covering each is beyond the coverage of this tutorial but you can know more by reading the configuration settings from Metaplex.
Uploading to Storage
After going through the interactive config creation, it’s time to upload your collection to storage.
If the upload is successful, you should get a similar output below.
Upon the successful completion of the upload it’s time to launch your Candy Machine!
If you got a Command Succesful response, you’re almost done!
Do a quick sugar verify followed by a sugar show to check the status of your launched Candy Machine and check for a Command Successful response.
Take note of the Candy Machine ID. You’ll use it for deploying the frontend.
Congratulations! You’re done! with deploying your Candy Machine! It’s time to use Metaplax’s Candy Machine template to mint your NFTs!
Deploy Minting Website
In this tutorial we will be using Vercel and Metaplex’s Candy Machine UI in order to create a minting dapp for our newly deployed collection.
First, go to Metaplex’s Candy Machine UI repository and fork it.
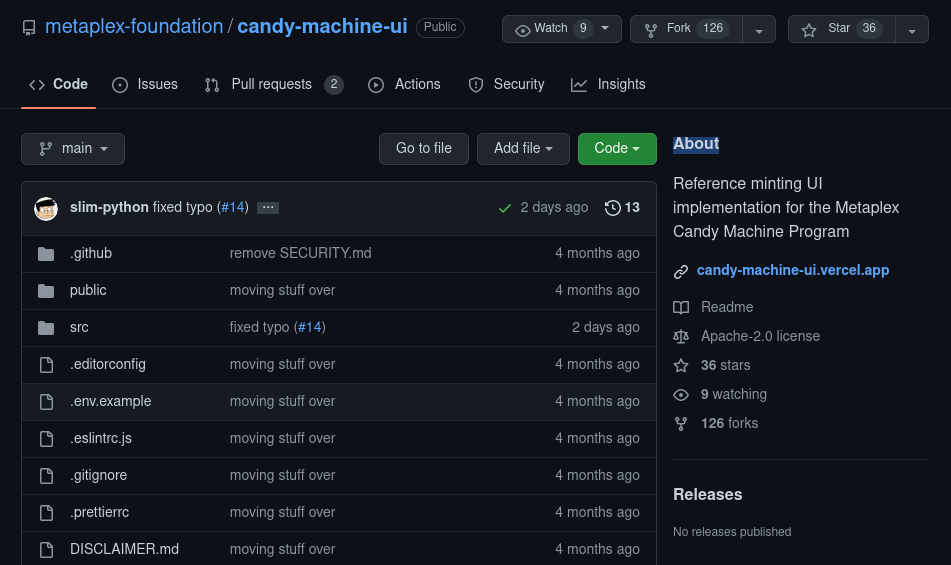
After forking it go to Vercel login and add new Project and Continue with Github. Choose your own fork of the Candy Machine UI.
Configure Environment Variables
Check your fork and open .env.example use it to configure your Vercel Environment Variables.
You can copy the contents below.
For <your-api-key> go and follow these steps to get a Solana API key.
Tip: Don’t know where to find the Candy Machine Program ID? Use
sugar showand copy Candy Machine ID.
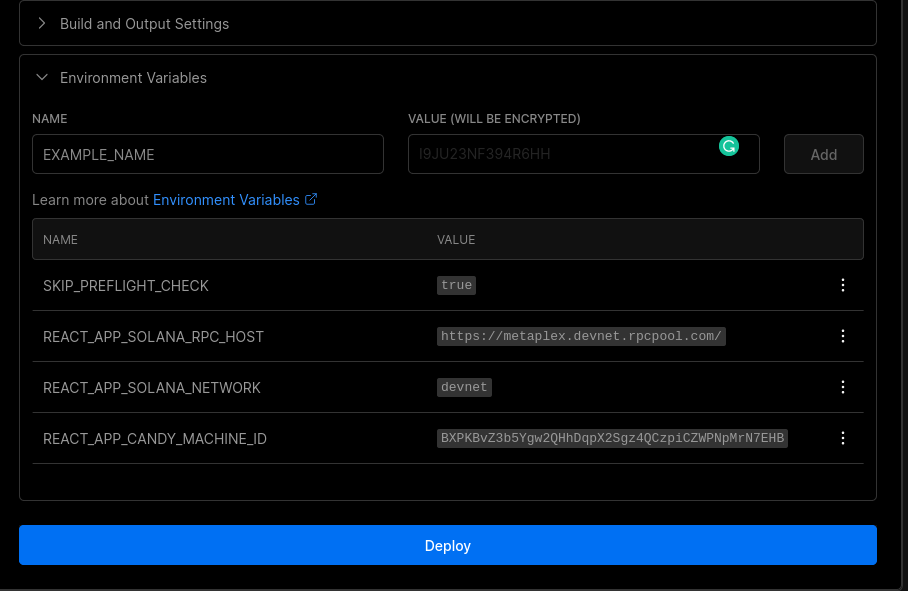
After configuring it’s time to deploy and view your site!
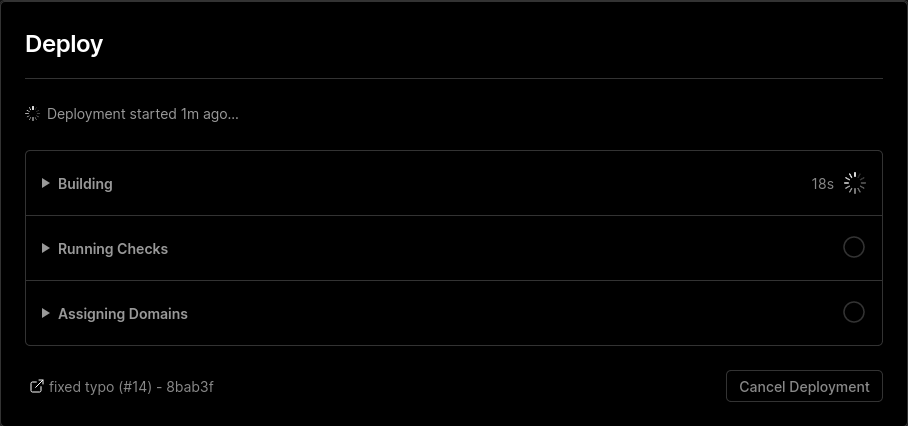
A webpage should open like the one below. Connect your wallet and try minting one to test your Candy Machine deployment.
Testing
Now it’s time to test your newly deployed collection using your Minting DApp on Vercel.
First get your devnet Solana (SOL) using Solana CLI and with your Phantom wallet address.
You can only request a maximum of 2 SOL at a time.
After getting your Devnet SOL, it’s time to finally try your Minting Dapp by connecting your wallet and minting your first Devnet NFT!
What else moving forward…
NFTs can have a lot of utilities and a simple collection that you’ve just deployed is just the start. If you want to know more and find more ways to use Solana NFTs as well as to add utilities to them learn from the following resources below:
- Generative Art Tips and Tricks
- Top 10 Solana NFT Collections: List of the Most Ambitious Projects, Ranking, Trading Volume
- DeGods: The Recent Solana NFT Project Ascending in Rankings
That’s it! You’re done! Glad you reached this point now you’re ready to conquer the world of Solana NFTs!
Frequently Asked Questions (FAQs)
What version of Node was used in the tutorial?
node v14.19.0 (npm v6.14.16)